3.3.2 Segment Model Example Introduction
Example Overview
The image segmentation example is a Python interface development code example located in /app/pydev_demo/04_segment_sample/, demonstrating how to use the MobileNet-UNet model for semantic segmentation tasks. This example shows how to perform pixel-level classification on input images, segment different objects in the image, and visually display the segmentation results.
Effect Demonstration
Hardware Preparation
Hardware Connection
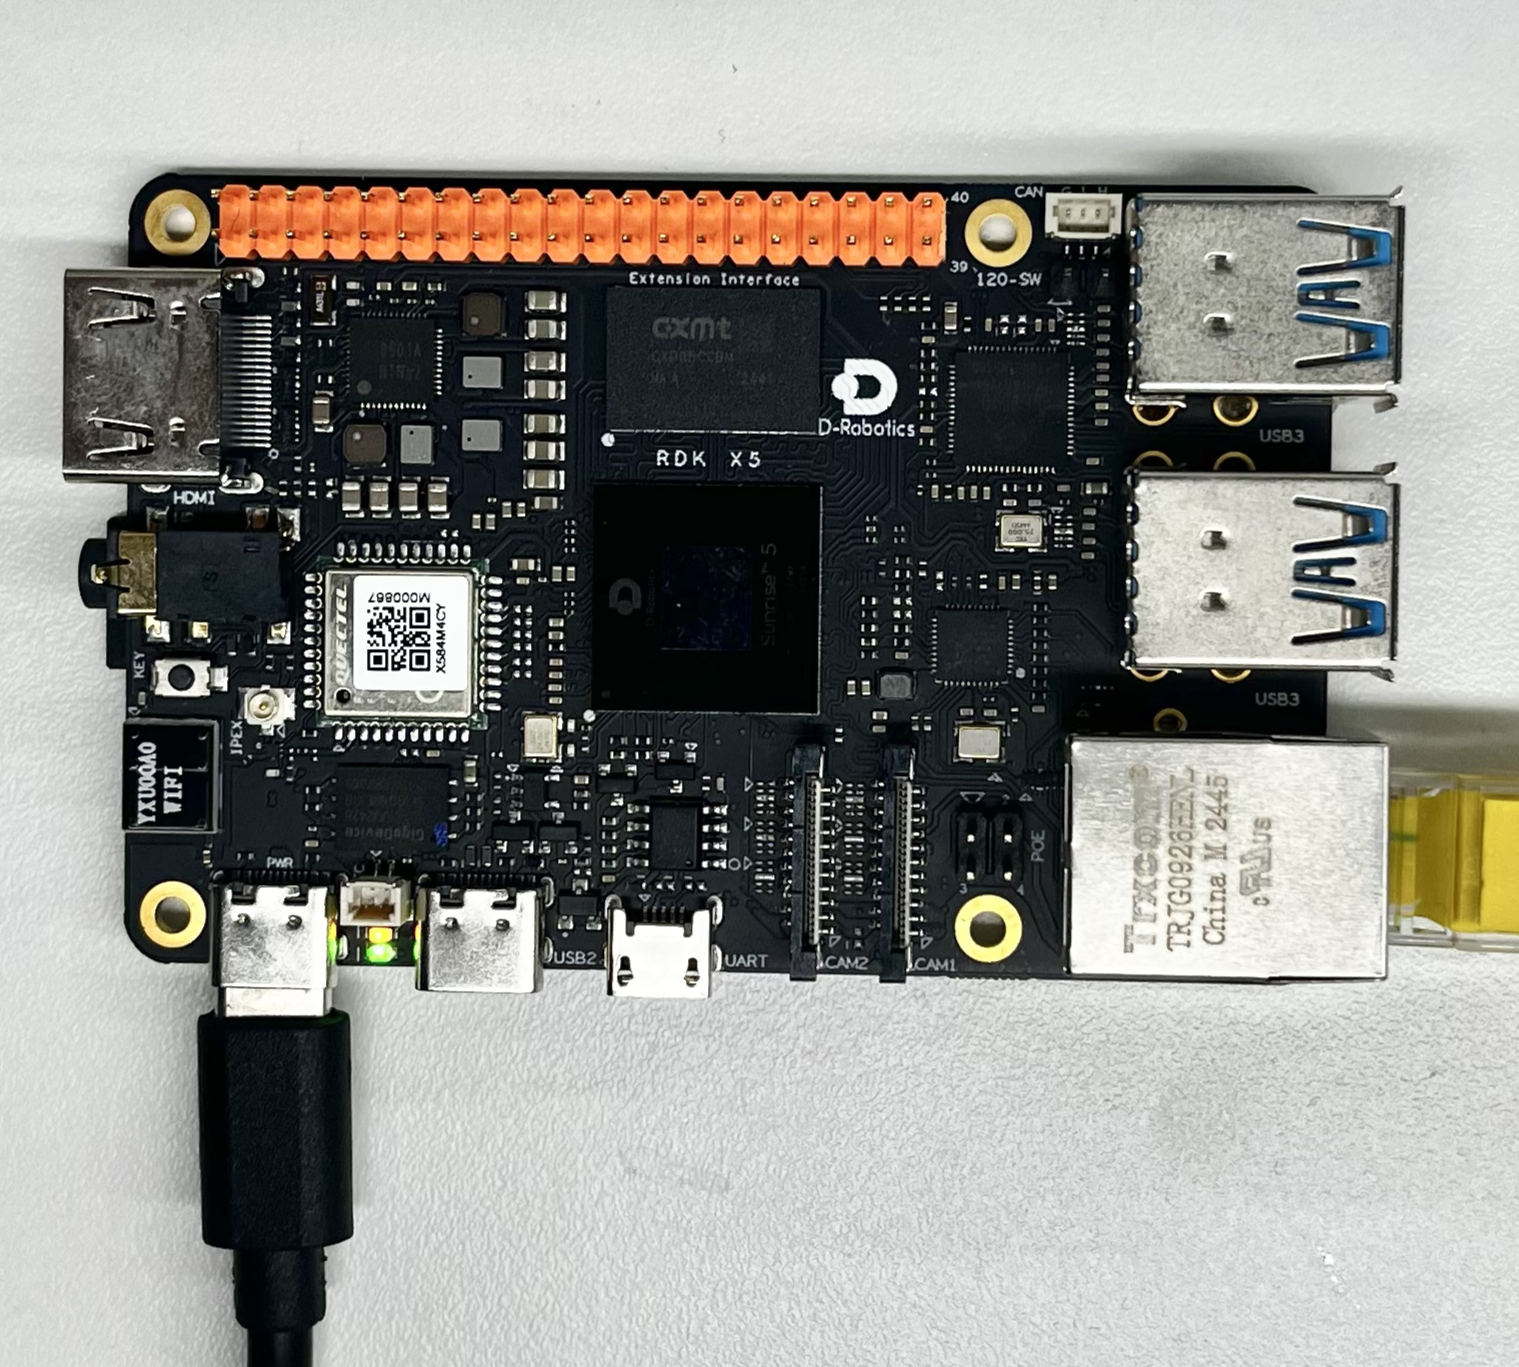
This example only requires the RDK development board itself, without additional peripheral connections. Ensure the development board is properly powered and the system is booted.
Quick Start
Code and Board Location
Navigate to /app/pydev_demo/04_segment_sample/ location, where you can see the image segmentation example contains the following files:
root@ubuntu:/app/pydev_demo/04_segment_sample# tree
.
├── segmentation.png
└── test_mobilenet_unet.py
Compilation and Execution
The Python example does not require compilation and can be run directly:
python3 test_mobilenet_unet.py
Execution Effect
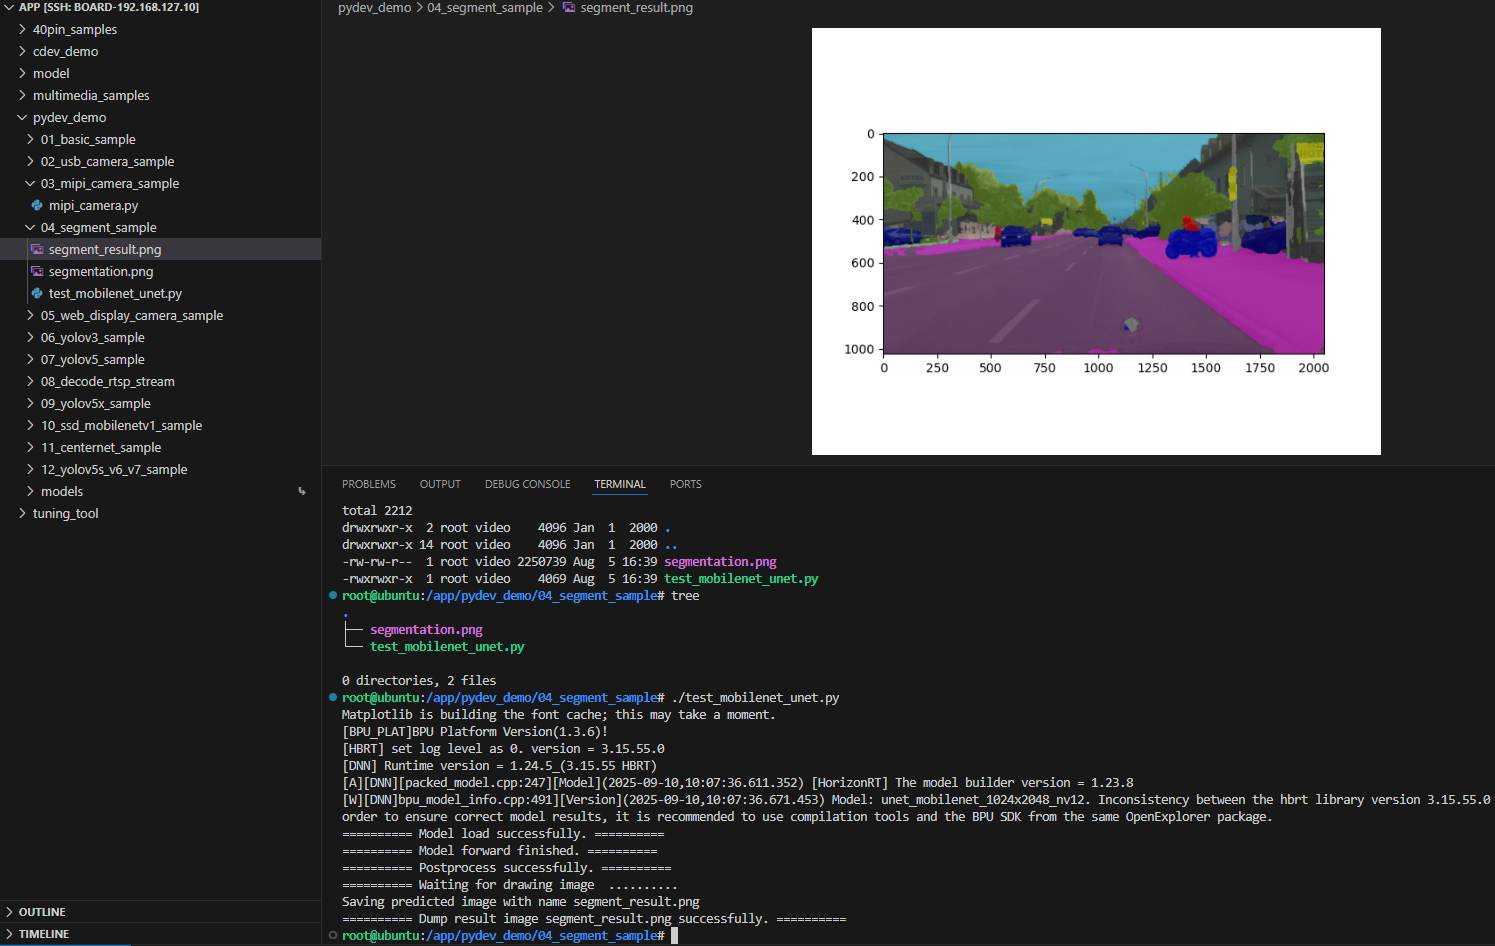
After running, the program will load the pre-trained MobileNet-UNet model, perform segmentation processing on the segmentation.png image, and generate the segmentation result image segment_result.png.
root@ubuntu:/app/pydev_demo/04_segment_sample# ./test_mobilenet_unet.py
Matplotlib is building the font cache; this may take a moment.
[BPU_PLAT]BPU Platform Version(1.3.6)!
[HBRT] set log level as 0. version = 3.15.55.0
[DNN] Runtime version = 1.24.5_(3.15.55 HBRT)
[A][DNN][packed_model.cpp:247][Model](2025-09-10,10:07:36.611.352) [HorizonRT] The model builder version = 1.23.8
[W][DNN]bpu_model_info.cpp:491][Version](2025-09-10,10:07:36.671.453) Model: unet_mobilenet_1024x2048_nv12. Inconsistency between the hbrt library version 3.15.55.0 and the model build version 3.15.54.0 detected, in order to ensure correct model results, it is recommended to use compilation tools and the BPU SDK from the same OpenExplorer package.
========== Model load successfully. ==========
========== Model forward finished. ==========
========== Postprocess successfully. ==========
========== Waiting for drawing image  ..........
Saving predicted image with name segment_result.png
========== Dump result image segment_result.png successfully. ==========
root@ubuntu:/app/pydev_demo/04_segment_sample#
Detailed Introduction
Example Program Parameter Options Description
The image segmentation example does not require command line parameters and can be run directly. The program will automatically load the segmentation.png image in the same directory for segmentation processing.
Software Architecture Description
The software architecture of the image segmentation example includes the following core components:
-
Model Loading: Using the pyeasy_dnn module to load the pre-trained MobileNet-UNet model.
-
Image Preprocessing: Converting the input image to the NV12 format and specified dimensions required by the model.
-
Model Inference: Calling the model for forward computation to generate segmentation masks.
-
Post-processing: Performing argmax operation on the model output to obtain the category of each pixel.
-
Result Visualization: Using a color palette to visualize the segmentation results and overlay them on the original image.
-
Result Saving: Saving the visualized results as an image file.

API Process Description
-
Model Loading: models = pyeasy_dnn.load('../models/mobilenet_unet_1024x2048_nv12.bin')
-
Image Preprocessing: Adjusting image dimensions and converting to NV12 format
-
Model Inference: outputs = models[0].forward(nv12_data)
-
Post-processing: pred_result = np.argmax(model_output[0], axis=-1)
-
Result Visualization: Using a palette to convert segmentation masks into color images
-
Result Saving: Overlaying segmentation results on the original image and saving

FAQ
Q: What should I do if I encounter "ModuleNotFoundError: No module named 'matplotlib'" error when running the example?
A: Please ensure the matplotlib library is installed. You can use the command pip3 install matplotlib to install it.
Q: How to change the test image?
A: Place the new image file in the example directory and modify img_file = cv2.imread('your_image_path') in the code.
Q: What should I do if the segmentation results are inaccurate?
A: The MobileNet-UNet model is trained for urban street scene scenarios and may not perform well for other scenarios. You can try using segmentation models more suitable for specific scenarios.
Q: How to modify the output image resolution?
A: The model input resolution is fixed at 1024x2048, and the output image resolution will be automatically adjusted to the original image resolution.
Q: Can real-time video stream processing be achieved?
A: The current example is designed for single images, but the code can be modified to achieve real-time segmentation processing of video streams.
Q: How to obtain other pre-trained segmentation models?
A: You can refer to the model_zoo repository or Toolchain's basic model repository