Adding an RDK Device
- Windows
- macOS
-
Click
+Hardwarein the upper right corner to enter the connection type selection interface.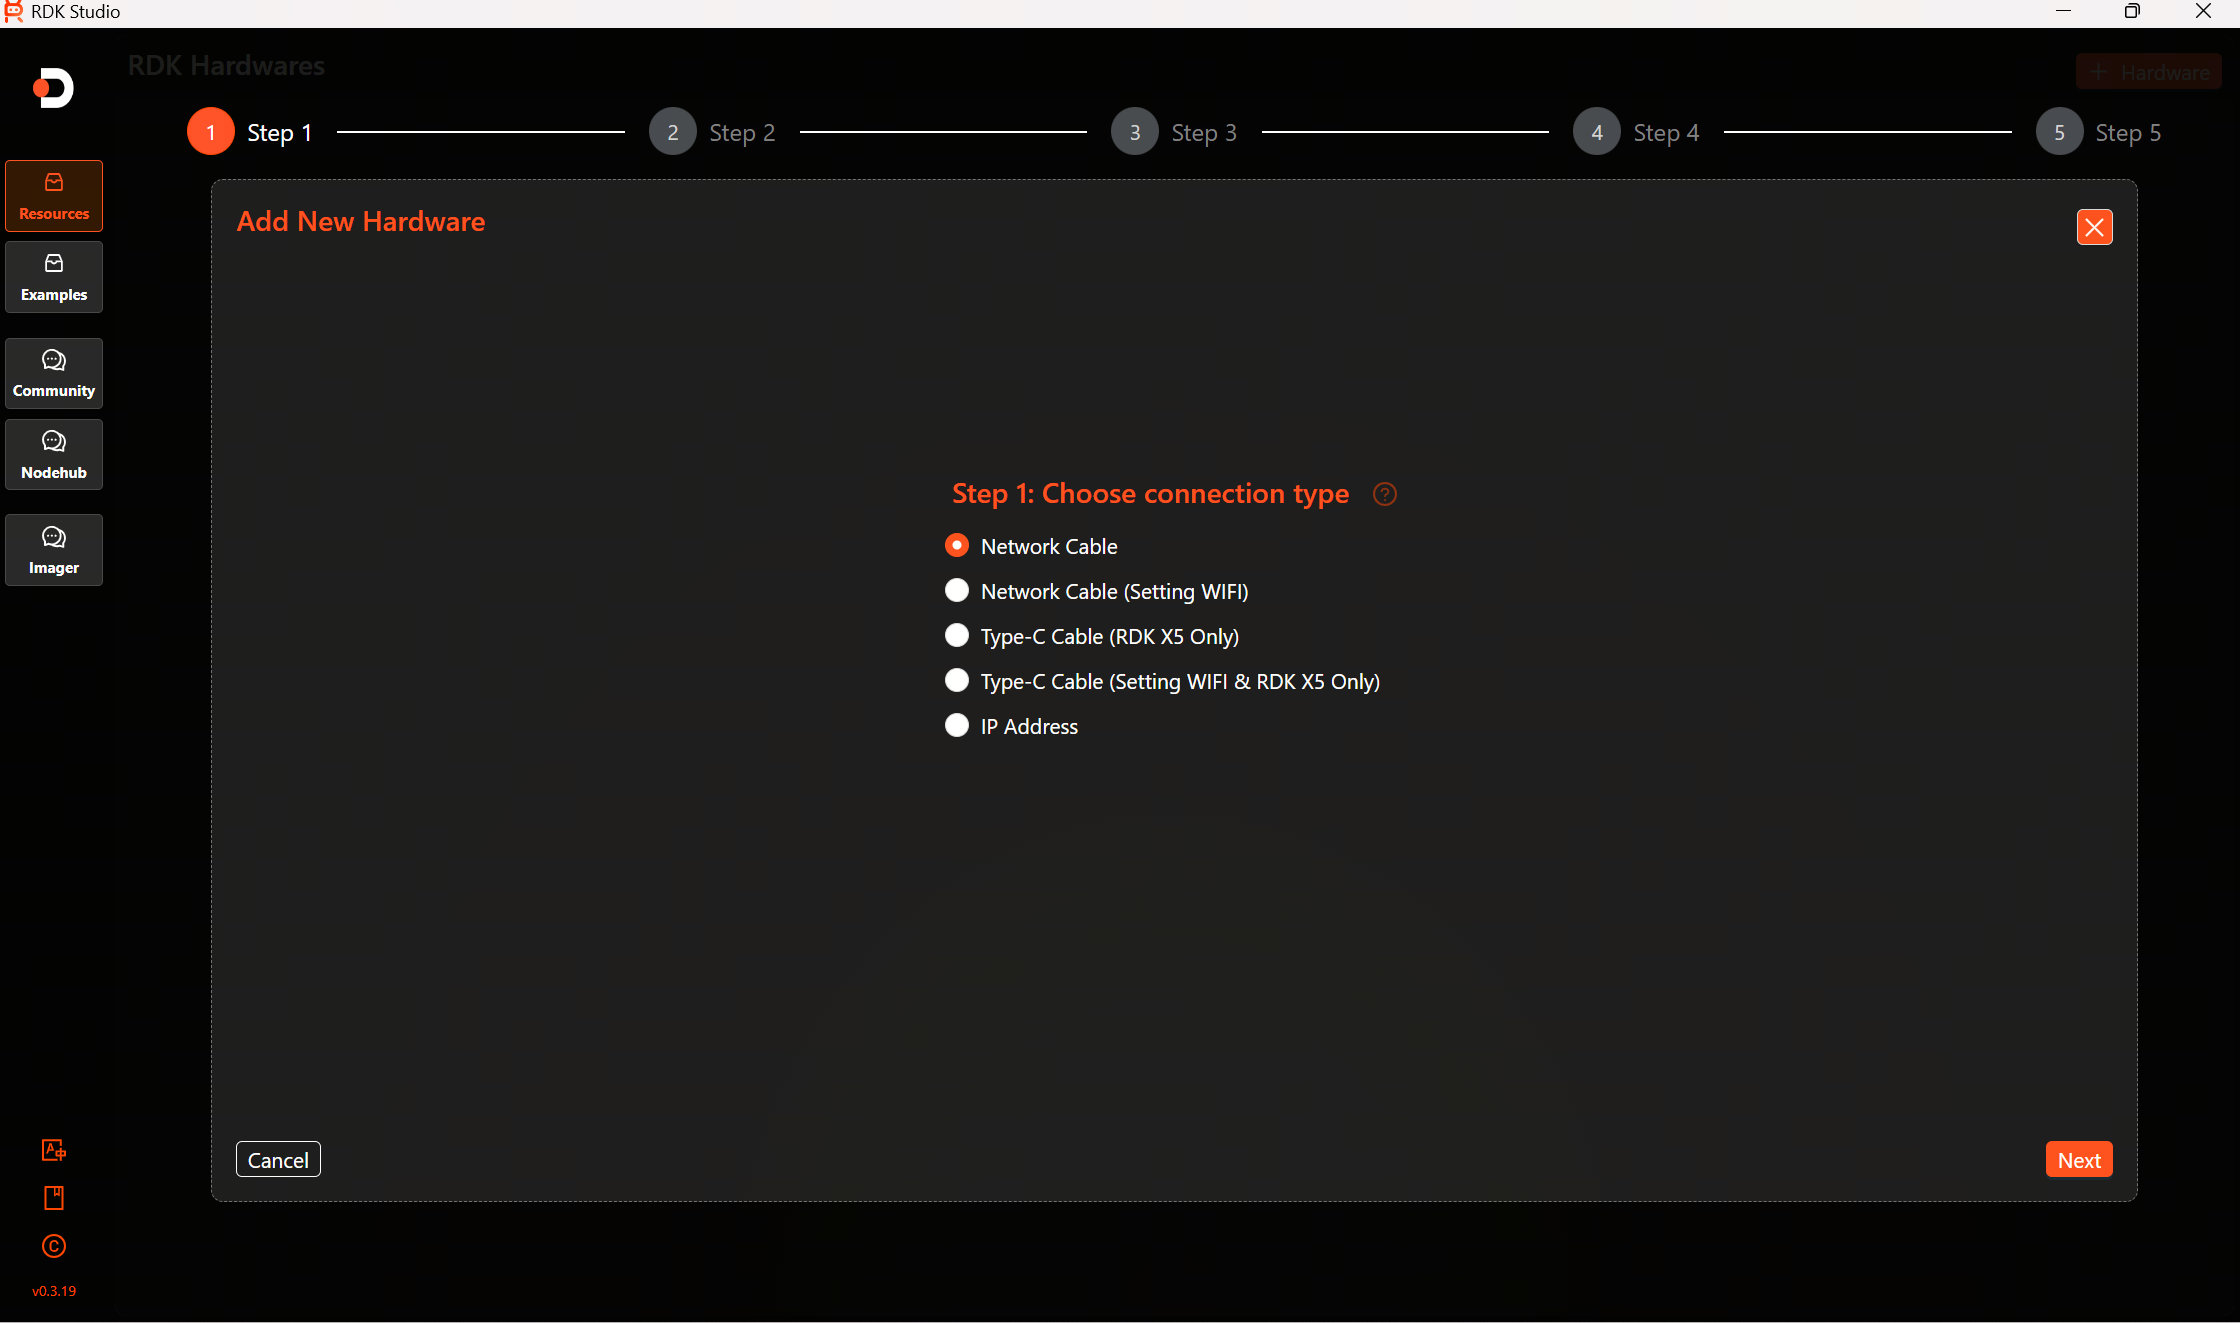
-
Click the question mark icon next to "Select Connection Type" A connection guide window will pop up, instructing the user on the connection method corresponding to the selected type. Click
Nextto view subsequent content, or clickPreviousto review previous prompts again. After viewing all guide content, clickFinishto close the pop-up. You can also click the×in the upper right corner at any time to close the pop-up directly.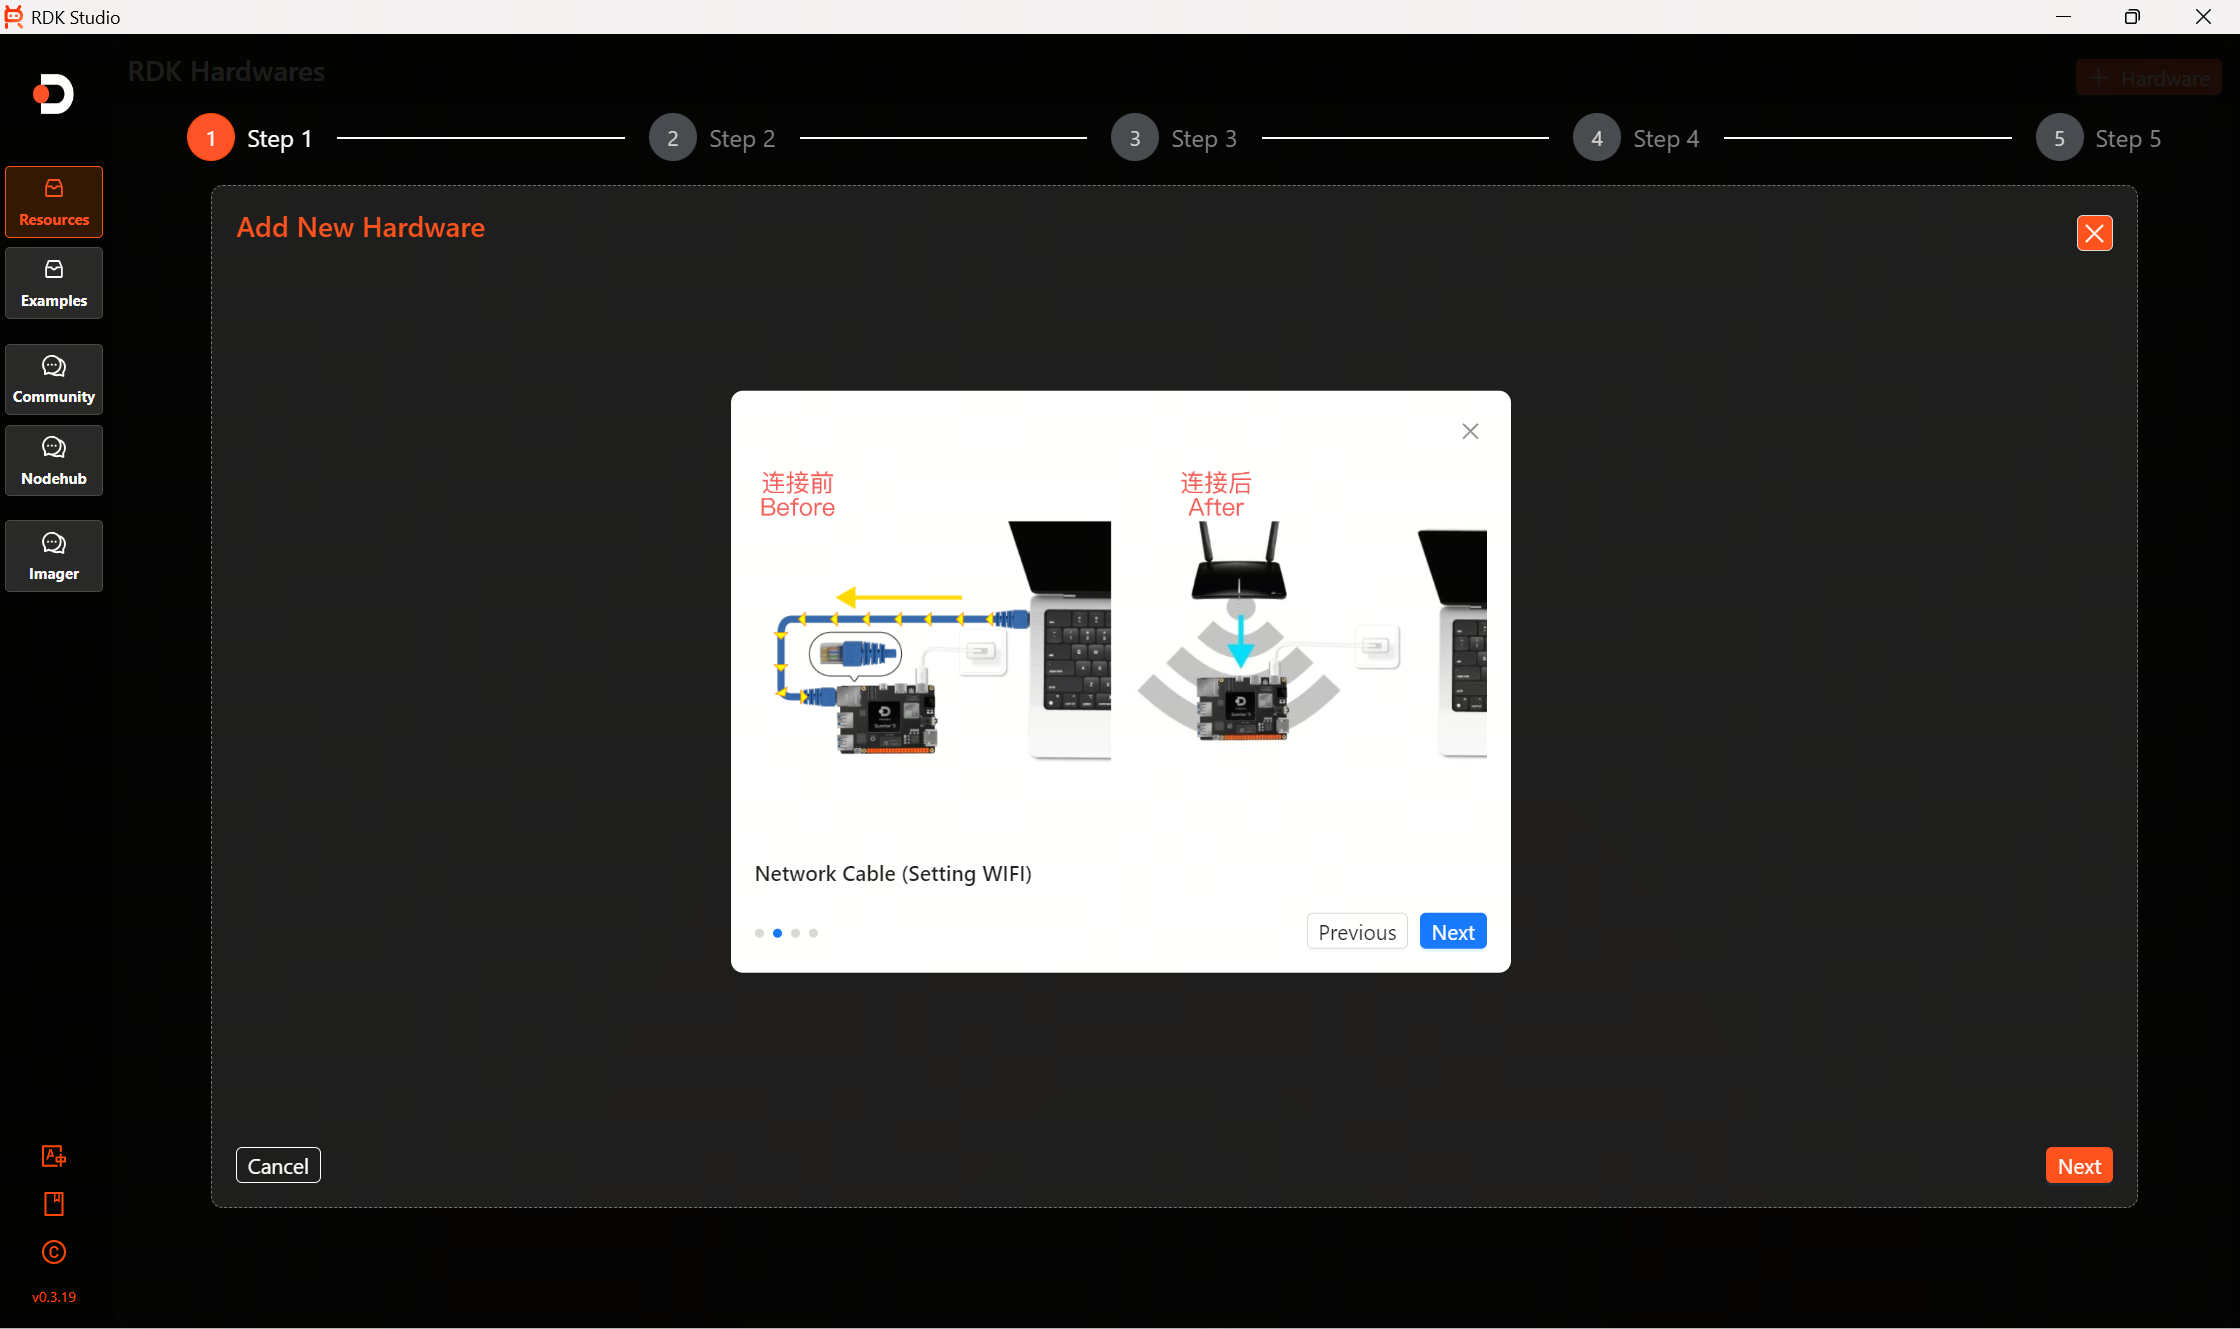
-
Taking "Create Ethernet Connection" as an example, click to select the connection type, then click
Nextto enter the network selection interface.warning- Be sure to select the correct Ethernet here. Selecting the wrong one may cause the computer's own network to become unavailable.
- You can confirm the correct network using the following method: Unplug and then reconnect the Ethernet cable, and the correct Ethernet will be matched automatically.

-
Click
Nextto enter the user type selection interface. Set the user type for logging into the RDK device here. You can choose "sunrise (Regular User)" or "root (Super User)".
-
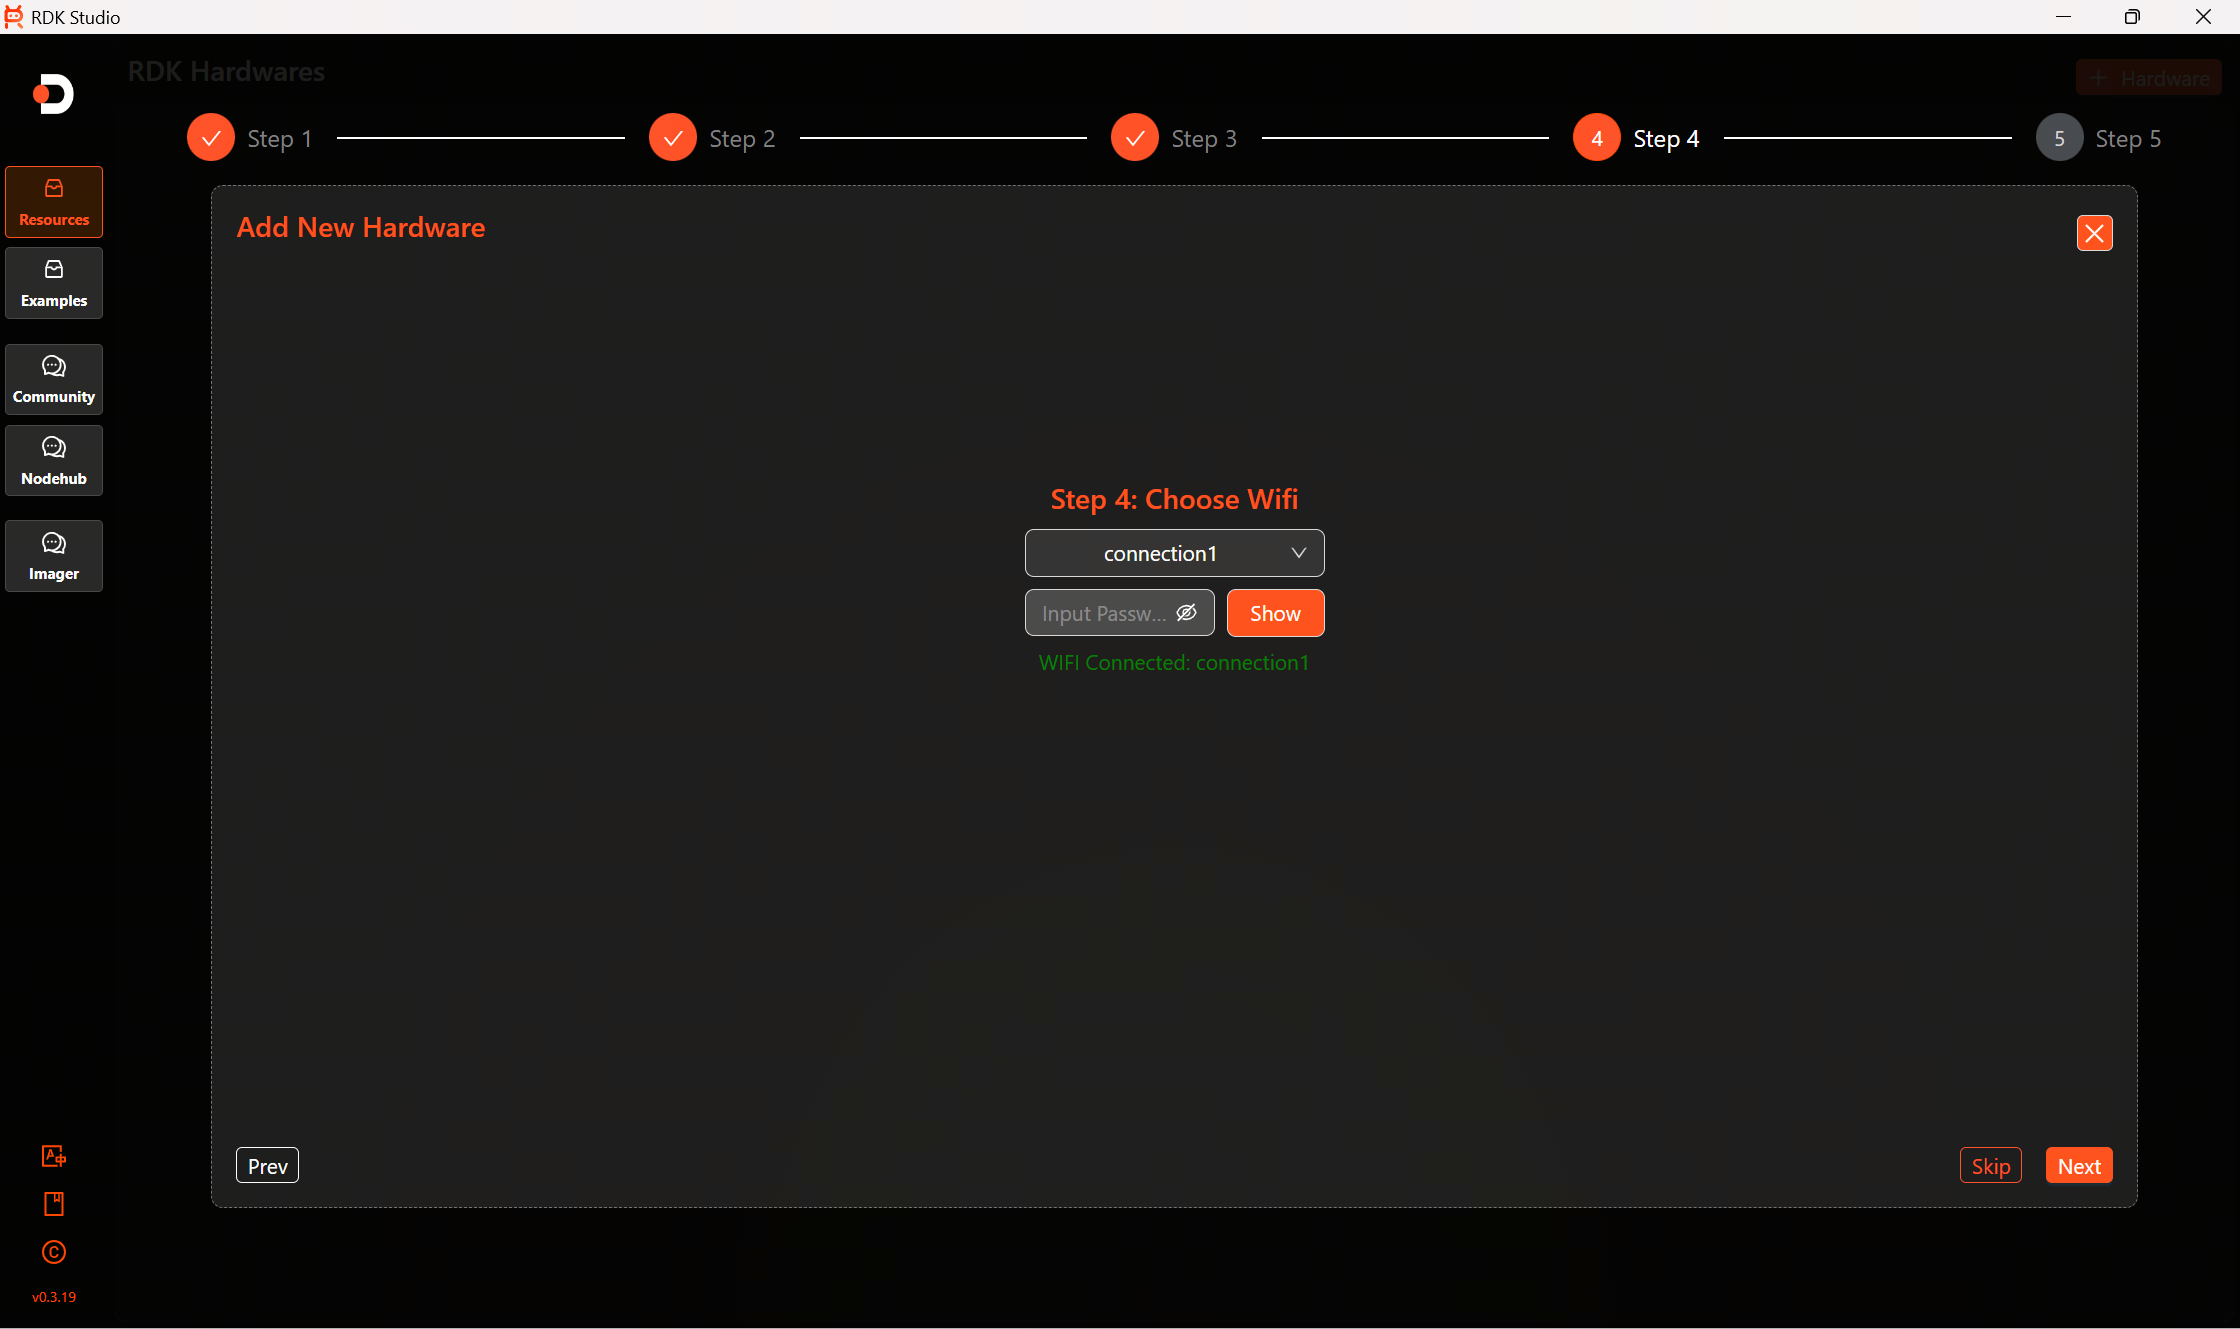
Click
Nextto enter the WIFI wireless network connection interface to connect the RDK device to a network. Expand the option list, select the desired network, and enter the password.warningIf you choose "Network Cable (Setting WIFI)" to add the device, ensure that the laptop and the RDK device are connected to the same local area network.
-
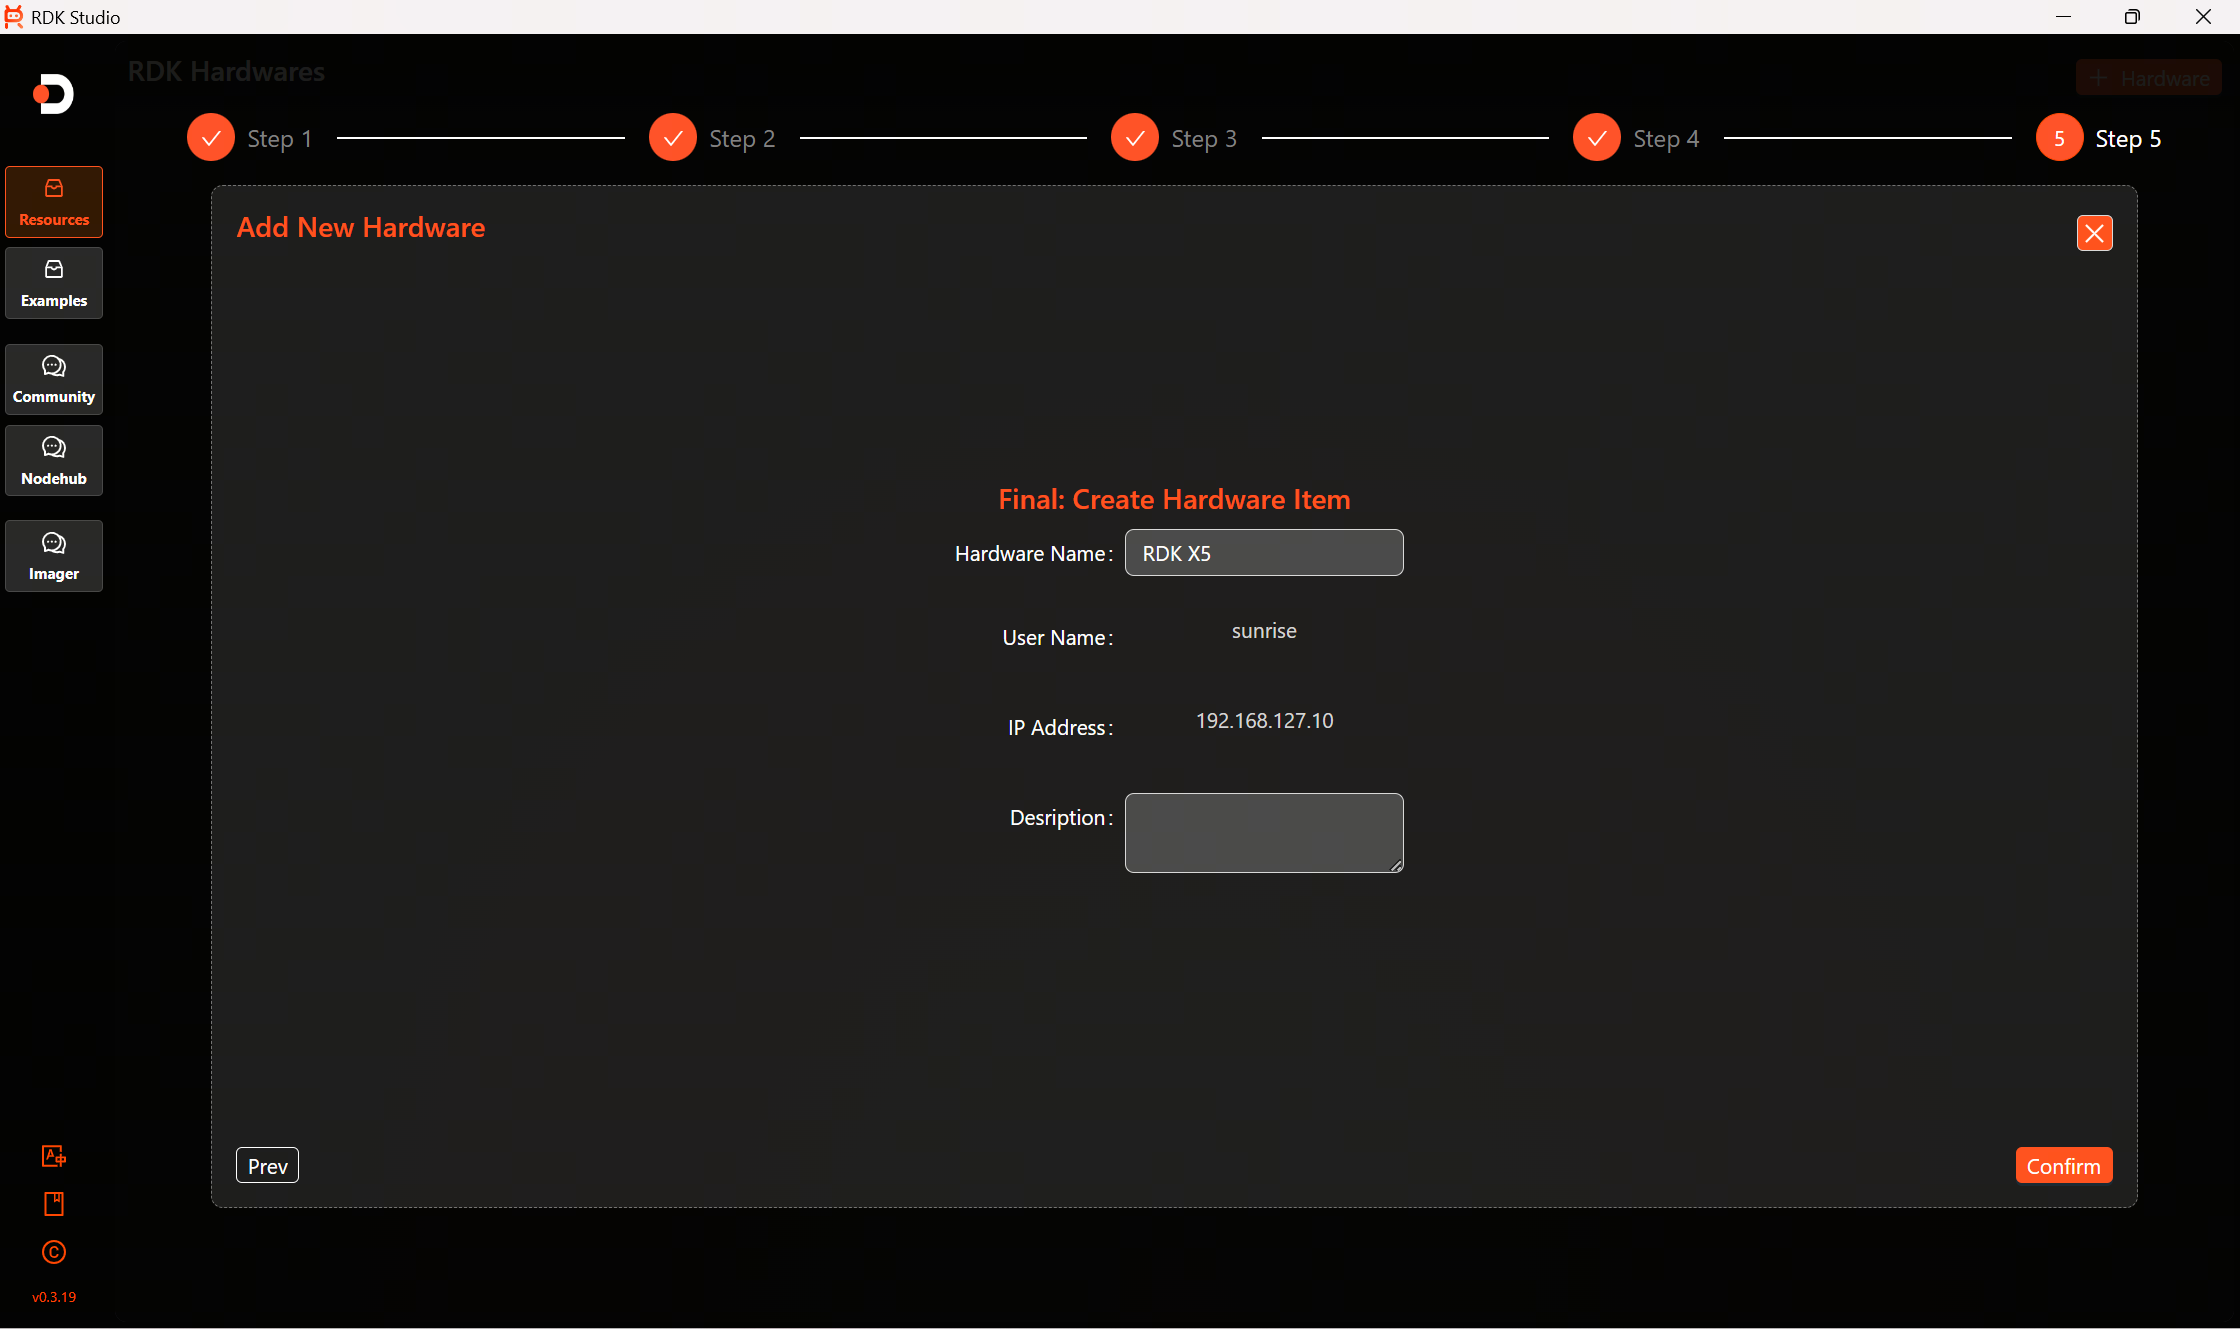
Click
Nextto enter the Create RDK Device Entry interface. Fill in the device name and description.TipThe device name and description filled in here will appear on the device card after successful addition. In the case of adding multiple devices, they can be distinguished by name.
-
Click
Confirmto successfully add the RDK device. The device card and information will be displayed on the list page.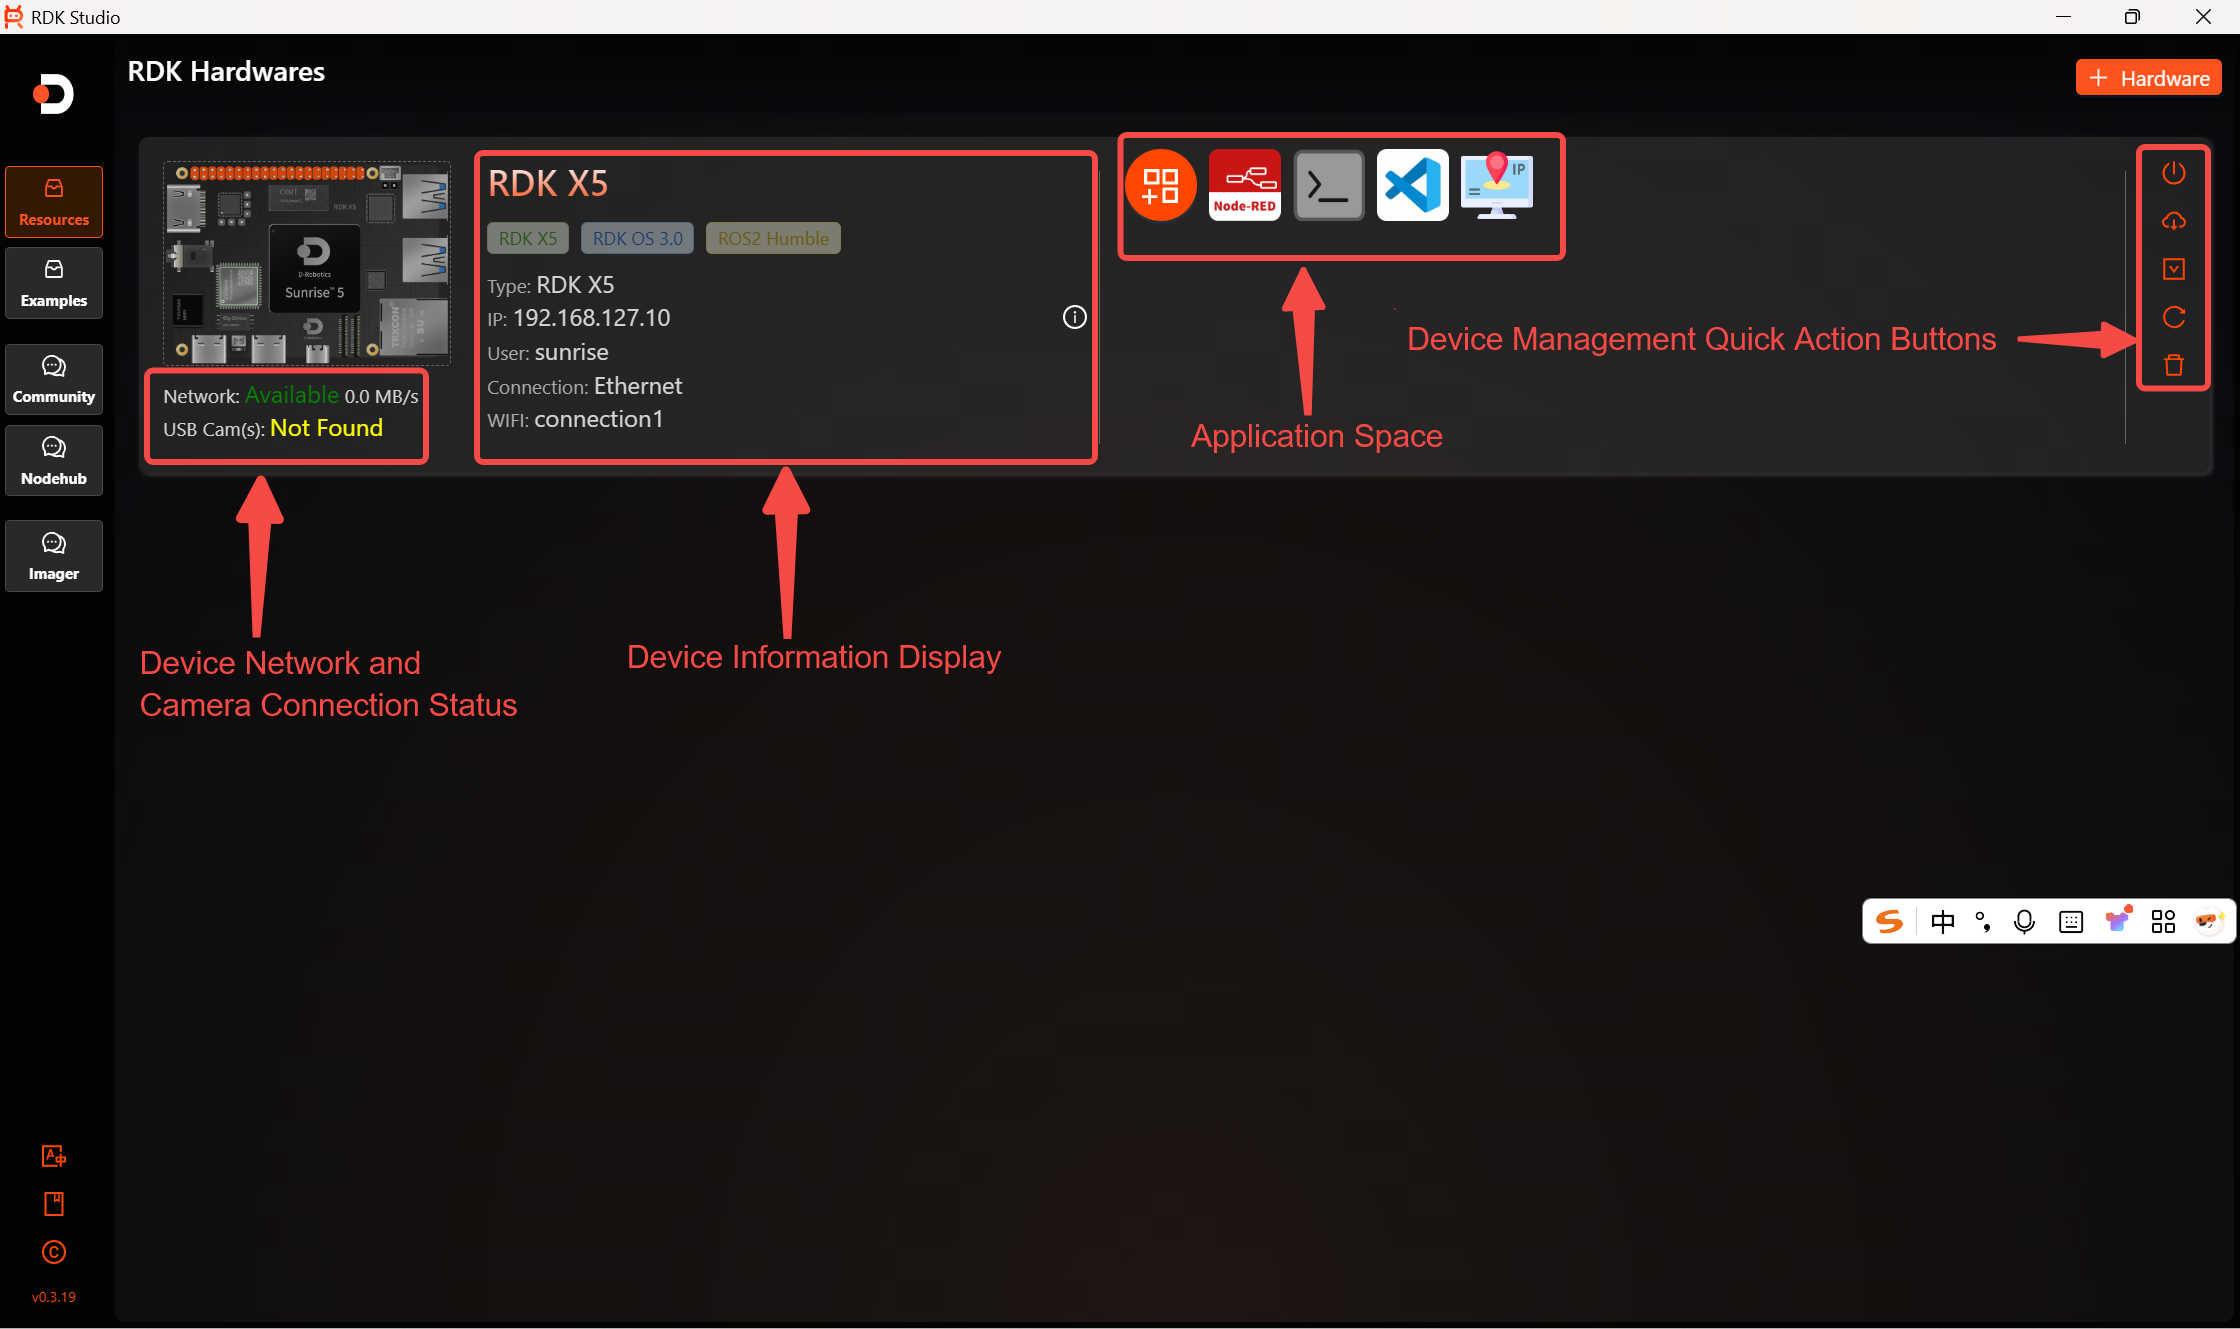 Tip
TipBecause connecting to WIFI takes time, "WIFI not found" may be briefly displayed upon completion of device addition. Wait a moment and refresh the card.
The RDK Studio Windows system is now officially released. Linux and macOS users, please hold tight—our developers are typing away as fast as they can!