1.9.4 Flashing the System
- Windows
- macOS
- The RDK Studio supports burning using both a card reader and quicklink method. Among these, the quicklink method uses a USB 2.0 interface and has a slower burning speed. Therefore, using the card reader method is recommended for a faster burning experience.
- If your storage device has already completed the system flashing process, you can skip this chapter and proceed directly to Adding an RDK Device.
Flashing Preparation
-
Prepare a Micro SD card with at least 16GB capacity and an SD card reader. Connect the Micro SD card to your computer using the card reader.
-
Click
Imagerto open the RDK System Installation Tool. A prompt will indicate that the system installation function requires opening RDK Studio with administrator privileges.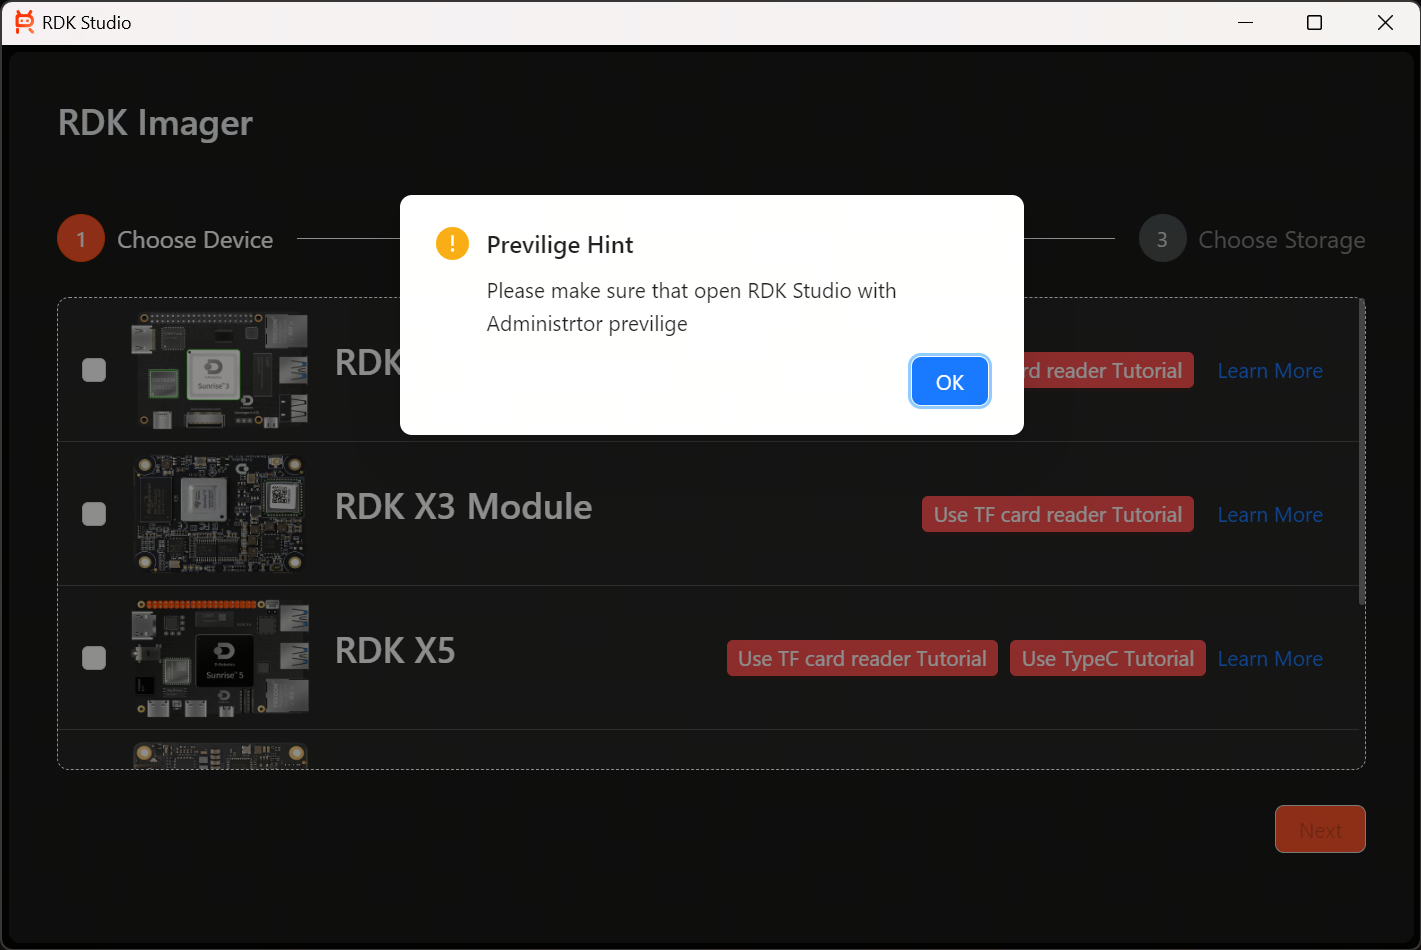
-
Click
OKto close the pop-up. If RDK Studio is not currently opened with administrator privileges, close RDK Studio first. Return to the desktop, right-click on the RDK Studio application icon, selectRun as administrator, open RDK Studio, and then enter the flashing function interface again.
Selecting a Local Existing Image for Flashing
There are two methods for flashing the system: "Using Local Image" and "Downloading Image Online". If you have not downloaded the target image file to your local machine, please skip this section and go directly to Selecting and Flashing via RDK Studio Downloaded Image.
-
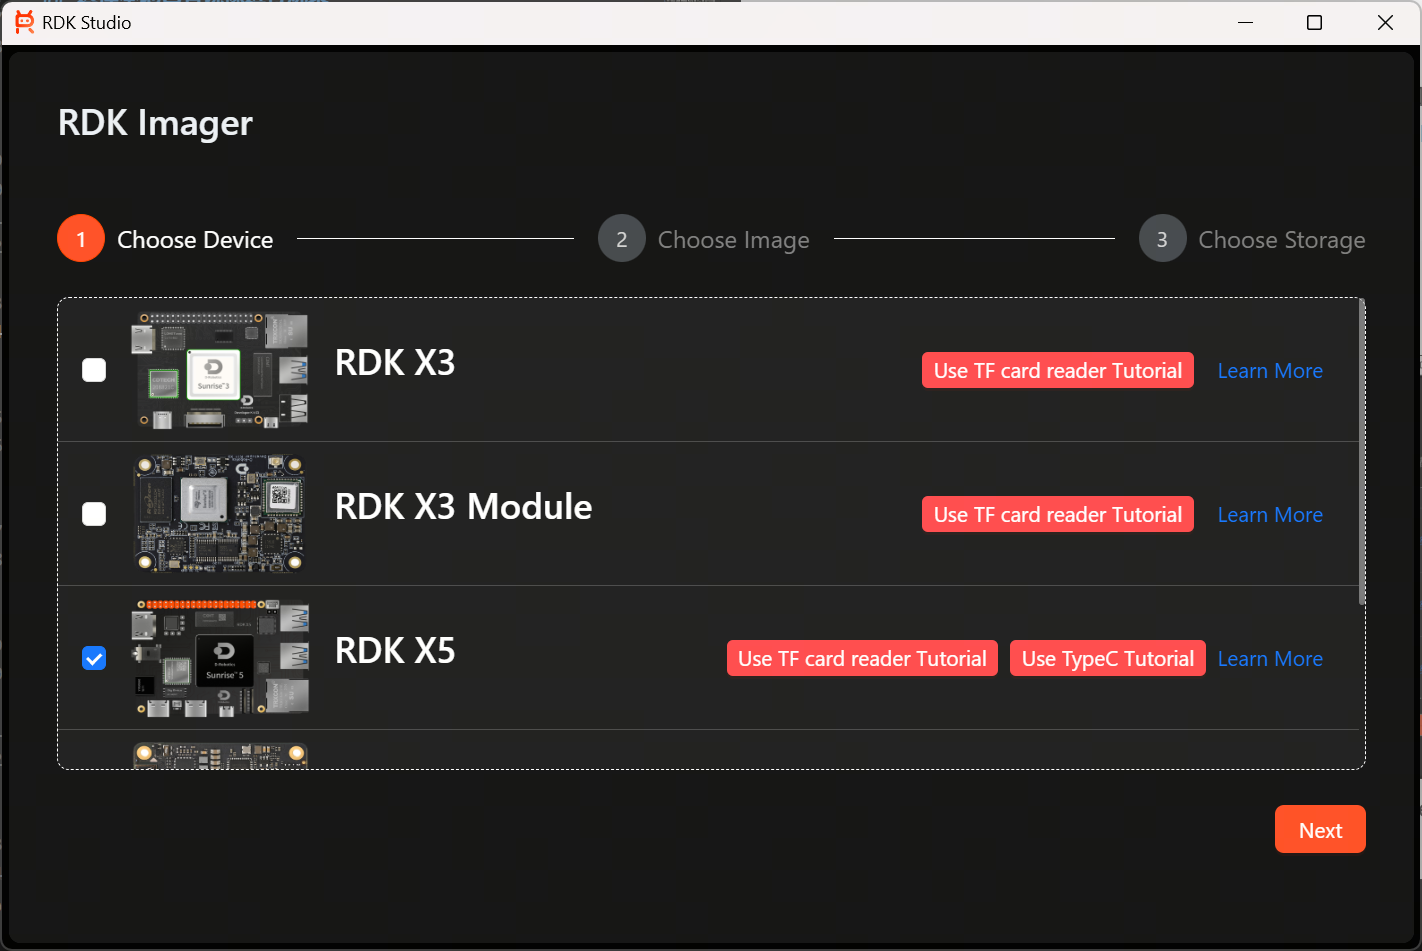
On the Select RDK Device interface, choose the device type for which you want to install the system. This chapter uses installing the RDK X5 system as an example.
-
The system installation methods are divided into "Using TF Card Reader" and "Using Flash Connect (Type-C)". Click the corresponding red buttons to view the device connection tutorials; click
Learn Moreto jump to a webpage for more information about RDK devices.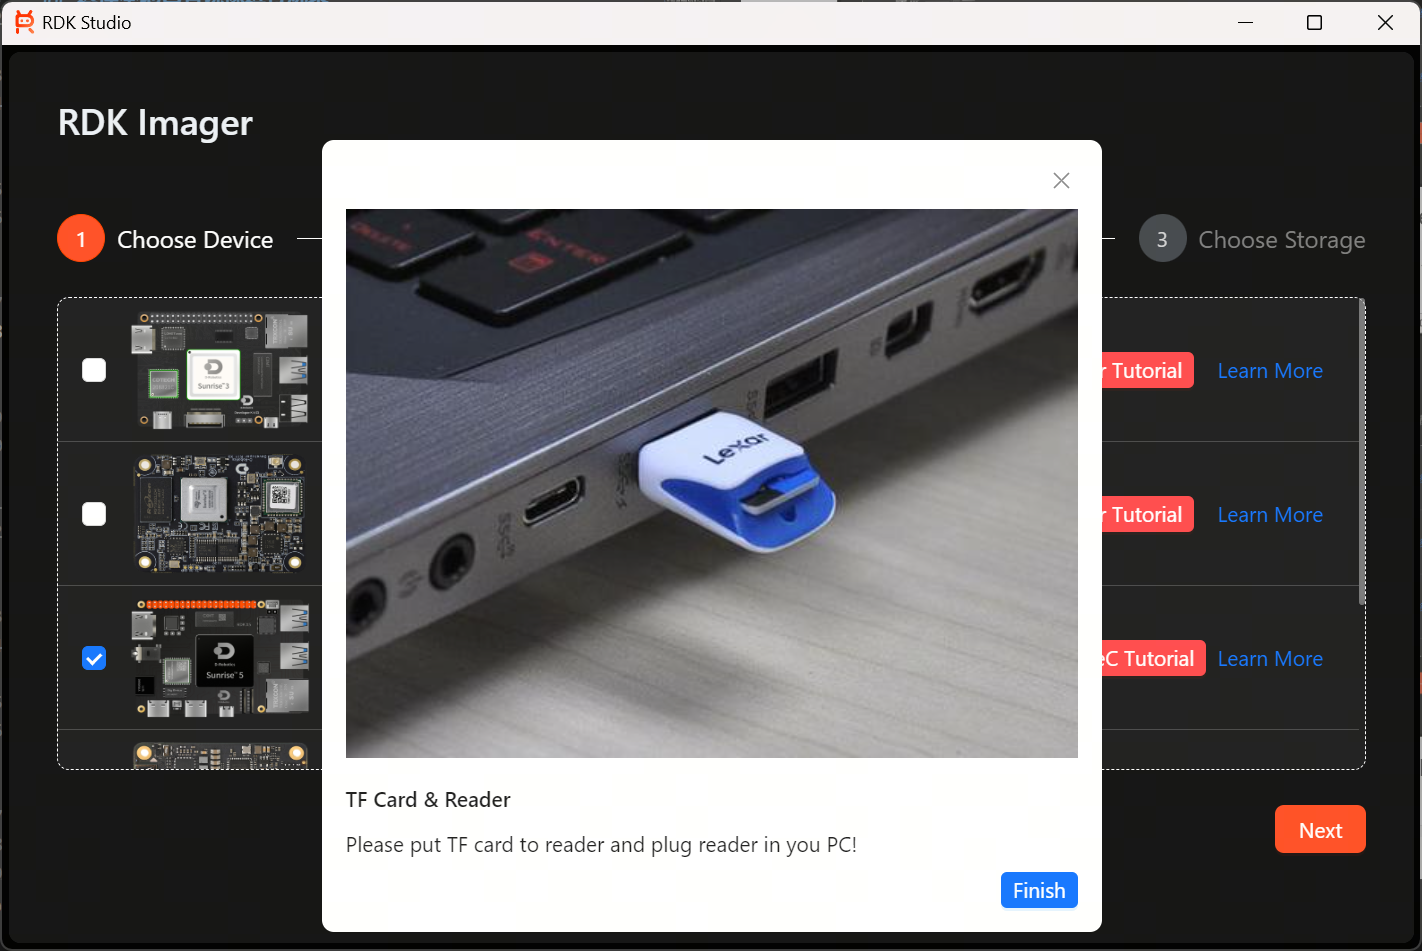
-
Click
Finishto close the tutorial window. ClickNextto enter the interface for selecting the RDK operating system image.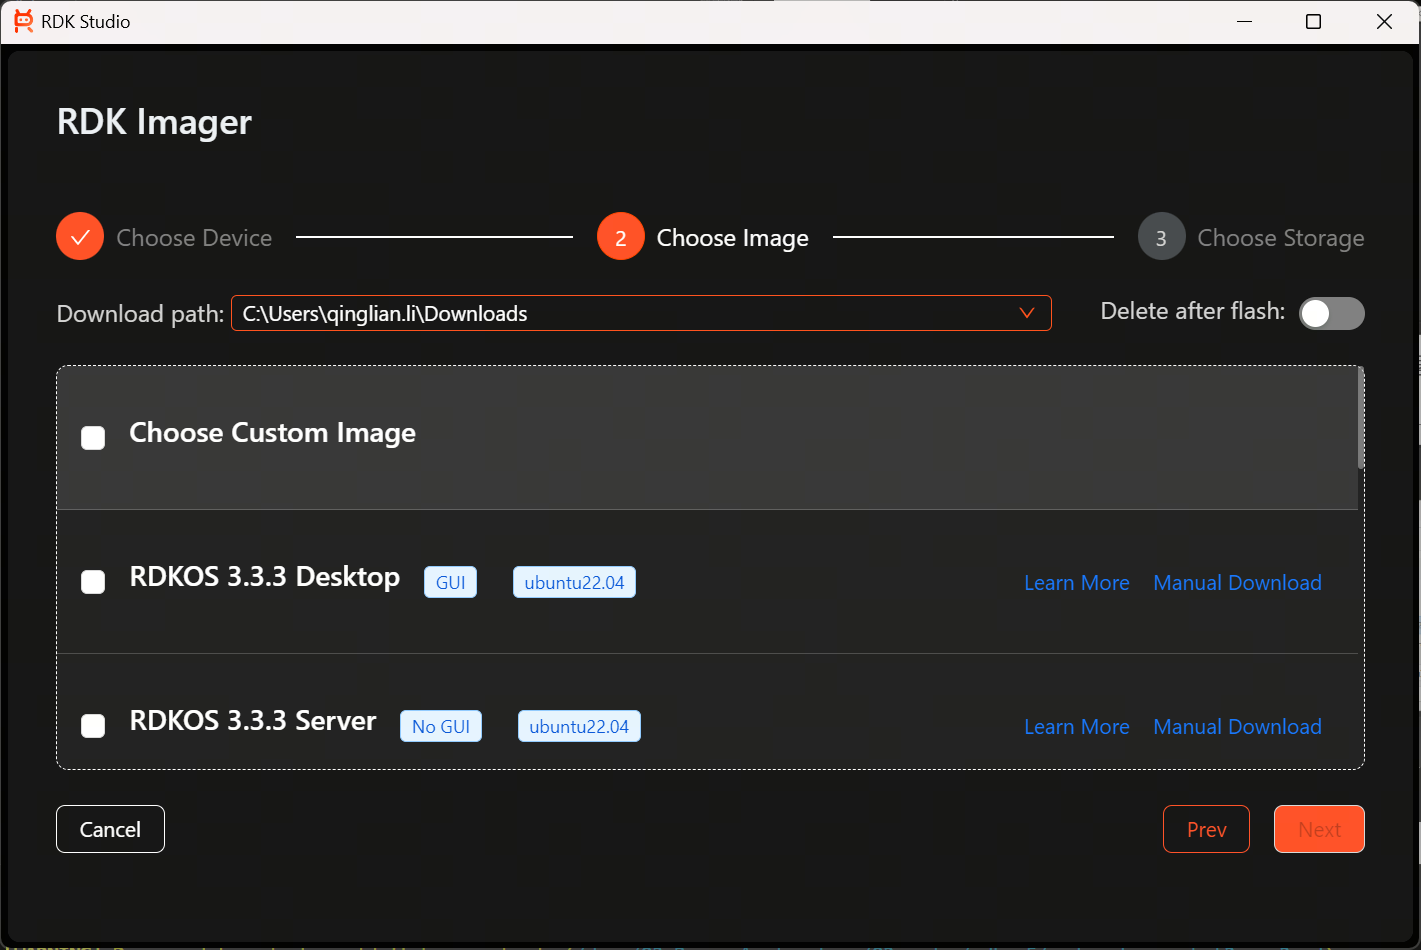
-
Click
Choose custom image. The file explorer will open automatically. Navigate to the storage path of the image file and double-click to confirm the selection.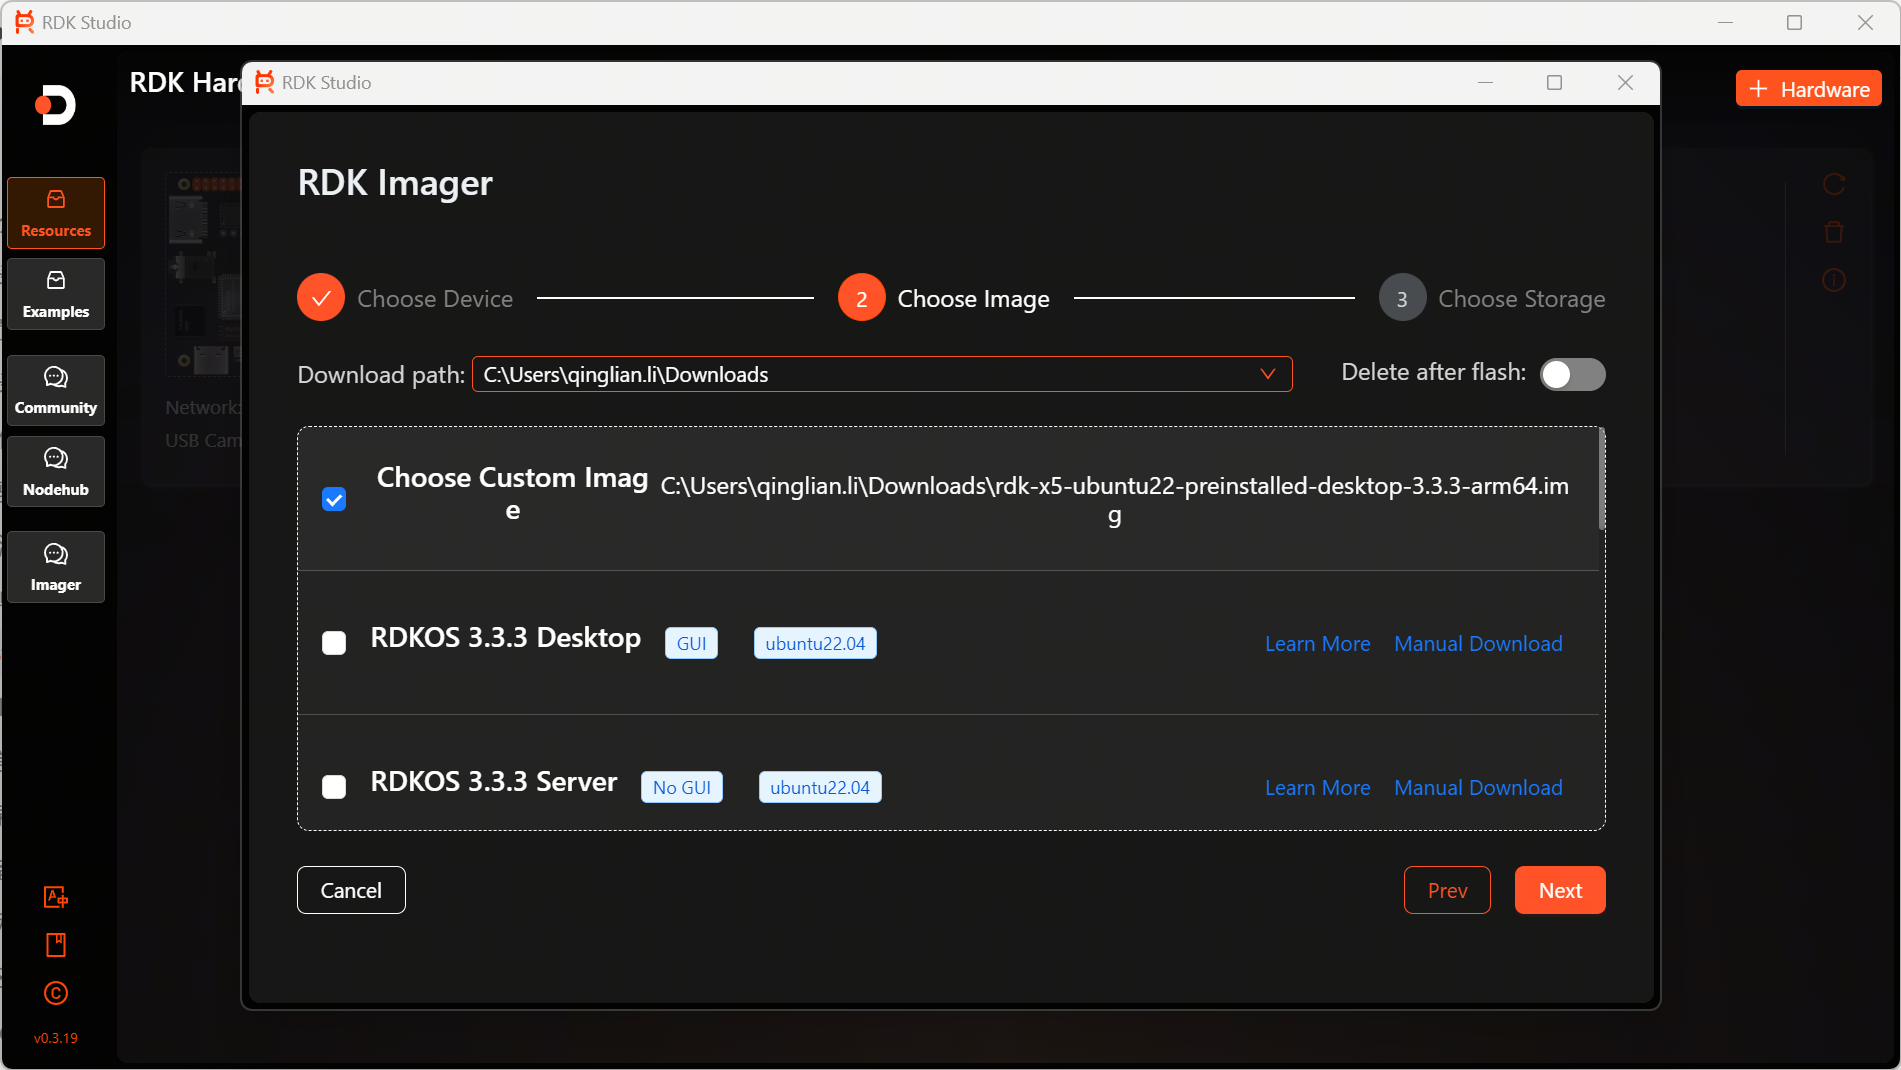
-
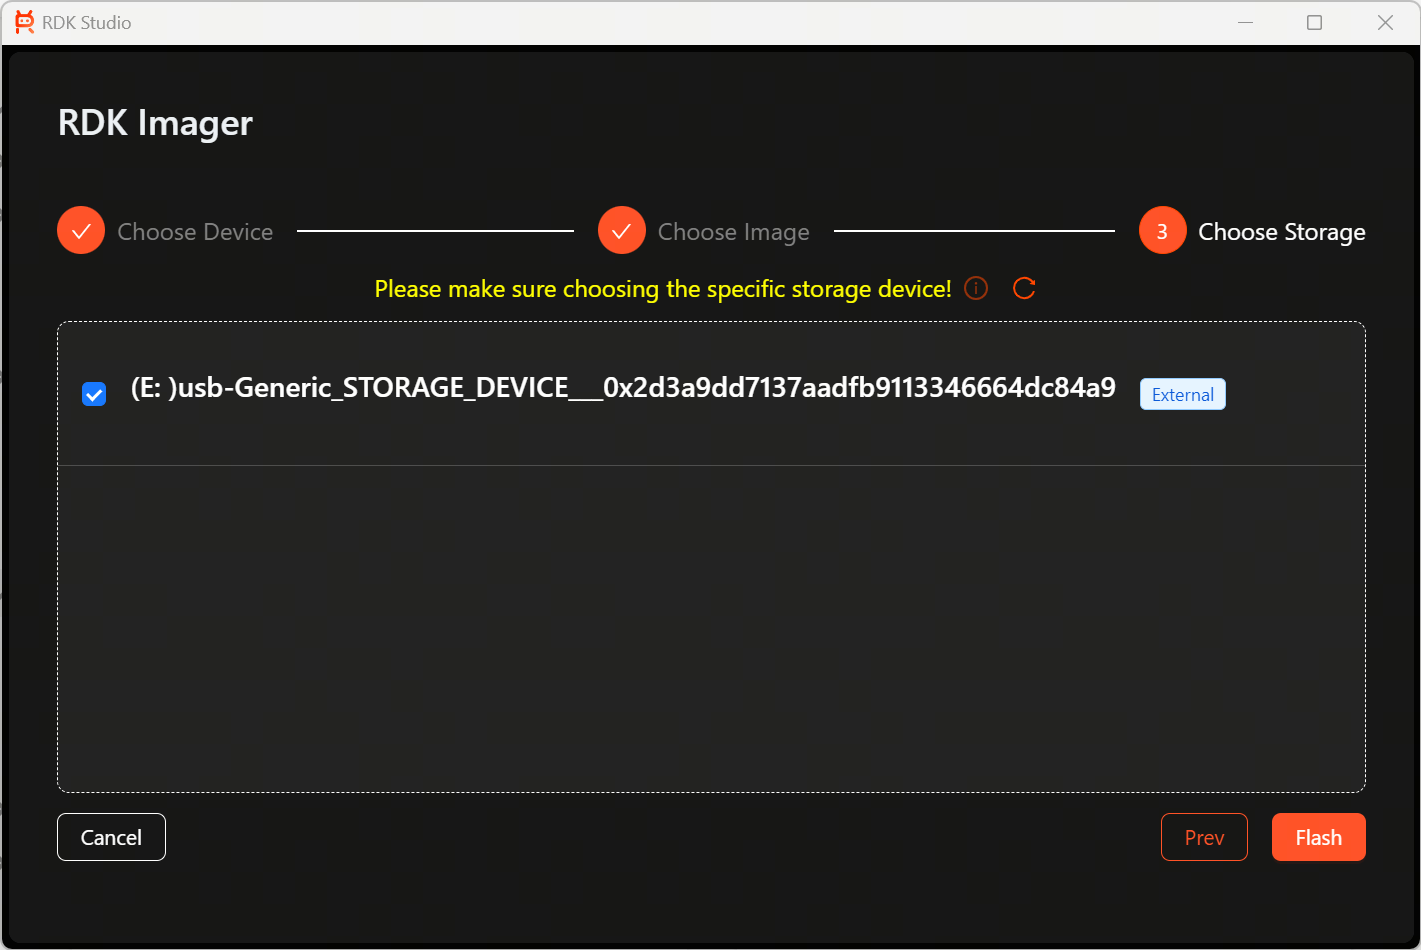
Click
Nextto enter the Select Storage Device interface. Check the correct storage device and clickFlash.warning- You can identify the storage device here using the following method: Unplug the storage device and click the refresh button to see which device option disappears from the list; then reconnect the storage device, click the refresh button, and select the storage device that changes (appears/disappears) with the plug/unplug operation.
- When burning an RDK device to eMMC or an onboard SD card, you can perform the burning by [mapping the boot medium as a USB drive]. During the burning process, in the "Select storage device" step, be sure to choose the USB drive mapped from the boot medium.
- Flashing the system will erase all data on the storage device. Please ensure you select the correct storage device!
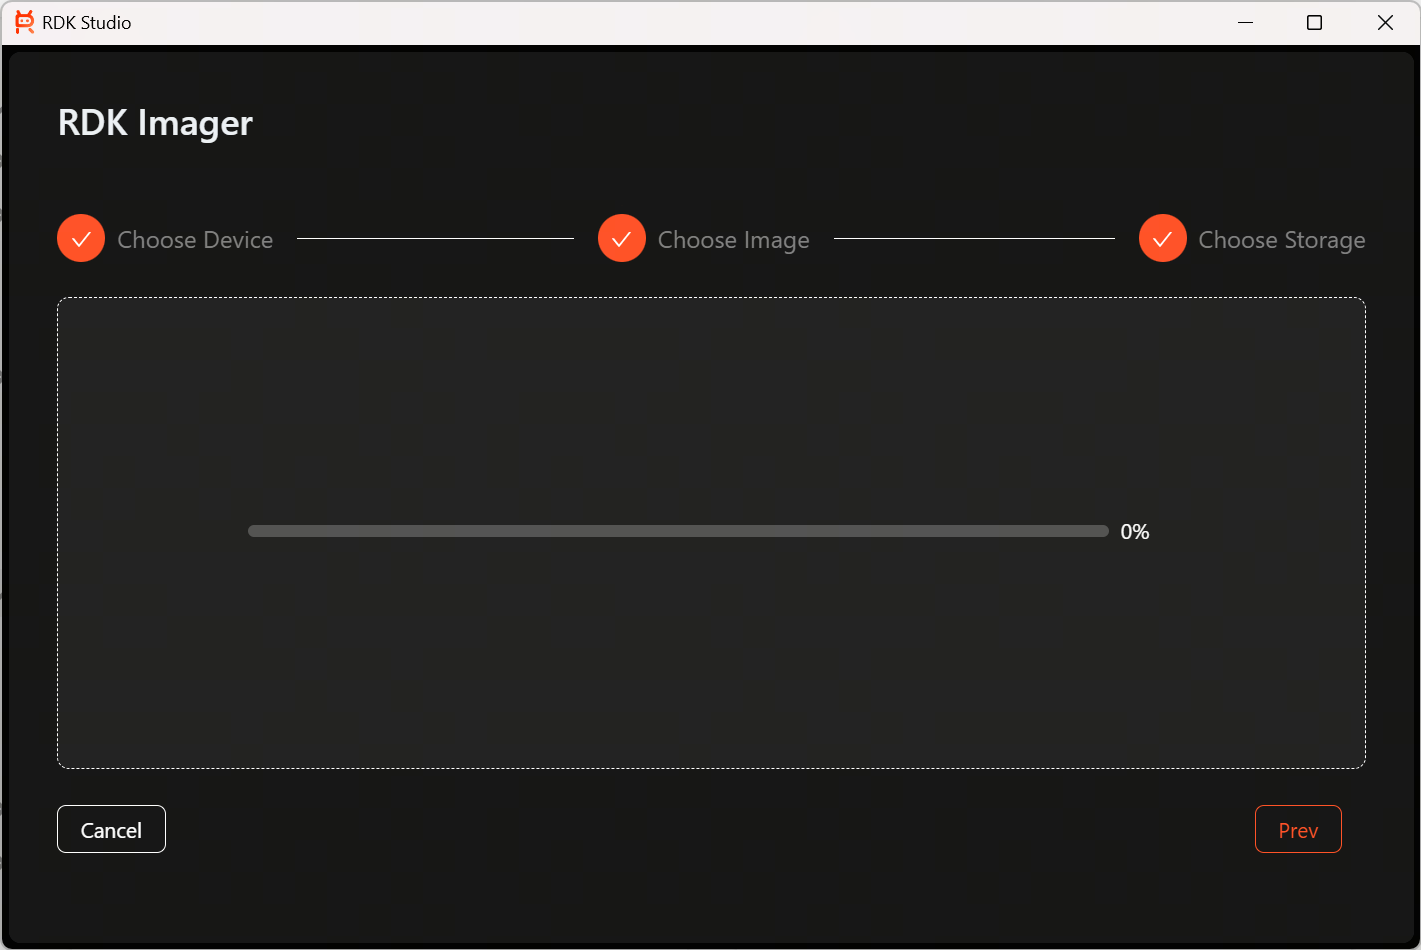
-
The system flashing begins.
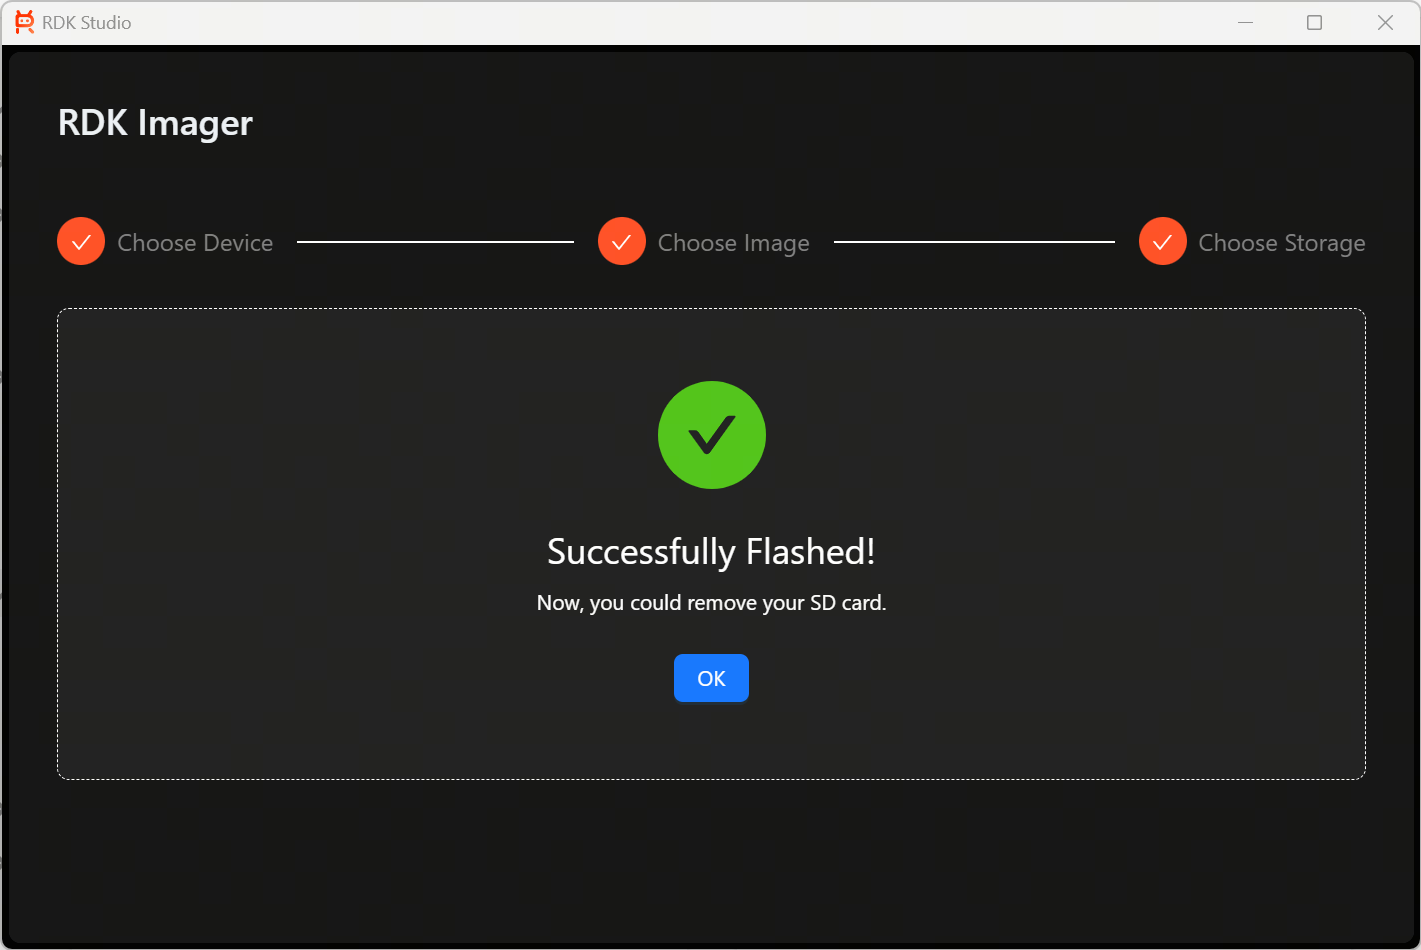
-
Upon successful flashing, a completion prompt is shown.
Selecting and Flashing via RDK Studio Downloaded Image
If you already have the target image locally, please go directly to Selecting a Local Existing Image for Flashing. Downloading an image file with the same name again via RDK Studio will result in an error!
-
On the Select RDK Device interface, choose the device type for which you want to install the system. This chapter uses installing the RDK X5 system as an example.
-
The system installation methods are divided into "Using TF Card Reader" and "Using Flash Connect (Type-C)". Click the corresponding red buttons to view the device connection tutorials; click
Learn Moreto jump to a webpage for more information about RDK devices. -
Click
Finishto close the tutorial window. ClickNextto enter the interface for selecting the RDK operating system image.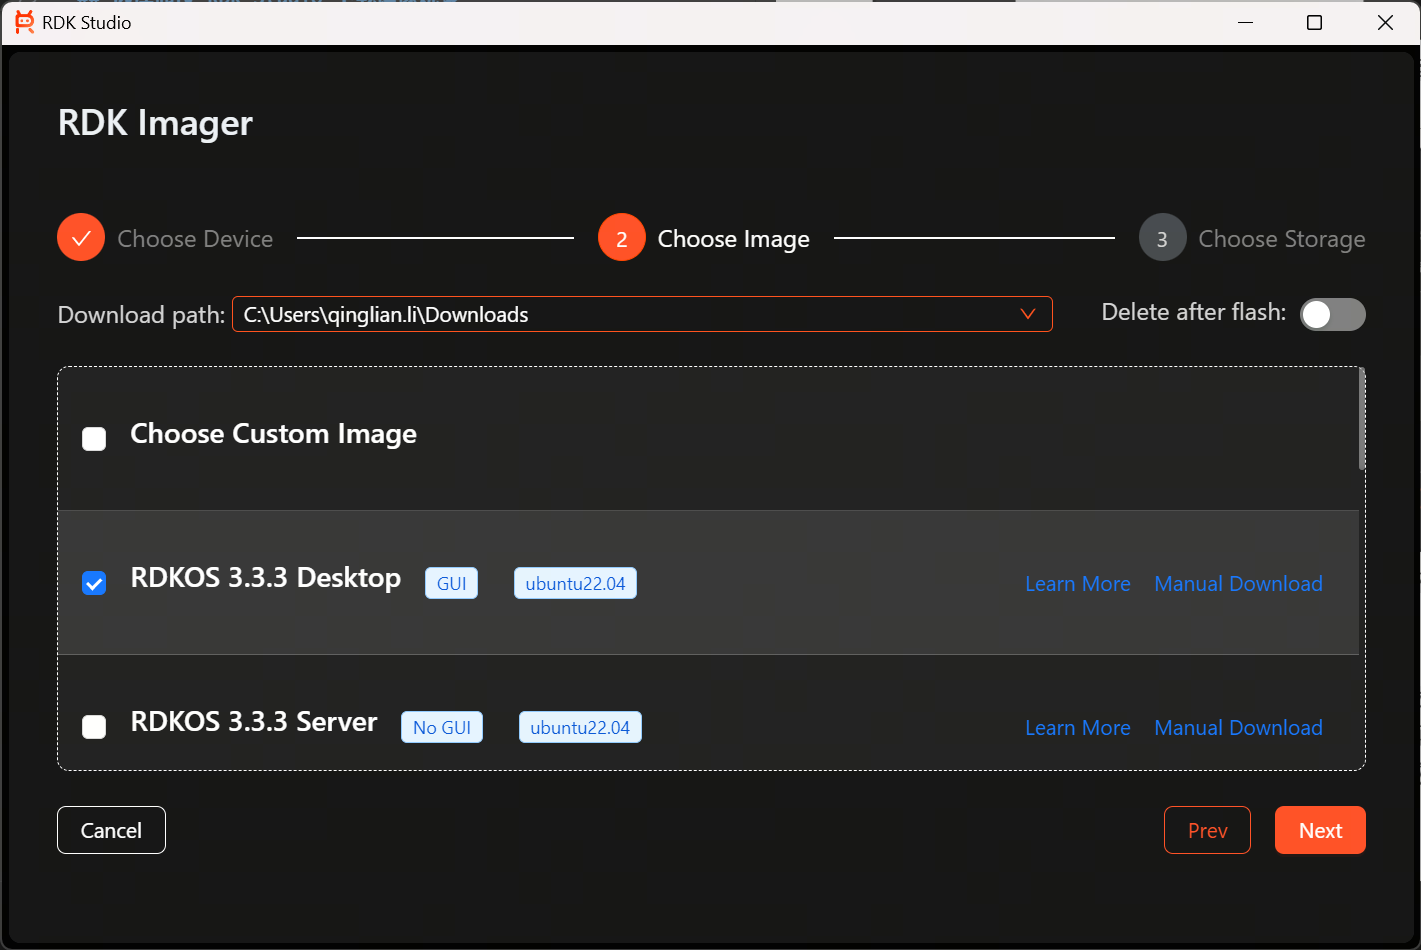
-
Select the image version you want to install, click
Next, enter the Select Storage Device interface, check the correct storage device, and clickFlash.warning- You can identify the storage device here using the following method: Unplug the storage device and click the refresh button to see which device option disappears from the list; then reconnect the storage device, click the refresh button, and select the storage device that changes (appears/disappears) with the plug/unplug operation.
- When burning an RDK device to eMMC or an onboard SD card, you can perform the burning by [mapping the boot medium as a USB drive]. During the burning process, in the "Select storage device" step, be sure to choose the USB drive mapped from the boot medium.
- Flashing the system will erase all data on the storage device. Please ensure you select the correct storage device!
-
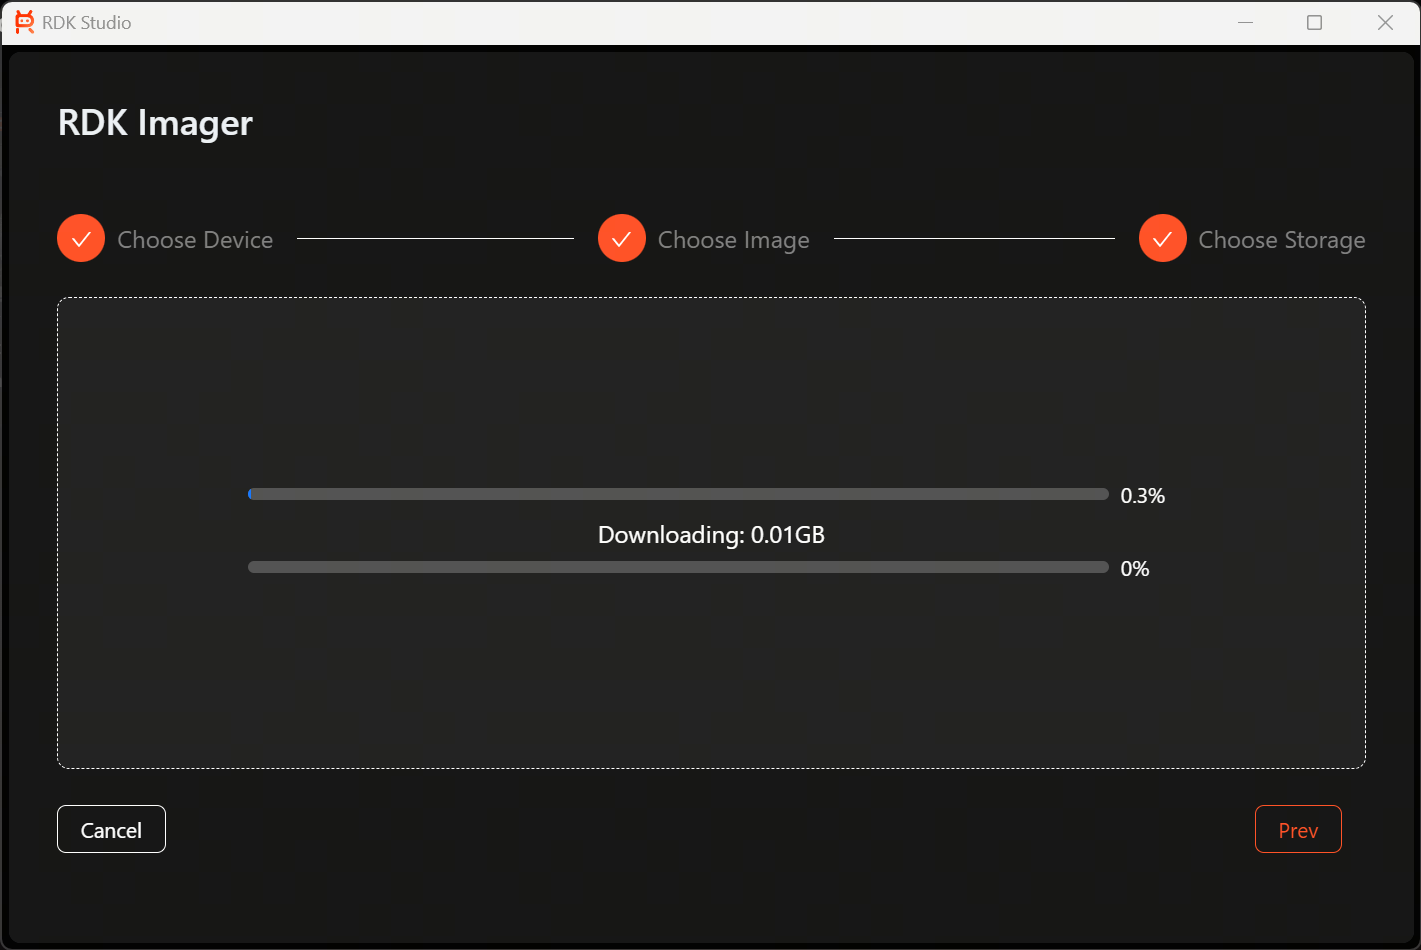
The system image download begins.
-
The download process requires some waiting time. Once the image download is complete, the system flashing will start automatically. Upon successful completion, an installation finished prompt is shown.
For those using macOS, please wait a moment as the documentation is being rapidly prepared.