MIPI Camera Sample
Introduction
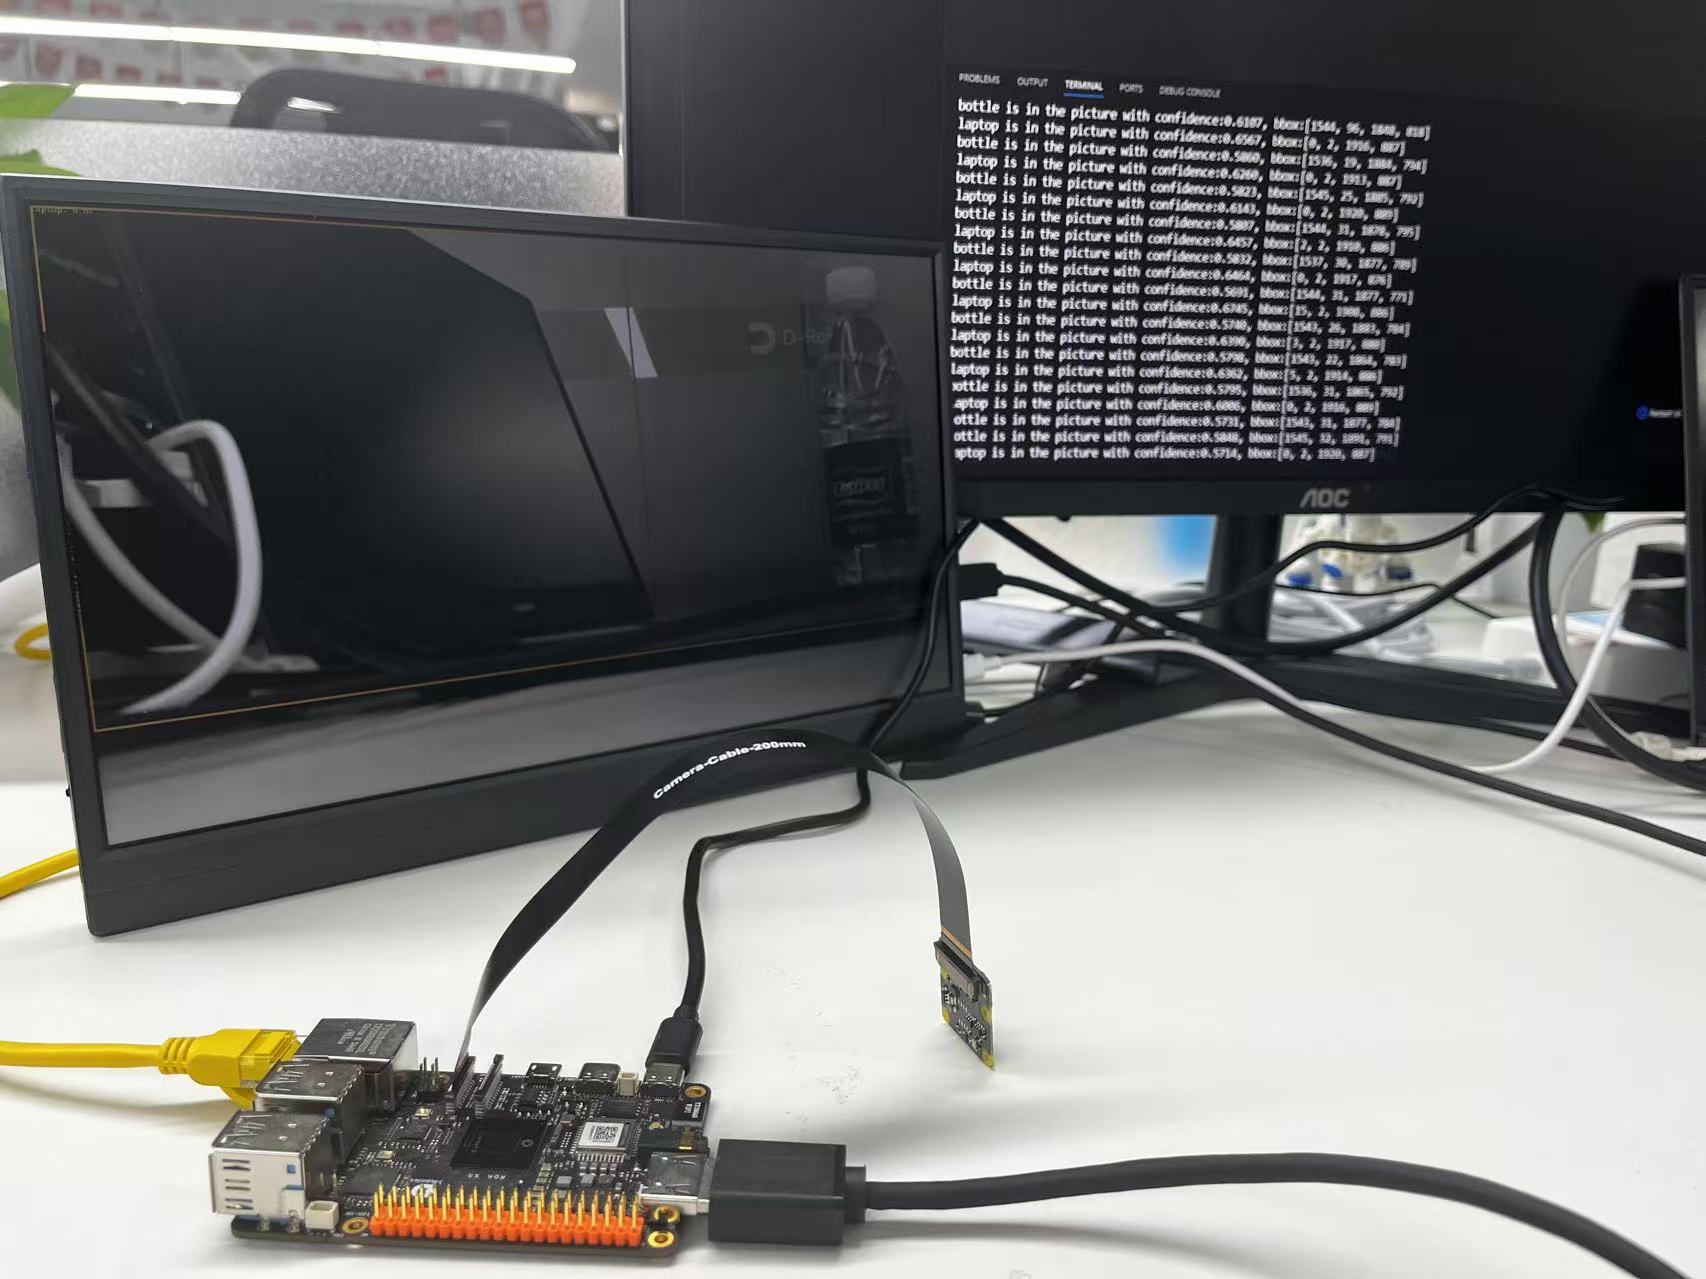
The MIPI camera sample is a Python API example under /app/pydev_demo/03_mipi_camera_sample that shows how to use the on-board MIPI camera for real-time object detection. It runs an FCOS model on the live stream and draws results on HDMI while printing boxes and FPS.
Demo
Hardware setup
Connections
- One RDK board
- Official compatible MIPI camera
- HDMI cable to a display
- Power and Ethernet

Quick start
Code location on device
The sample file is /app/pydev_demo/03_mipi_camera_sample/mipi_camera.py.
Build and run
Python samples do not require compilation; run directly.
Sample output
After start, the program initializes the MIPI camera and HDMI, runs real-time detection, draws on HDMI, and prints detections and FPS in the console.
Details
Command-line options
No arguments are required; the on-board MIPI camera is detected automatically.
Software architecture
- Load the FCOS model
- Initialize the MIPI camera with
srcampy.Camera() - Initialize HDMI display
- Bind camera output to display
- Real-time loop: grab frame → infer → post-process → draw → print FPS

API flow

FAQ
Q: Camera initialization fails.
A: Check the MIPI connection and drivers; reboot if needed.
Q: No or bad HDMI output.
A: Check HDMI and stop the desktop manager if required (systemctl stop lightdm).
Q: How to change the score threshold?
A: Edit fcos_postprocess_info.score_threshold (e.g. 0.5).
Q: How to change display resolution?
A: Adjust sensor_width / sensor_height if the monitor supports it.
Q: Low FPS.
A: Try a lighter model or lower capture resolution.
Q: How to save result images?
A: Add saving logic such as cv2.imwrite().
Q: How to add classes?
A: Update get_classes() and use a model trained for those classes.