5.4.5 Car Gesture Control
Feature Overview
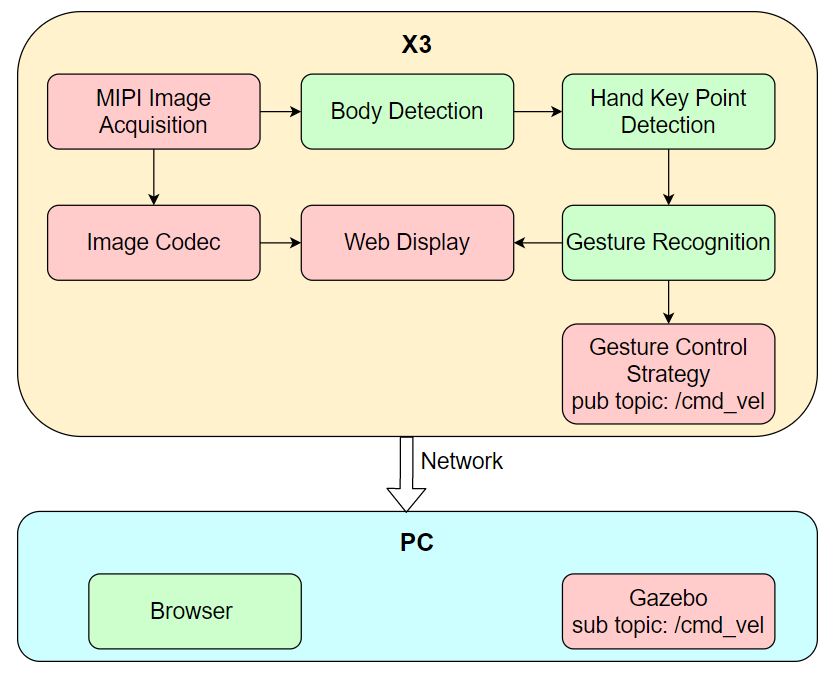
The Car Gesture Control app enables controlling a robot car's movement through hand gestures, including left/right rotation and forward/backward translation. The app consists of the following modules: MIPI image acquisition, human detection and tracking, hand keypoint detection, gesture recognition, gesture control strategy, image encoding/decoding, and a web-based visualization interface. The workflow is illustrated in the diagram below:
Supported control gestures, their corresponding functions, and example gestures are listed below:
| Control Gesture | Gesture Function | Example Gesture |
|---|---|---|
| "666" Gesture / Awesome | Move Forward | 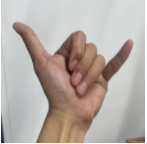 |
| Yeah / Victory | Move Backward | 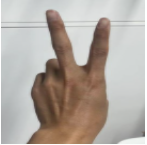 |
| Thumb Right | Turn Right | 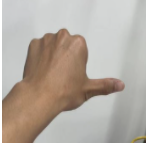 |
| Thumb Left | Turn Left | 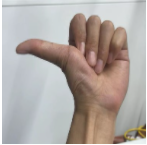 |
This app uses a virtual robot car in the Gazebo simulation environment on a PC as an example. The published control commands can also be directly applied to control a physical robot car.
Code repository: (https://github.com/D-Robotics/gesture_control)
Supported Platforms
| Platform | Runtime Environment | Example Functionality |
|---|---|---|
| RDK X3, RDK X3 Module | Ubuntu 20.04 (Foxy), Ubuntu 22.04 (Humble) | Launch MIPI/USB camera to capture images, perform gesture recognition and control, and visualize results in Gazebo |
| RDK X5, RDK X5 Module | Ubuntu 22.04 (Humble) | Launch MIPI/USB camera to capture images, perform gesture recognition and control, and visualize results in Gazebo |
| RDK Ultra | Ubuntu 20.04 (Foxy) | Launch MIPI/USB camera to capture images, perform gesture recognition and control, and visualize results in Gazebo |
Prerequisites
RDK Platform
- RDK has been flashed with Ubuntu 20.04 or Ubuntu 22.04 system image.
- TogetherROS.Bot has been successfully installed on the RDK.
- An MIPI or USB camera has been installed on the RDK.
- A PC on the same network segment as the RDK (either wired or connected to the same Wi-Fi; the first three segments of the IP address must match). The PC must have the following environment installed:
- Foxy
- Humble
- Ubuntu 20.04 system and ROS 2 Foxy Desktop
- Gazebo and Turtlebot3-related packages. Installation commands:
sudo apt-get install ros-foxy-gazebo-*
sudo apt install ros-foxy-turtlebot3
sudo apt install ros-foxy-turtlebot3-simulations
- Ubuntu 22.04 system and ROS 2 Humble Desktop
- Gazebo and Turtlebot3-related packages. Installation commands:
sudo apt-get install ros-humble-gazebo-*
sudo apt install ros-humble-turtlebot3
sudo apt install ros-humble-turtlebot3-simulations
Usage Instructions
RDK Platform
After launching the Car Gesture Control app, use the following gestures to control the robot car:
- "666 Gesture / Awesome" → Move forward
- "Yeah / Victory" → Move backward
- "Thumb Right" → Turn right
- "Thumb Left" → Turn left
Note: Turning left/right refers to rotating toward the user’s left/right direction (i.e., the direction indicated by the thumb).
After the app starts, you can view the images published by the sensor and corresponding algorithm results rendered in a web browser on your PC by navigating to http://IP:8000 (replace "IP" with the RDK’s actual IP address).
Launch the simulation environment on the PC:
- Foxy
- Humble
source /opt/ros/foxy/setup.bash
source /opt/ros/humble/setup.bash
export TURTLEBOT3_MODEL=burger
ros2 launch turtlebot3_gazebo empty_world.launch.py
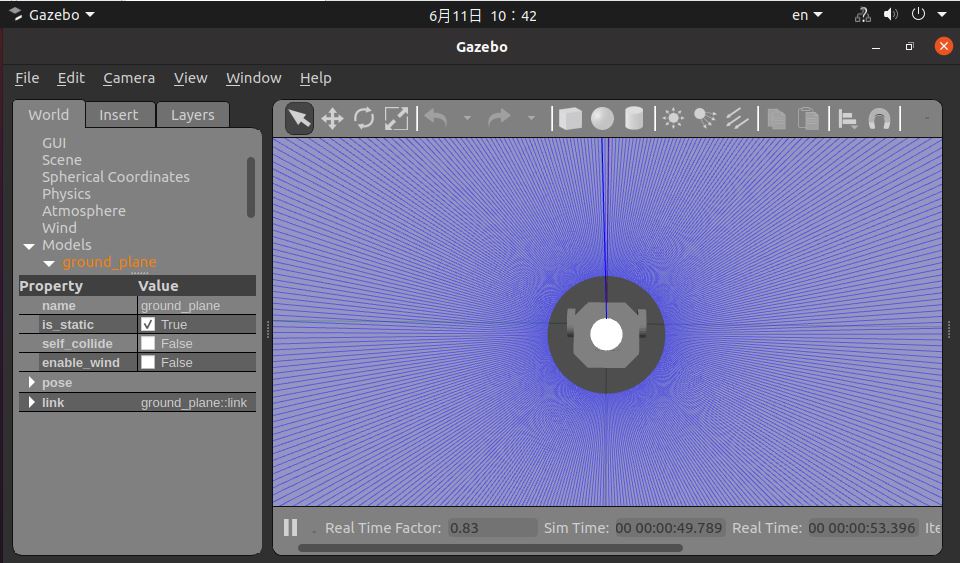
After successful launch, the simulated robot car appears as follows in Gazebo:
Publish images using an MIPI camera
- Foxy
- Humble
# Configure the TogetherROS.Bot environment
source /opt/tros/setup.bash

# Copy required configuration files for running the example from the TogetherROS.Bot installation path.
cp -r /opt/tros/${TROS_DISTRO}/lib/mono2d_body_detection/config/ .
cp -r /opt/tros/${TROS_DISTRO}/lib/hand_lmk_detection/config/ .
cp -r /opt/tros/${TROS_DISTRO}/lib/hand_gesture_detection/config/ .

# Configure MIPI camera
export CAM_TYPE=mipi

# Launch the launch file
ros2 launch gesture_control gesture_control.launch.py
# Configure the TogetherROS.Bot environment
source /opt/tros/humble/setup.bash

# Copy required configuration files for running the example from the TogetherROS.Bot installation path.
cp -r /opt/tros/${TROS_DISTRO}/lib/mono2d_body_detection/config/ .
cp -r /opt/tros/${TROS_DISTRO}/lib/hand_lmk_detection/config/ .
cp -r /opt/tros/${TROS_DISTRO}/lib/hand_gesture_detection/config/ .

# Configure MIPI camera
export CAM_TYPE=mipi

# Launch the launch file
ros2 launch gesture_control gesture_control.launch.py
Publish images using a USB camera
- Foxy
- Humble
# Configure the TogetherROS.Bot environment
source /opt/tros/setup.bash

# Copy required configuration files for running the example from the TogetherROS.Bot installation path.
cp -r /opt/tros/${TROS_DISTRO}/lib/mono2d_body_detection/config/ .
cp -r /opt/tros/${TROS_DISTRO}/lib/hand_lmk_detection/config/ .
cp -r /opt/tros/${TROS_DISTRO}/lib/hand_gesture_detection/config/ .

# Configure USB camera
export CAM_TYPE=usb

# Launch the launch file
ros2 launch gesture_control gesture_control.launch.py
# Configure the TogetherROS.Bot environment
source /opt/tros/humble/setup.bash

# Copy required configuration files for running the example from the TogetherROS.Bot installation path.
cp -r /opt/tros/${TROS_DISTRO}/lib/mono2d_body_detection/config/ .
cp -r /opt/tros/${TROS_DISTRO}/lib/hand_lmk_detection/config/ .
cp -r /opt/tros/${TROS_DISTRO}/lib/hand_gesture_detection/config/ .

# Configure USB camera
export CAM_TYPE=usb

# Launch the launch file
ros2 launch gesture_control gesture_control.launch.py
Result Analysis
The RDK runtime terminal outputs the following information:
[gesture_control-7] [WARN] [1652965757.159500951] [GestureControlEngine]: frame_ts_ms: 3698315358, track_id: 2, tracking_sta: 1, gesture: 14
[gesture_control-7] [WARN] [1652965757.159660358] [GestureControlEngine]: do move, direction: 0, step: 0.500000
[gesture_control-7] [WARN] [1652965757.211420964] [GestureControlEngine]: frame_ts_ms: 3698315425, track_id: 2, tracking_sta: 1, gesture: 14
[gesture_control-7] [WARN] [1652965757.211624899] [GestureControlEngine]: do move, direction: 0, step: 0.500000
[gesture_control-7] [WARN] [1652965757.232051230] [GestureControlEngine]: frame_ts_ms: 3698315457, track_id: 2, tracking_sta: 1, gesture: 14
[gesture_control-7] [WARN] [1652965757.232207513] [GestureControlEngine]: do move, direction: 0, step: 0.500000
The log above captures a segment of processing results where the robot car is controlled via hand gestures. Here, tracking_sta value of 1 indicates that the system is in gesture control mode, while a tracking_sta value of 0 means a gesture has been recognized.
Starting from the timestamp frame_ts_ms: 3698315358, the robot car is controlled using the "666" gesture (gesture: 14) to move forward at a speed of 0.5 m/s (do move, direction: 0, step: 0.500000).
On the PC side, you can use the command ros2 topic list in the terminal to query the topics published by the RDK:
$ ros2 topic list
/camera_info
/cmd_vel
/hbmem_img04054242060426080500012020112713
/hobot_hand_gesture_detection
/hobot_hand_lmk_detection
/hobot_mono2d_body_detection
/image
/parameter_events
/rosout
Among these:
/imageis the JPEG-encoded image published by the RDK after capturing from the MIPI sensor./hobot_hand_gesture_detectionis the algorithm message published by the RDK containing hand gesture recognition results./cmd_velis the motion control command published by the RDK.
On the PC side, you can use the command ros2 topic echo /cmd_vel in the terminal to view the motion control commands published by the RDK:
linear:
  x: -0.5
  y: 0.0
  z: 0.0
angular:
  x: 0.0
  y: 0.0
  z: 0.0
---
linear:
  x: 0.0
  y: 0.0
  z: 0.0
angular:
  x: 0.0
  y: 0.0
  z: -0.5
---
In the PC-side simulation environment, the robot car moves according to the hand gestures. The simulated motion effect is shown below: