1.2.1.4 FAQ
Issues Encountered When Using Ubuntu Laptop
Q1. Serial port garbled when connecting the development board to an Ubuntu laptop
- Download the official serial driver CH340N Driver
- Modify
ch341_tty_driver->name = "ttyUSB"; - Recompile and install the driver
Q2. Driver installation required for Ubuntu 24.04
- Run the following script
#!/bin/bash

set -e

echo "[INFO] Updating APT package list..."
sudo apt update

echo "[INFO] Installing required packages..."
sudo apt install -y dfu-util libusb-1.0-0-dev

echo "[INFO] Writing udev rules to /etc/udev/rules.d/99-drobotics.rules..."

sudo tee /etc/udev/rules.d/99-drobotics.rules > /dev/null <<EOF
SUBSYSTEM=="usb", ATTR{idVendor}=="3652", ATTR{idProduct}=="6610", MODE="0666"
SUBSYSTEM=="usb", ATTR{idVendor}=="3652", ATTR{idProduct}=="6615", MODE="0666"
SUBSYSTEM=="usb", ATTR{idVendor}=="3652", ATTR{idProduct}=="6620", MODE="0666"
SUBSYSTEM=="usb", ATTR{idVendor}=="3652", ATTR{idProduct}=="6625", MODE="0666"
SUBSYSTEM=="usb", ATTR{idVendor}=="18d1", ATTR{idProduct}=="6631", MODE="0666"
SUBSYSTEM=="tty", ATTRS{idVendor}=="1a86", ATTRS{idProduct}=="7523", MODE="0666"
EOF

echo "[INFO] Reloading and triggering udev rules..."
sudo udevadm control --reload
sudo udevadm trigger

echo "[INFO] Setup complete. Please replug your devices or reboot if necessary."
- Or execute the following commands sequentially
# Update APT sources
sudo apt update

# Install DFU tools and libusb
sudo apt install -y dfu-util libusb-1.0-0-dev

# Set permissions for the development board interface
sudo tee /etc/udev/rules.d/99-drobotics.rules > /dev/null <<EOF
SUBSYSTEM=="usb", ATTR{idVendor}=="3652", ATTR{idProduct}=="6610", MODE="0666"
SUBSYSTEM=="usb", ATTR{idVendor}=="3652", ATTR{idProduct}=="6615", MODE="0666"
SUBSYSTEM=="usb", ATTR{idVendor}=="3652", ATTR{idProduct}=="6620", MODE="0666"
SUBSYSTEM=="usb", ATTR{idVendor}=="3652", ATTR{idProduct}=="6625", MODE="0666"
SUBSYSTEM=="usb", ATTR{idVendor}=="18d1", ATTR{idProduct}=="6631", MODE="0666"
SUBSYSTEM=="tty", ATTRS{idVendor}=="1a86", ATTRS{idProduct}=="7523", MODE="0666"
EOF

# Reload udev
sudo udevadm control --reload
sudo udevadm trigger
- Use a Type-C cable to connect the computer to the Type-C port on the development board (near the DC power connector)
- Click to download the latest
Xburntool - Install and launch the
Xburnflashing tool.
Serial Port Garbled When Using MacOS Laptop
Taking MacOS version 15.0 (M3 chip) as an example, the default serial driver on MacOS may cause garbled output when connecting to CH340N at a baud rate of 921600. The latest CH340N driver needs to be installed. Follow these steps:
-
The default CH340N driver displays the connected device as
tty.usbserial*, indicating the default MacOS serial driver is in use. An update is required:
-
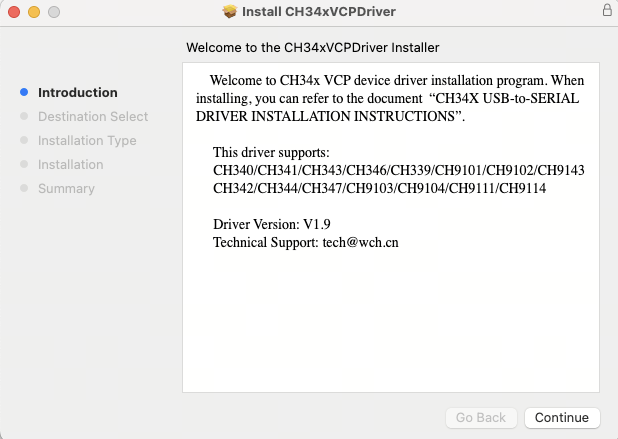
Installation process: (The following steps are based on the README.md document on the CH340N latest driver release page)
- Click to download the compressed package on the CH340N latest driver release page
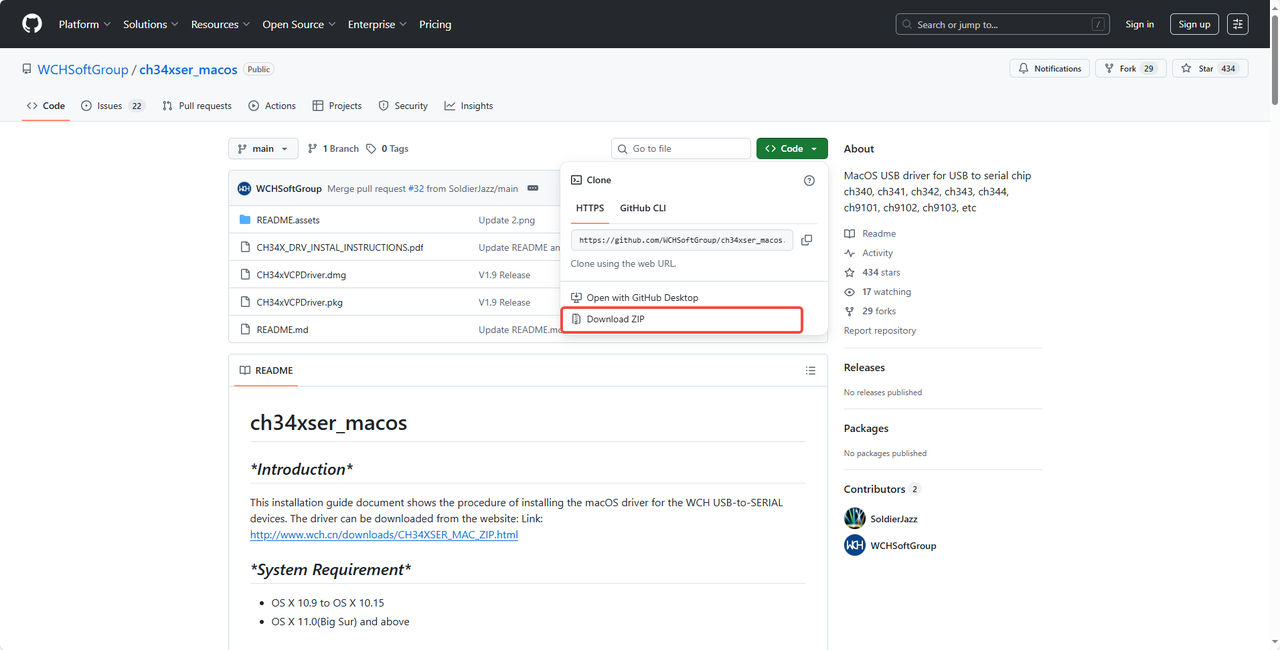
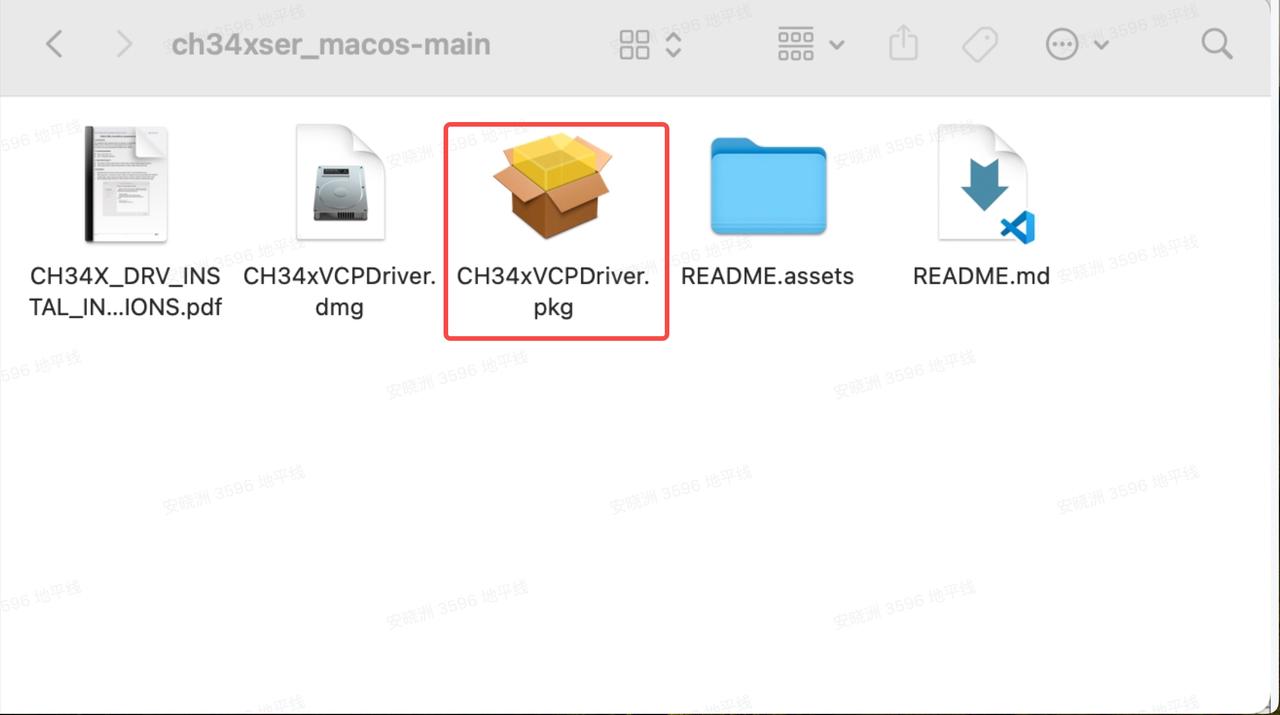
- Unzip and install the driver using the pkg package
- Click Continue
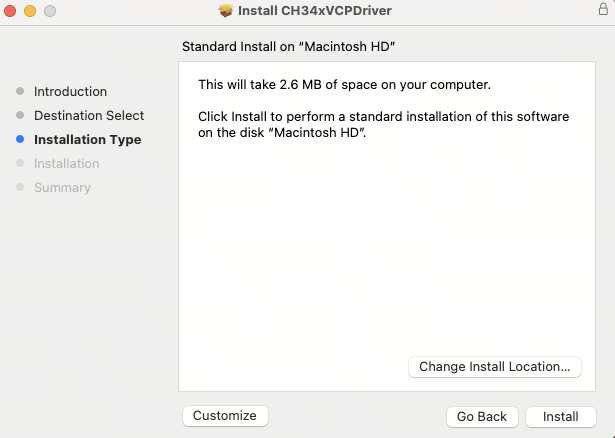
- Click Install and enter the password
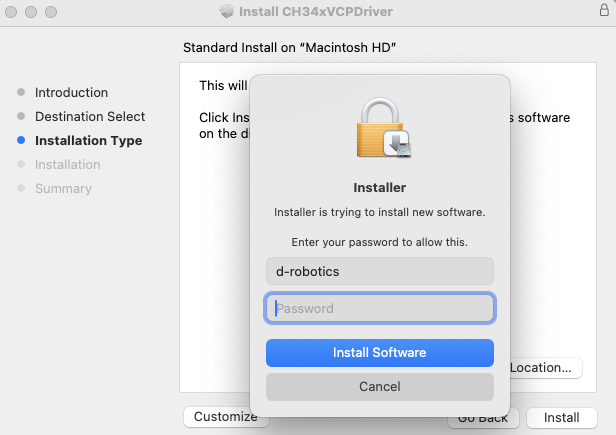
- Click Install and open System Settings

- Authorize permission and enter the password

- A pop-up window shows successful installation

- Restart the computer
- Check if the installation was successful. Recognizing
tty.wch*indicates the driver was installed successfully
- Click to download the compressed package on the CH340N latest driver release page
-
Connect the device to verify
NoteThe latest official CH340N driver still does not support communication at 921600 baud rate using the MacOS built-in
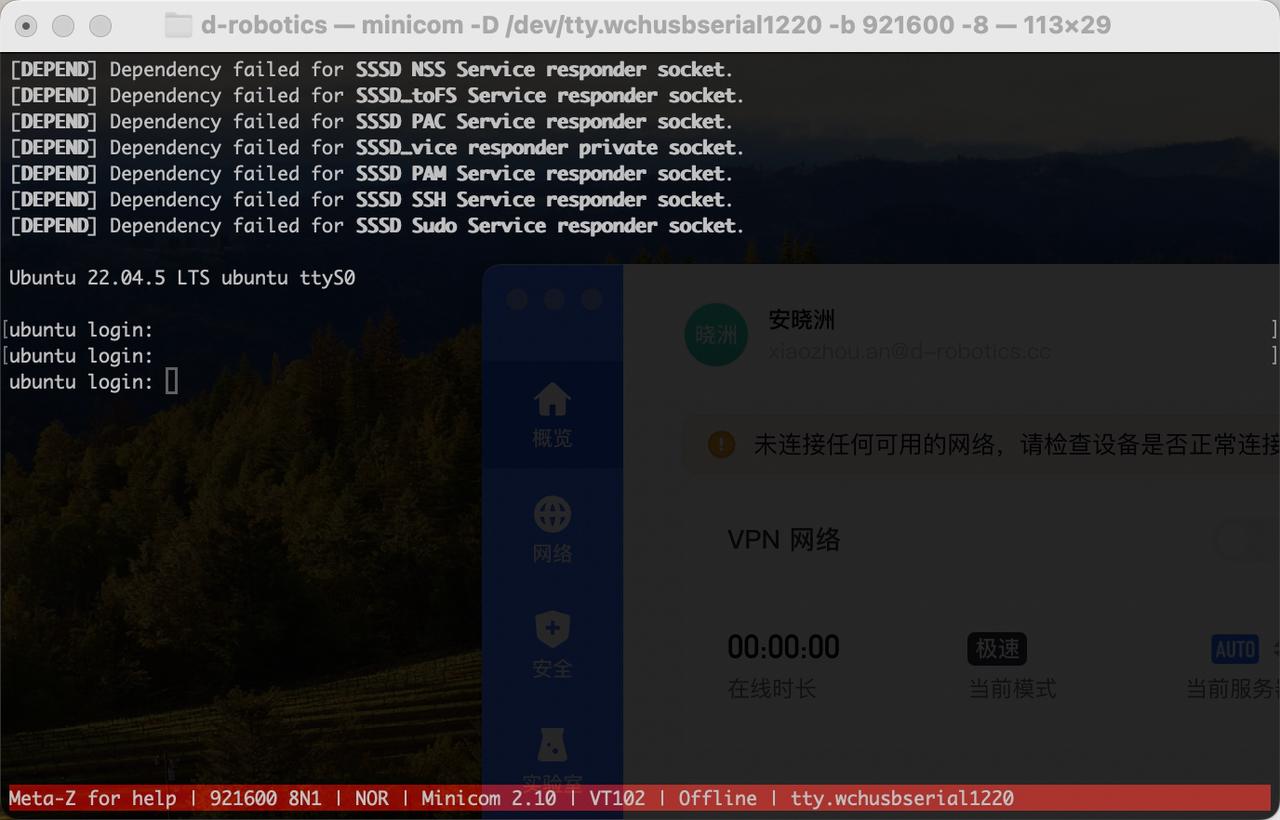
screentool. Please use theminicomtool.- Using the image above as an example, generally the smaller number corresponds to the ACore serial port, and the larger number corresponds to the MCU serial port. The image shows
/dev/tty.wchusbserial1220is the ACore serial port, and/dev/tty.wchusbserial1230is the MCU serial port. The command to connect to the ACore serial port is:minicom -D /dev/tty.wchusbserial1220 -b 921600 -8; the command to connect to the MCU serial port is:minicom -D /dev/tty.wchusbserial1230 -b 921600 -8. Replace the device path in the command according to your actual device number /dev/tty.wchusbserial. - Command to connect to the ACore serial port using
minicom(minicom -D /dev/tty.wchusbserial1220 -b 921600 -8)
- Verify by connecting to the development board
- Using the image above as an example, generally the smaller number corresponds to the ACore serial port, and the larger number corresponds to the MCU serial port. The image shows
-
If the serial port still shows garbled characters after installing or using the CH340N driver downloaded from the official website.
A: If the driver has been installed from the official website but the device still shows as
tty.usbserial*, move CH34xVCPDriverApp to the Trash, empty the Trash, restart the computer, and reinstall according to the steps above.
For more issues, please refer to the FAQ section. You can also visit the D-Robotics Developer Official Forum for assistance.