1.4 Remote Login
This section introduces how to remotely access the development board from a personal computer (PC) via serial port or network (SSH).
Default Login Accounts
The RDK S100 system provides two default accounts for first-time users:
- Standard user: Username
sunrise, passwordsunrise - Superuser (root): Username
root, passwordroot
Before logging in remotely over the network, ensure the development board is connected to the network via wired Ethernet or wireless Wi-Fi, and that its IP address has been properly configured. For IP address information under both connection methods, refer to the descriptions below:
- Wired Ethernet:
- The development board’s eth1 interface uses a static IP by default: IP address
192.168.127.10, subnet mask255.255.255.0, gateway192.168.127.1. - The eth0 interface uses DHCP by default; its IP address is typically assigned by the router. You can check the eth0 IP address via the
ifconfigcommand in the device’s command line.
- The development board’s eth1 interface uses a static IP by default: IP address
- Wireless Wi-Fi: The development board’s IP address is usually assigned by the router. You can check the wlan0 IP address using the
ifconfigcommand in the device’s command line.
Serial Login
Connecting via Serial on Windows
Before logging in via serial, ensure the development board’s serial cable is correctly connected to your PC. For connection instructions, refer to the debugging serial port section of your specific development board:
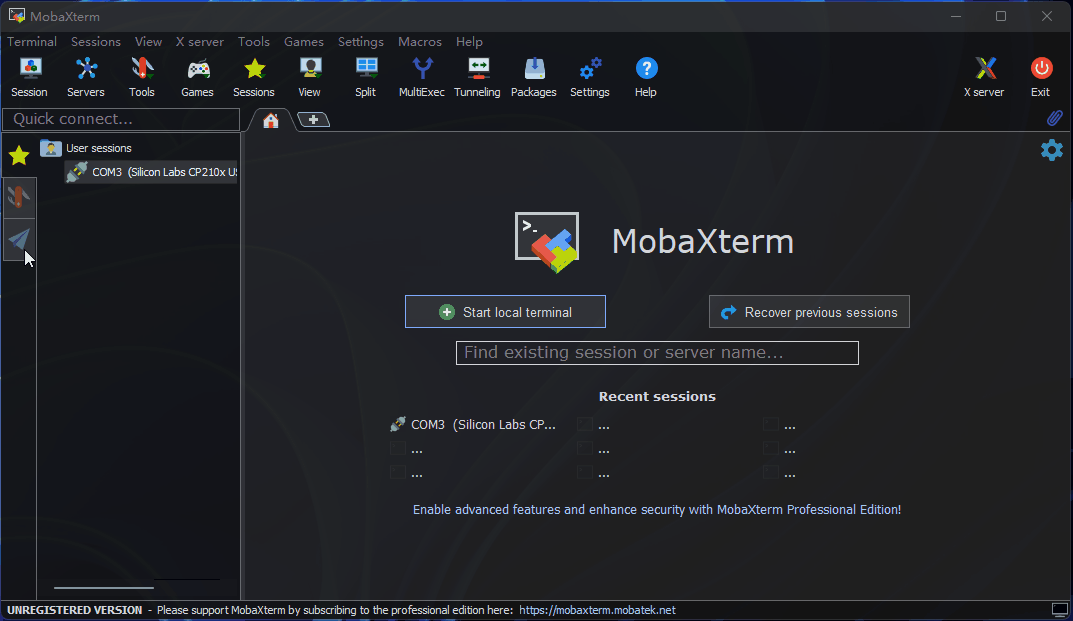
Serial login requires a PC terminal tool. Commonly used tools include Putty, MobaXterm, etc. Users can choose based on personal preference. The port configuration process is similar across different tools. Below, we use MobaXterm as an example to illustrate creating a new serial connection:
- When the USB-to-serial adapter is plugged into the PC for the first time, install the serial driver. The driver can be downloaded from the Tools section of the Resource Center. After installation, the Device Manager should correctly recognize the serial port, as shown below:

-
Open
MobaXterm, clickSession, then selectSerial. -
Configure the port number (e.g.,
COM3). Use the actual COM port recognized by your PC. -
Set the serial port parameters as follows:
Parameter Value Baud rate 921600 Data bits 8 Parity None Stop bits 1 Flow Control None -
Click
OK, then log in using username:rootand password:root.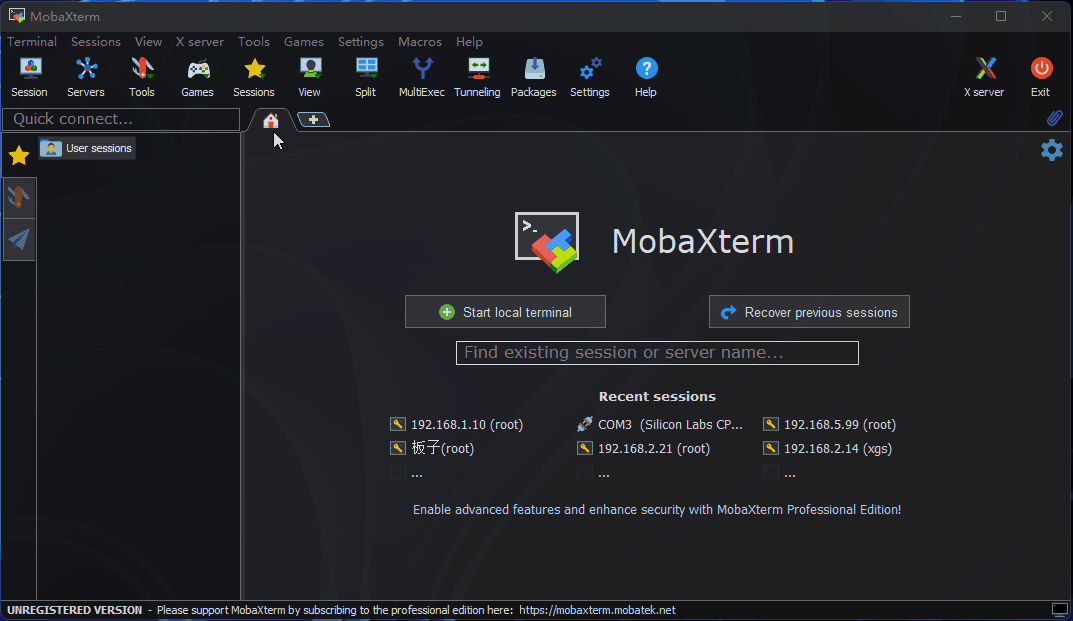
At this point, you can use the ifconfig -a command to check the development board’s IP addresses. Interfaces eth0/eth1 and wlan0 represent wired and wireless networks, respectively:
eth0: flags=4099<UP,BROADCAST,MULTICAST>  mtu 1500
        ether c8:30:76:63:2d:93  txqueuelen 1000  (Ethernet)
        RX packets 7547  bytes 2230733 (2.2 MB)
        RX errors 0  dropped 2  overruns 0  frame 0
        TX packets 1126  bytes 108615 (108.6 KB)
        TX errors 0  dropped 0 overruns 0  carrier 0  collisions 0
        device interrupt 93

eth1: flags=4163<UP,BROADCAST,RUNNING,MULTICAST>  mtu 1500
        inet 192.168.127.10  netmask 255.255.255.0  broadcast 192.168.127.255
        inet6 fe80::e0b2:71ff:fea0:6ba7  prefixlen 64  scopeid 0x20<link>
        ether e2:b2:71:a0:6b:a7  txqueuelen 1000  (Ethernet)
        RX packets 43  bytes 3882 (3.8 KB)
        RX errors 0  dropped 1  overruns 0  frame 0
        TX packets 46  bytes 6234 (6.2 KB)
        TX errors 0  dropped 0 overruns 0  carrier 0  collisions 0
        device interrupt 99

lo: flags=73<UP,LOOPBACK,RUNNING>  mtu 65536
        inet 127.0.0.1  netmask 255.0.0.0
        inet6 ::1  prefixlen 128  scopeid 0x10<host>
        loop  txqueuelen 1000  (Local Loopback)
        RX packets 46  bytes 6342 (6.3 KB)
        RX errors 0  dropped 0  overruns 0  frame 0
        TX packets 46  bytes 6342 (6.3 KB)
        TX errors 0  dropped 0 overruns 0  carrier 0  collisions 0

wlan0: flags=4099<UP,BROADCAST,MULTICAST>  mtu 1500
        ether 28:d0:43:83:63:57  txqueuelen 1000  (Ethernet)
        RX packets 0  bytes 0 (0.0 B)
        RX errors 0  dropped 0  overruns 0  frame 0
        TX packets 0  bytes 0 (0.0 B)
        TX errors 0  dropped 0 overruns 0  carrier 0  collisions 0
Connecting via Serial on MacOS
On macOS, use the minicom tool to connect via serial, following these steps:
-
Use the
minicomcommand to verify the serial connection (minicom -D /dev/tty.wchusbserial* -b 921600 -8):minicom # Launch minicom terminal tool for serial communication
-D # Specify the serial device to use
-b # Set the baud rate
-8 # Set data bits to 8
-
Connect and verify with the development board:
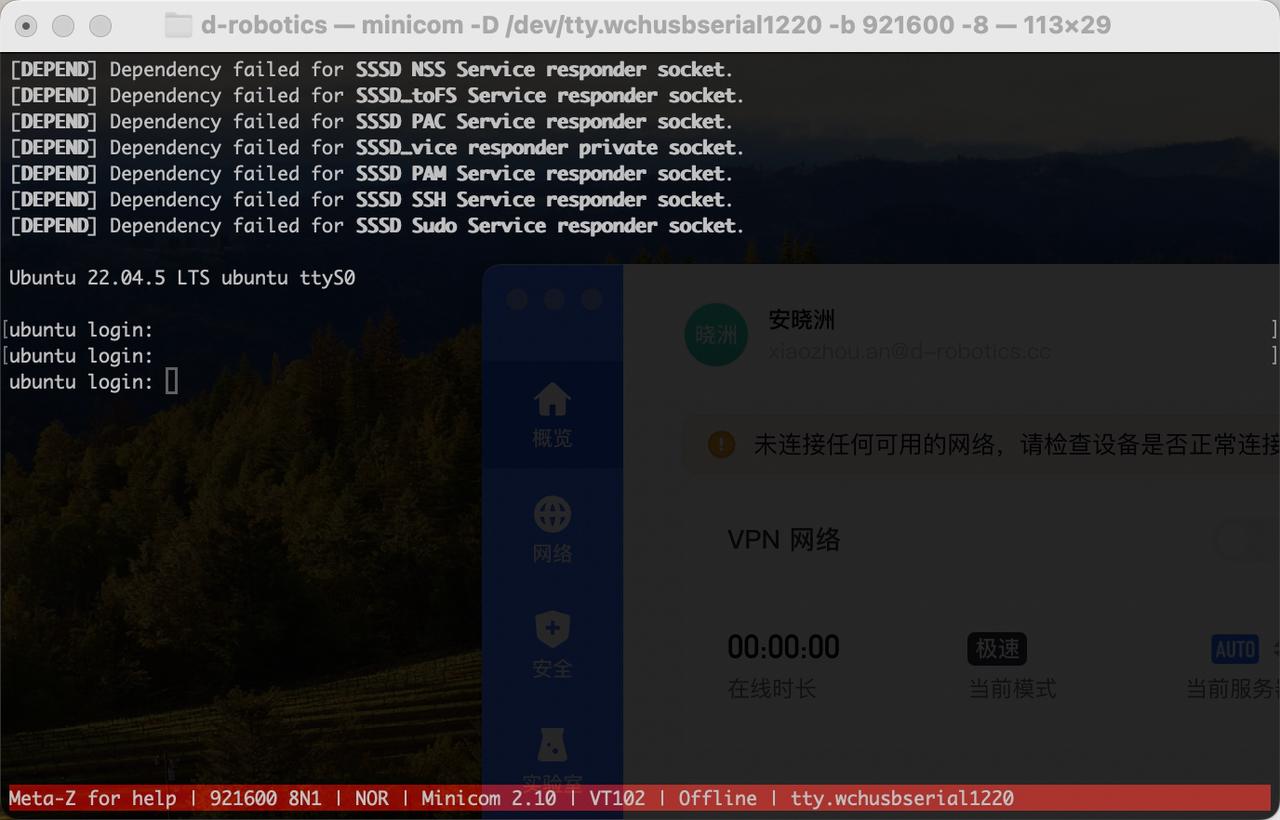
If you encounter garbled characters when using minicom, see Garbled Characters with Serial Connection on MacOS.
Network Status Verification
Before remote login, ensure network communication between your PC and the development board is functional. If you cannot ping the board, follow these steps to verify:
- Confirm that the IP addresses of both the development board and PC share the same first three octets (e.g., board:
192.168.127.10, PC:192.168.127.100). - Verify that subnet masks and gateway configurations match on both devices.
- Ensure the PC’s firewall is disabled.
The outer Ethernet port (eth1) on the development board uses a static IP by default: 192.168.127.10. For direct connection between the board and PC, configure the PC with a static IP in the same subnet. On Windows 10, follow these steps to set a static IP:
- In Network Connections, locate and double-click the relevant Ethernet adapter.
- Double-click "Internet Protocol Version 4 (TCP/IPv4)".
- Enter the network parameters in the fields highlighted in red below, then click OK.

To configure the development board’s wired network to use DHCP instead, refer to the Wired Network section.
SSH Login
Below are instructions for creating SSH connections using terminal software and command-line methods.
Terminal Software
Commonly used terminal tools include Putty, MobaXterm, etc. Users can choose based on preference. The configuration process is similar across tools. Below, we use MobaXterm as an example:
- Open
MobaXterm, clickSession, then selectSSH. - Enter the development board’s IP address (e.g.,
192.168.127.10). - Check
specify usernameand entersunrise. - Click OK, then enter the username (
sunrise) and password (sunrise) to log in.
Command Line
You can also log in via SSH from the command line:
- Open a terminal window and enter the SSH command, e.g.,
ssh sunrise@192.168.127.10. - When prompted to confirm the connection, type
YES. - Enter the password (
sunrise) to complete login.
NoMachine Login
NoMachine functionality requires software package support on the S100 side. See the NoMachine Configuration Guide for setup instructions.
This section is for users running the Ubuntu Desktop system version, explaining how to achieve remote desktop login using NoMachine.
Connecting to the Development Board
- Open the
NoMachineclient and clickAddto create a new host configuration.

- In the pop-up window, enter the host information for
RDK100, then clickAdd.

- Return to the main interface and double-click the newly created host entry.

- In the login window, enter your username and password, then click OK to complete remote login.

