Flash with XBurn
RDK X5 is flashed using the PC tool XBurn, covering two regions: miniboot_flash (Bootloader firmware) on the onboard NAND and sdcard (system image) on the TF card. Choose one as needed: Flash Bootloader or Flash full image.
Preparation
Flashing tool
Install XBurn, see the XBurn manual Install XBurn.
Image download
Select the image for your flashing target, download the latest archive, and extract it for later use:
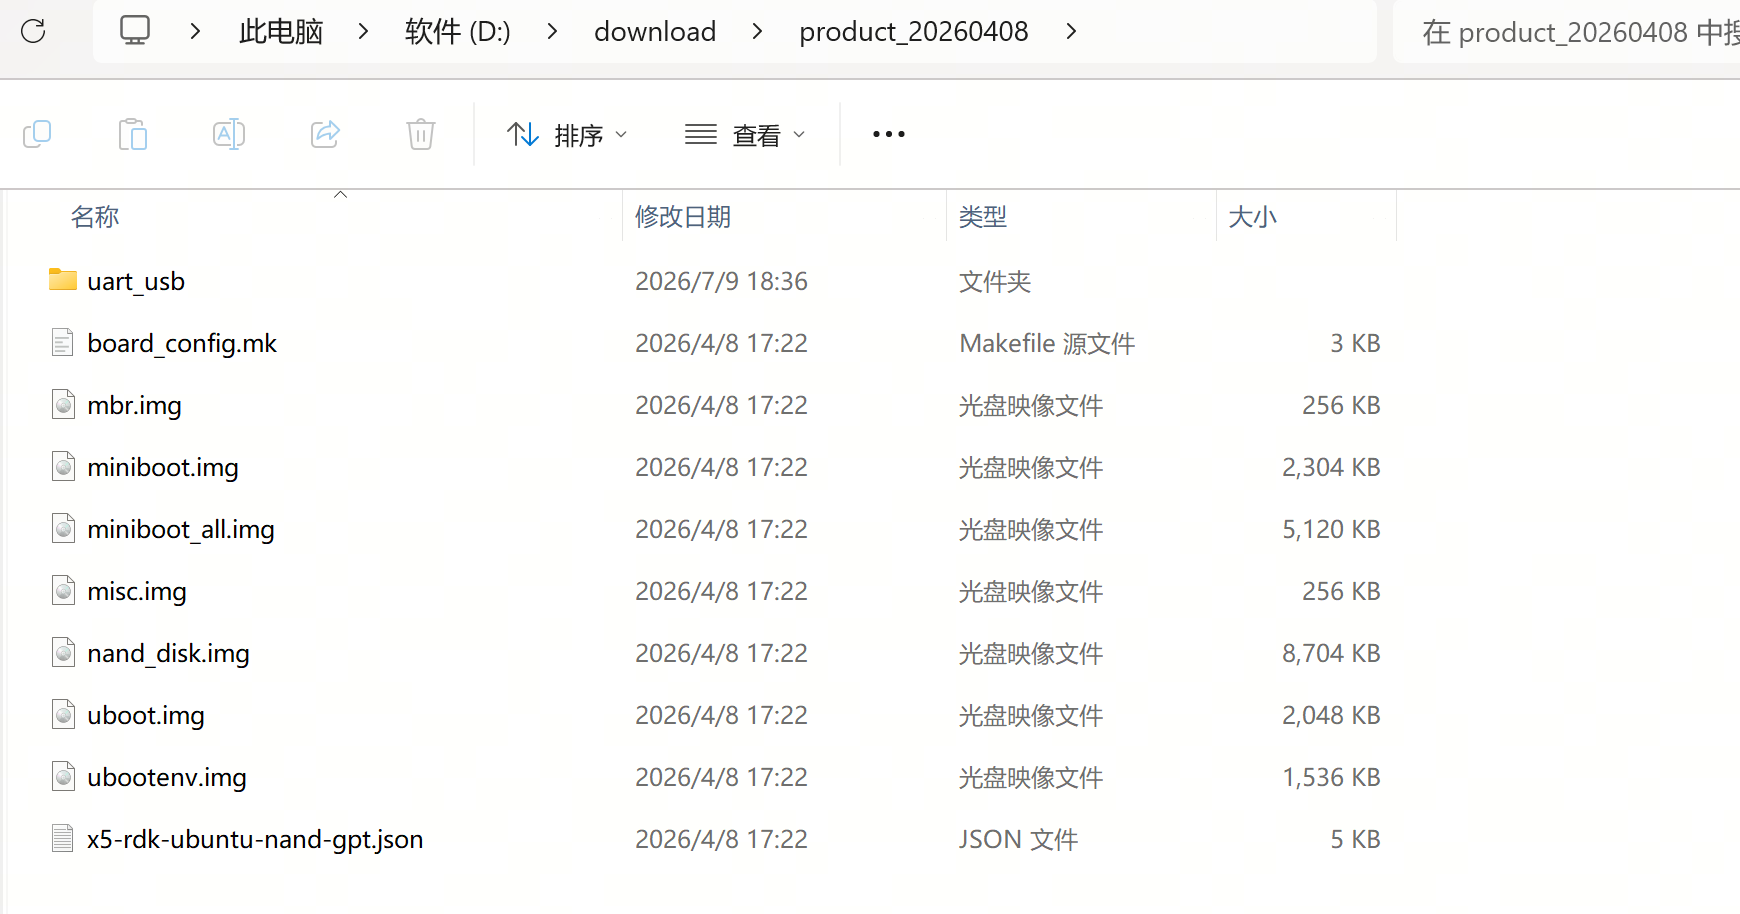
- Bootloader firmware download page: for flashing the Bootloader (e.g.
product 20260408.zip). - System image download page: for flashing the full image or a specific region. Provides Ubuntu 22.04 images: desktop includes a desktop and supports an external display; server has no desktop and is accessed only via serial or network. Choose as needed.
Hardware connection
- Serial to PC: Micro-USB (debug serial, used for XModem transfer and logs)
- Flashing port to PC: USB Type-C
- Power: USB Type-C, requires a 5V/5A power adapter

RDK X5 is powered via USB Type-C. Use a 5V/5A power adapter; do not use a computer USB port, or insufficient power will cause abnormal shutdowns and repeated reboots. The Type-C USB port is for power only.
Environment setup
Install drivers and dependencies (varies by OS; must be completed before flashing, otherwise XBurn cannot recognize the device). RDK X5 involves a USB Driver and a USB-to-Serial Driver, but not DFU.
Flashing parameters
For Product type select RDK X5; the storage is fixed to NAND and the firmware type to secure. The connection type determines the available download modes and where the serial port is configured:
| Connection type | Available download modes | Serial / baud rate | Use case |
|---|---|---|---|
Serial+USB | xmodem_fastboot / fastboot | Enter Serial port and Baud rate under Board in the XBurn UI | Serial guides the device via XModem, USB delivers data via Fastboot; works for empty or non-empty boards, used for recovery from a brick |
USB | fastboot | Option does not appear; view logs in MobaXterm/minicom | Requires a working U-Boot on the device; manually enter Fastboot (hold Space after power-on to enter U-Boot, then type fastboot 0) |
Flash Bootloader
Writes Bootloader firmware such as miniboot and U-Boot to the onboard NAND. It handles power-on initialization and boot loading, and is the prerequisite for the system to start. Use it when the device cannot boot, the Bootloader is damaged, or you need to upgrade the low-level boot program.
The device ships with the latest firmware matching its hardware. Do not downgrade to an older version, or the device may fail to boot.
-
Fill in the Basic configuration per Flashing parameters. For Image directory, select the folder extracted from the Bootloader firmware download.
-
(Optional) To flash multiple devices at once, see the XBurn manual Batch flashing (software limit 8 devices, recommended ≤4; the more devices, the higher the failure rate; stability depends on cables, hubs, power, and other hardware; not guaranteed by the software). For batch flashing, consider disabling Reboot after flashing below, so a single device rebooting does not affect the others.
-
(Optional) Expand Advanced configuration and check Reboot after flashing. The device reboots automatically after flashing, saving you the manual power cycle, mode switch, and re-power. See the XBurn manual Auto-reboot and boot check.
-
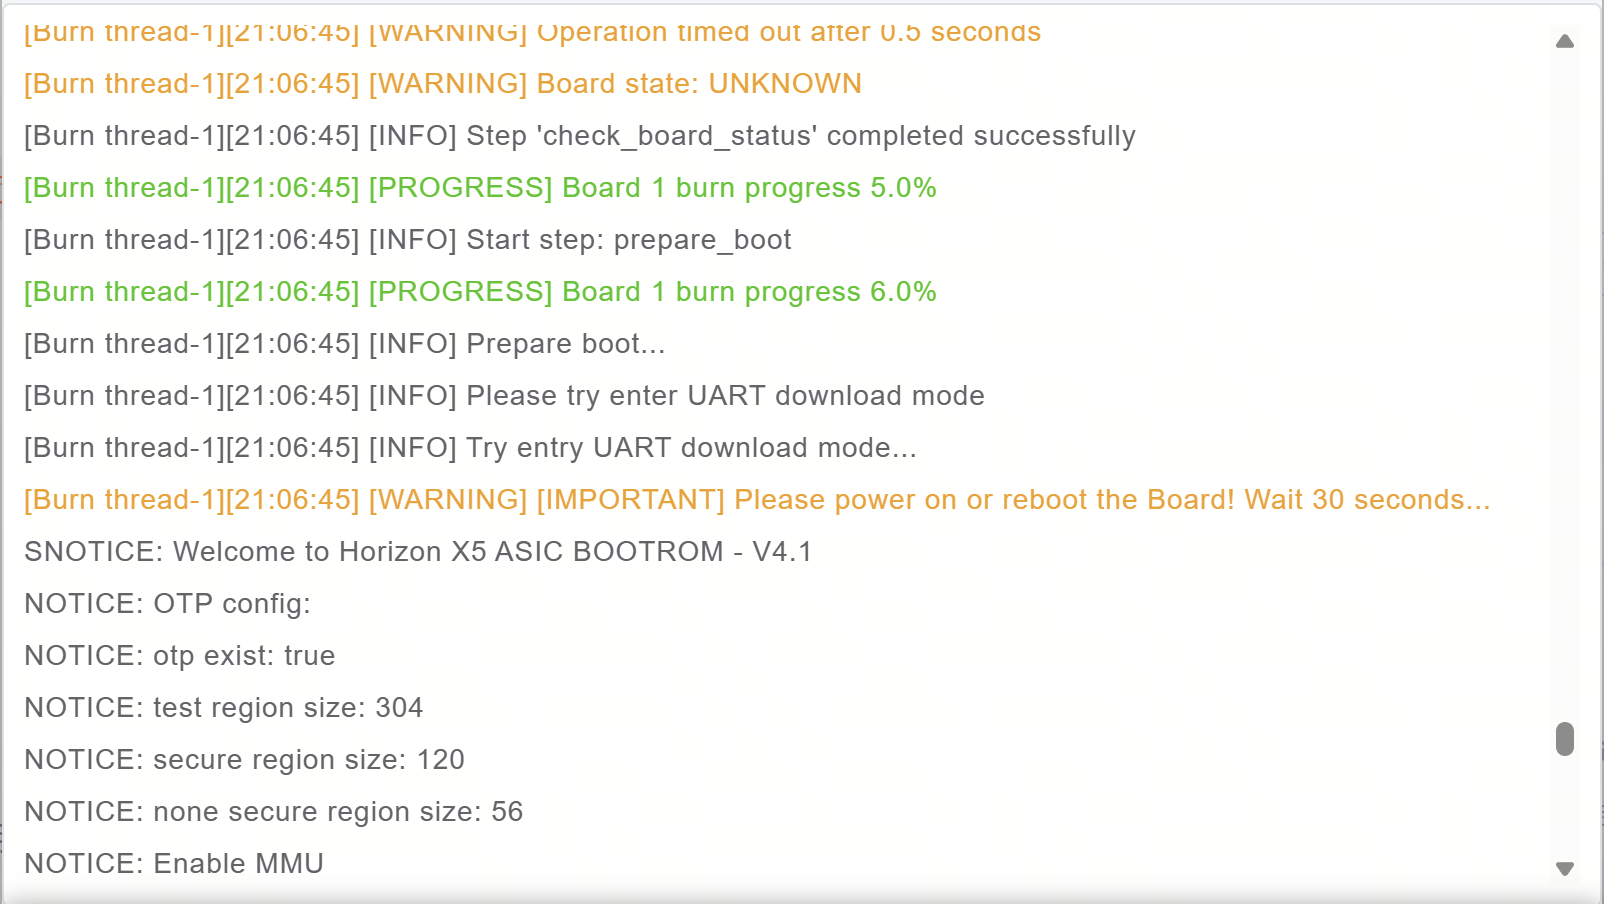
Click Start flashing. Unplug and re-plug power when prompted. If the serial port is lost after the power cycle, do not power on yet; power on the device after seeing the prompt.
-
The flashing starts after power-on. Wait for it to complete.
-
Boot verification. After power-on, first-boot configuration takes about 45 seconds. Connect to the debug serial with MobaXterm (Speed (bps)
115200; for setup see the XBurn manual Environment setup for each OS). A login prompt means boot succeeded.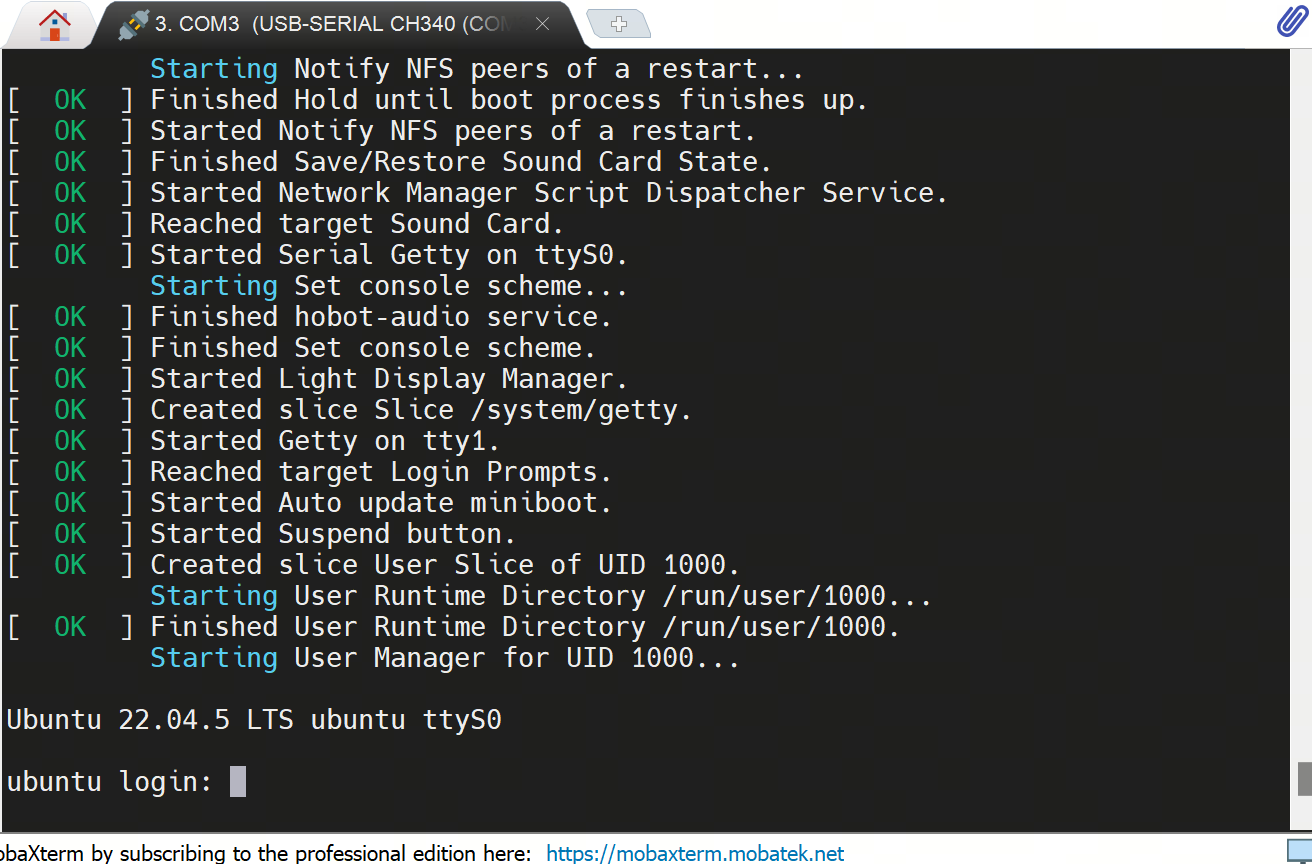 LED status
Green lit means booting; off or blinking means boot complete.
If the serial port has no output for over 2 minutes or the log stalls and the device cannot boot, reflash the
miniboot_flashregion. For troubleshooting see the XBurn manual Boot issues.
Advanced usage
For specific non-first-flash scenarios, with two options: flashing the full image to overwrite the entire system, or flashing only a specific region (miniboot_flash, sdcard). Both use the same system image; first complete System image download, then follow the relevant section.
Flash full image
- Fill in the Basic configuration per Flashing parameters. For Image directory, select the folder extracted from the System image download.
- Follow Flash Bootloader for the remaining steps.
Flash specific regions
Writes only the selected regions rather than the full image package. The regions supported by RDK X5 are:
| Region | Physical medium | Firmware content |
|---|---|---|
| miniboot_flash | onboard NAND | Bootloader firmware (miniboot, U-Boot, etc.) |
| sdcard | TF card | TF card image |
- Fill in the Basic configuration per Flashing parameters. For Image directory, select the folder extracted from the System image download.
- Expand Advanced configuration, check Flash specific regions, and select the target region (e.g.
miniboot_flash). - Follow Flash Bootloader for the remaining steps.