Display Usage
RDK X5 provides one MIPI DSI interface and one HDMI interface. You can only choose one of them for display, with HDMI set as the default output.
You can switch between HDMI and MIPI DSI output using the following commands.
Switch to MIPI DSI Output
mv /etc/X11/xorg.conf.d/xorg_dsi_ignore.conf /etc/X11/xorg.conf.d/xorg_dsi_ignore.conf.disable
mv /etc/X11/xorg.conf.d/xorg_hdmi_ignore.conf.disable /etc/X11/xorg.conf.d/xorg_hdmi_ignore.conf
Switch to HDMI Output
mv /etc/X11/xorg.conf.d/xorg_hdmi_ignore.conf /etc/X11/xorg.conf.d/xorg_hdmi_ignore.conf.disable
mv /etc/X11/xorg.conf.d/xorg_dsi_ignore.conf.disable /etc/X11/xorg.conf.d/xorg_dsi_ignore.conf
You can also select the output method through raspi-config. For more details, refer to the Display Choose DSI or HDMI section.
HDMI
The maximum supported resolution for RDK X5 is 1080P60, with the default resolution set to 720P60.
You can modify the default resolution by editing the /etc/X11/xorg.conf.d/1-resolution.conf file:
# Command to edit the resolution configuration
sudo nano /etc/X11/xorg.conf.d/1-resolution.conf

```bash
Section "Screen"
    Identifier "Screen0"
    Device "Device0"
    Monitor "Monitor0"
    DefaultDepth 24
    SubSection "Display"
        Depth 24
        Modes "1280x720"
    EndSubSection
EndSection
-
For displays with a maximum resolution lower than 1280x720, you can adjust the
Modessetting based on the actual resolution to resolve display issues. -
For 2K and 4K displays, it is recommended to set the
Modesto1920x1080, as this is limited by the performance of RDK X5's video conversion chip.
MIPI DSI
RDK X5 provides a MIPI DSI interface, supporting the connection of various LCD screens.
Supported List
| Supplier | Model | Description | Purchase Link | User Guide |
|---|---|---|---|---|
| Waveshare | 2.8inch DSI LCD | 2.8-inch IPS full bonding capacitive touch screen, 480×640 pixels, DSI interface | Buy here | 2.8inch DSI LCD Guide |
| Waveshare | 3.4inch DSI LCD (C) | 3.4-inch circular capacitive touch screen, 800×800 pixels, IPS panel, 10-point touch | Buy here | 3.4inch DSI LCD Guide |
| Waveshare | 4.3inch DSI LCD | 4.3-inch capacitive touch screen, 800×480 pixels, IPS wide-angle, MIPI DSI interface | Buy here | 4.3inch DSI LCD Guide |
| Waveshare | 7inch DSI LCD (C) | 7-inch IPS capacitive touch screen, 1024×600 pixels, DSI interface | Buy here | 7inchC DSI LCD Guide |
| Waveshare | 7.9inch DSI LCD | 7.9-inch IPS capacitive touch screen, 400×1280 pixels, DSI interface | Buy here | 7.9inch DSI LCD Guide |
| Waveshare | 8inch DSI LCD (C) | 8-inch IPS capacitive touch screen, 1280×800 pixels, DSI interface | Buy here | 8inch DSI LCD Guide |
| Waveshare | 10.1inch DSI LCD (C) | 10.1-inch IPS capacitive touch screen, 1280×800 pixels, DSI interface | Buy here | 10.1inch DSI LCD Guide |
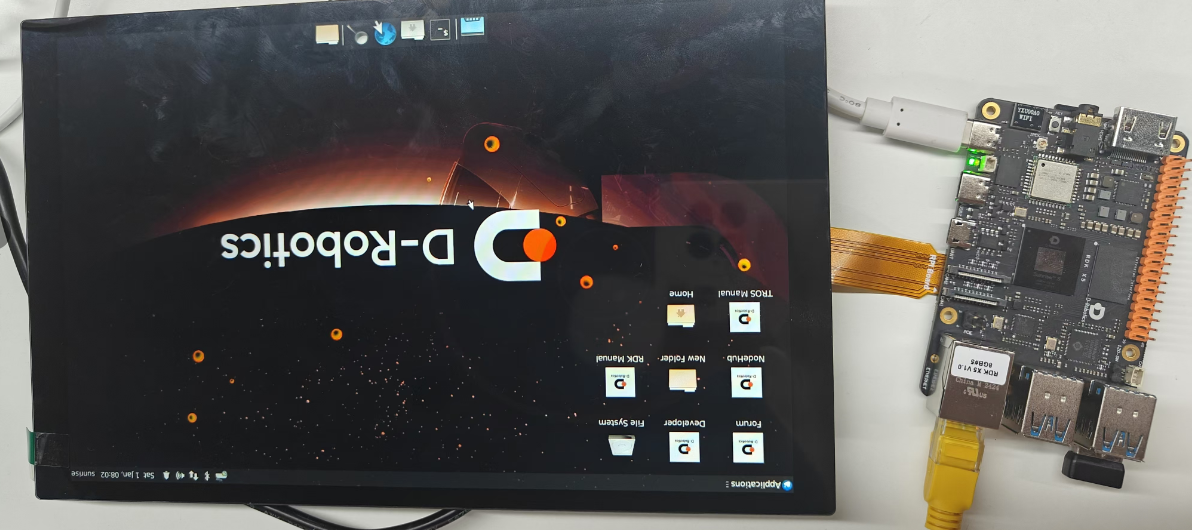
2.8inch DSI LCD
Hardware Connection
The screen connection method is shown in the image below:
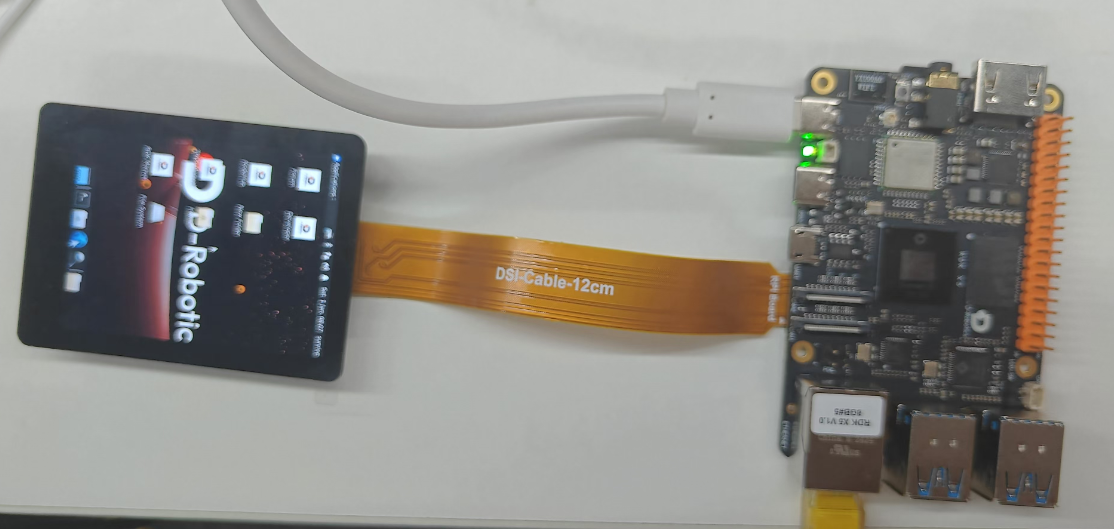
Use a DSI-Cable-12cm cable to connect the 2.8inch DSI LCD to the 22PIN DSI1 interface on the RDK X5 mainboard.
Software Configuration
- Since the default output for the RDK X5 system is HDMI, you need to switch to MIPI DSI display mode using the following command:
mv /etc/X11/xorg.conf.d/xorg_dsi_ignore.conf /etc/X11/xorg.conf.d/xorg_dsi_ignore.conf.disable
mv /etc/X11/xorg.conf.d/xorg_hdmi_ignore.conf.disable /etc/X11/xorg.conf.d/xorg_hdmi_ignore.conf
You can also choose the output method via srpi-config. Please refer to the Display Chose DSI or HDMI section.
- Open the
/boot/config.txtfile, add the following code at the end of the config.txt, save, exit, and reboot the system.
dtoverlay=dsi-waveshare-panel-overlay-2_8_inch
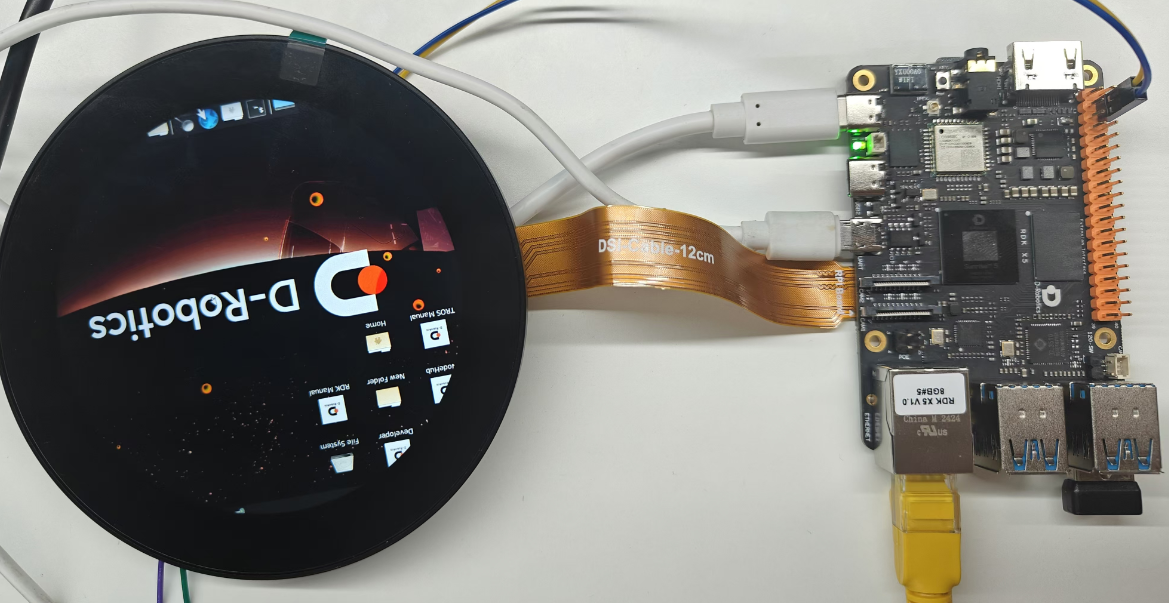
3.4inch DSI LCD
Hardware Connection
The screen connection is shown in the diagram below:
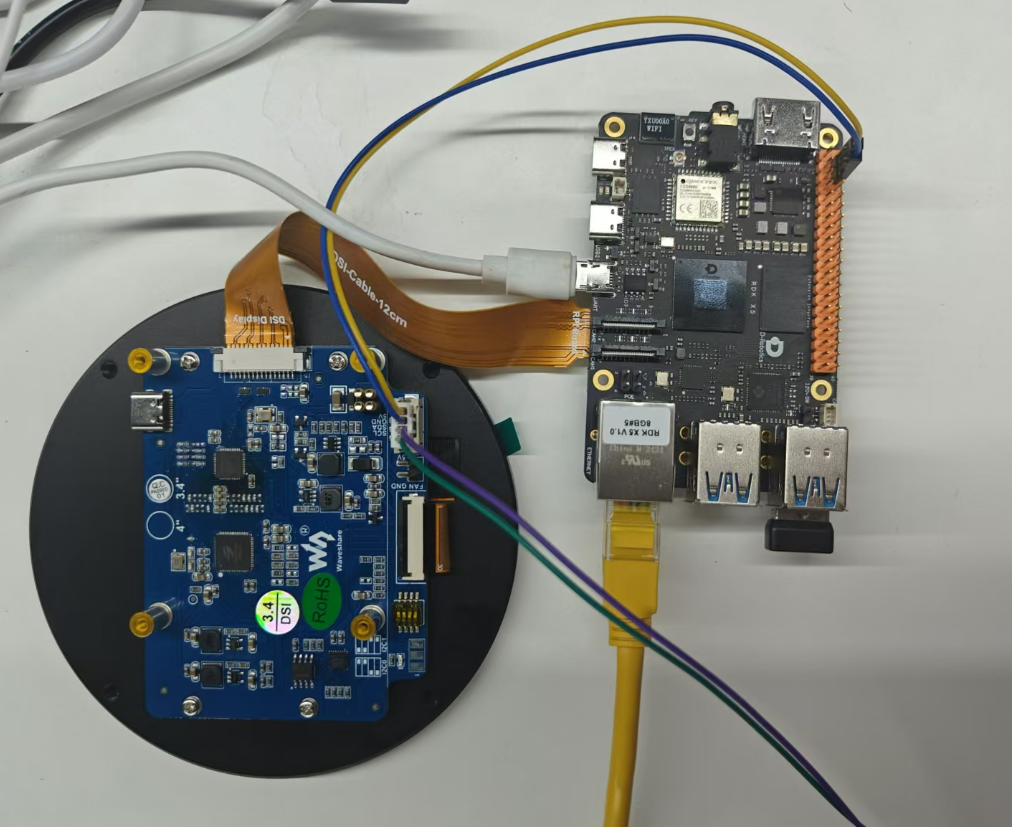
Use the DSI-Cable-12cm to connect the 3.4inch DSI LCD to the 22PIN DSI1 interface of the X5 RDK mainboard.
Connect the 4PIN header for 5V power supply, including 5V and GND.
Software Configuration
- Since the RDK X5 system defaults to HDMI output, you need to switch to MIPI DSI display mode using the following command.
mv /etc/X11/xorg.conf.d/xorg_dsi_ignore.conf /etc/X11/xorg.conf.d/xorg_dsi_ignore.conf.disable
mv /etc/X11/xorg.conf.d/xorg_hdmi_ignore.conf.disable /etc/X11/xorg.conf.d/xorg_hdmi_ignore.conf
You can also choose the output method through srpi-config. Please refer to the Display Choose DSI or HDMI section.
- Open the
/boot/config.txtfile, add the following lines at the end of the file, save, exit, and reboot the system.
dtoverlay=dsi-waveshare-panel-overlay-3_4_inch
Effect Demonstration
4.3inch DSI LCD
Hardware Connection
The screen connection is shown in the diagram below:
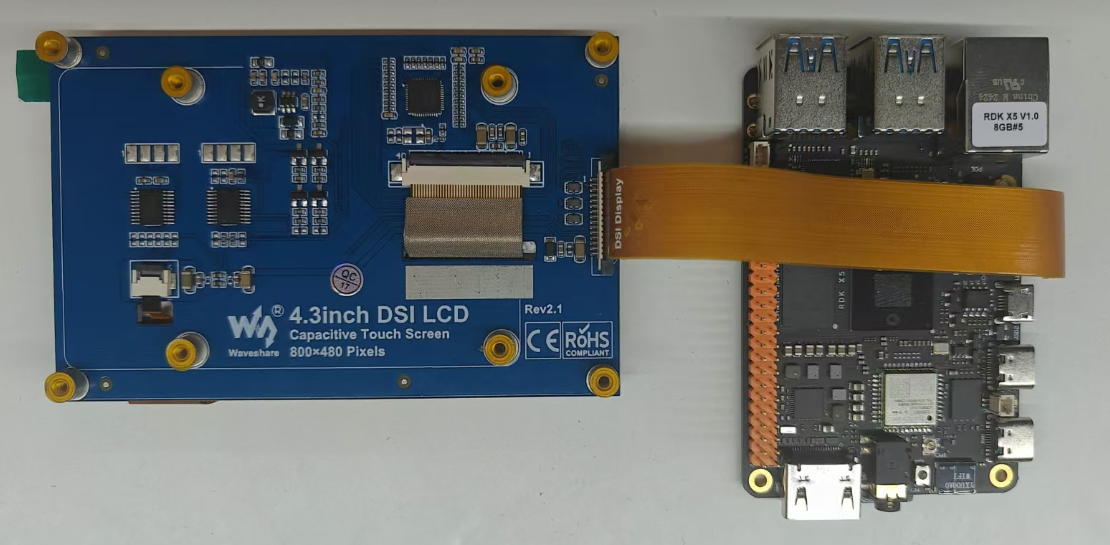
Use a DSI-Cable-12cm cable to connect the 4.3inch DSI LCD to the 22PIN DSI1 interface of the X5 RDK mainboard.
Software Configuration
- Since the RDK X5 system defaults to HDMI output, you need to switch to MIPI DSI display mode using the command.
mv /etc/X11/xorg.conf.d/xorg_dsi_ignore.conf /etc/X11/xorg.conf.d/xorg_dsi_ignore.conf.disable
mv /etc/X11/xorg.conf.d/xorg_hdmi_ignore.conf.disable /etc/X11/xorg.conf.d/xorg_hdmi_ignore.conf
You can also choose the output mode through raspi-config. Refer to the Display Chose DSI or HDMI section for details.
- Open the
/boot/config.txtfile, add the following code at the end of the config.txt file, save, exit, and reboot the system.
dtoverlay=dsi-waveshare-panel-overlay-4_3_inch
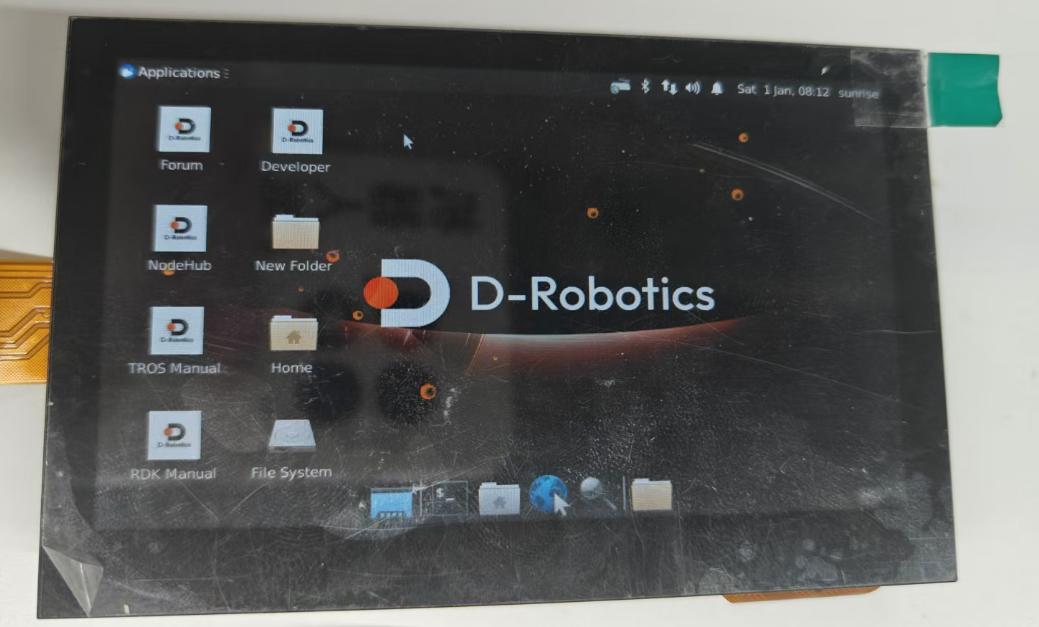
Effect Demonstration
7inchC DSI LCD
Hardware Connection
The screen connection is as shown in the following images:
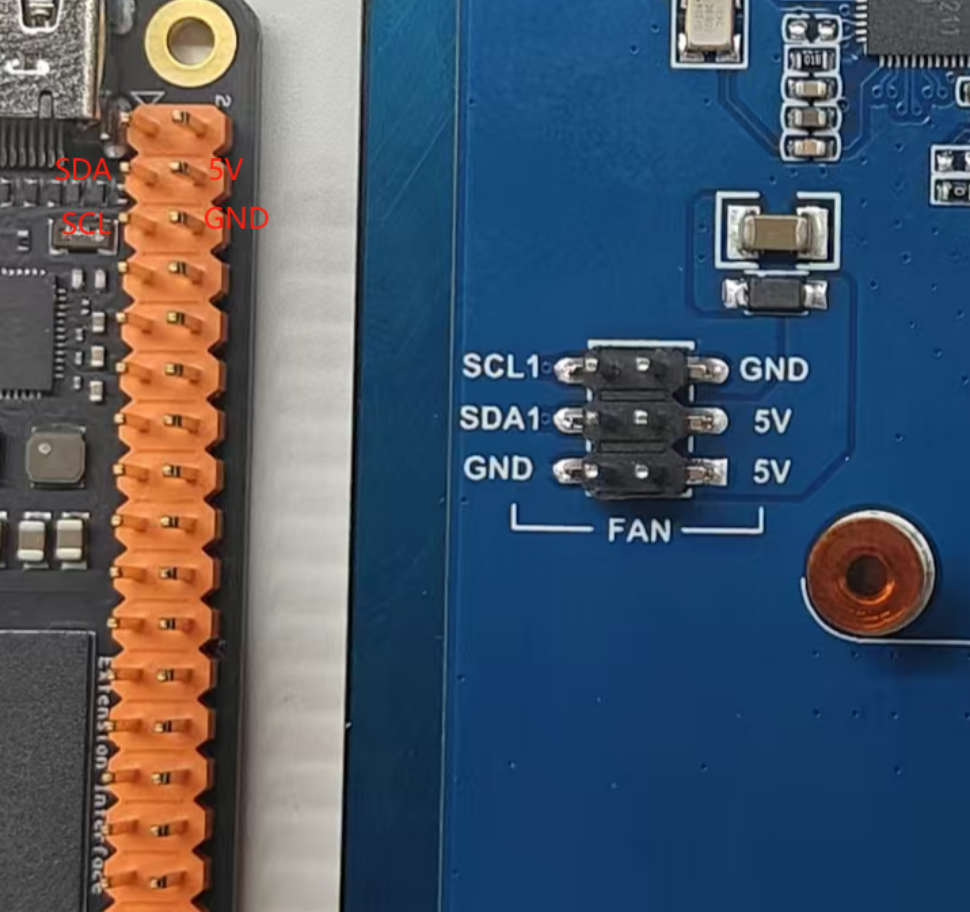
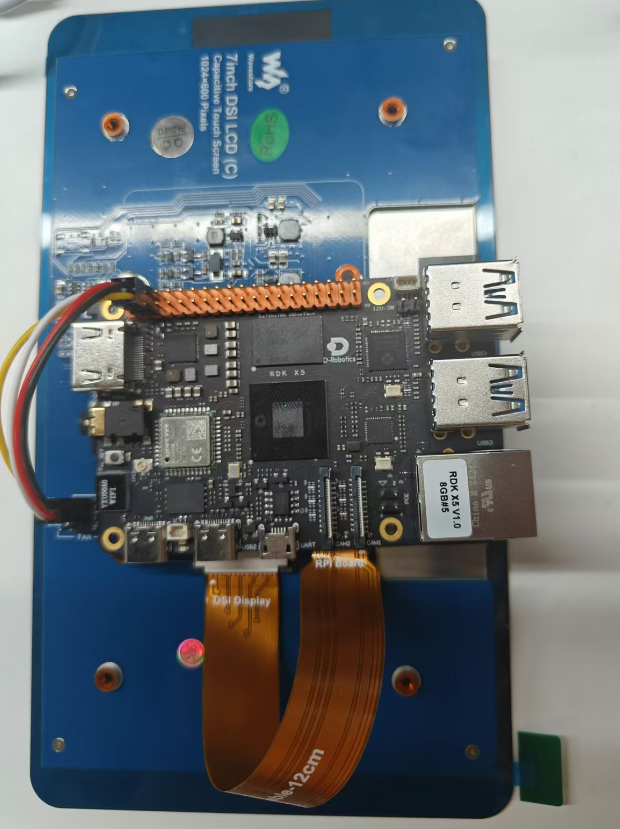
Use a 12cm DSI cable to connect the 7inchC DSI LCD to the 22PIN DSI1 interface of the X5 RDK mainboard.
Connect the 5V power supply and I2C5 communication via a 4PIN DuPont cable.
Software Configuration
- Since the RDK X5 system defaults to HDMI output, you need to switch to MIPI DSI output mode using the following command.
mv /etc/X11/xorg.conf.d/xorg_dsi_ignore.conf /etc/X11/xorg.conf.d/xorg_dsi_ignore.conf.disable
mv /etc/X11/xorg.conf.d/xorg_hdmi_ignore.conf.disable /etc/X11/xorg.conf.d/xorg_hdmi_ignore.conf
You can also choose the output mode through raspi-config. For more details, refer to the Display Choose DSI or HDMI section.
- Open the
/boot/config.txtfile, add the following code at the end of the file, save, exit, and reboot the system:
dtoverlay=dsi-waveshare-panel-overlay-7_0_inchC
Effect Demo
7.9inch DSI LCD
Hardware Connection
The screen connection is shown in the figure below:
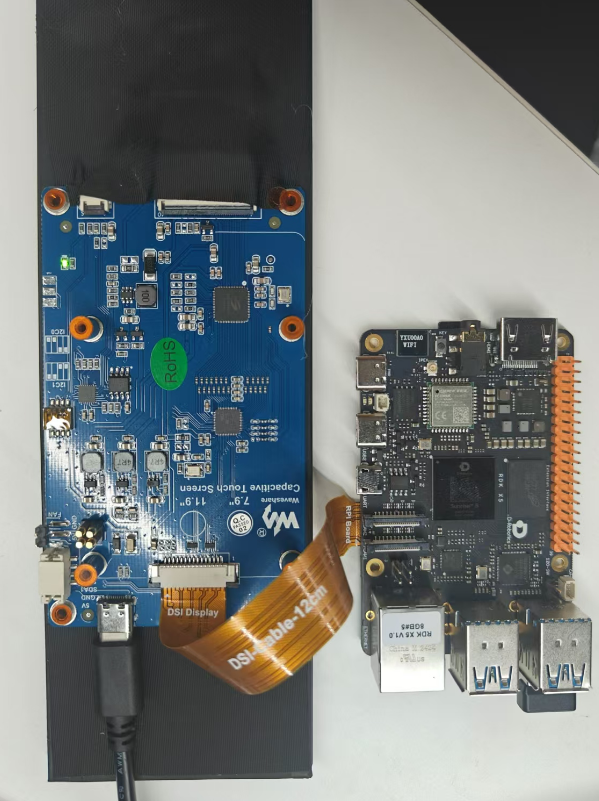
Use a DSI-Cable-12cm cable to connect the 7.9inch DSI LCD to the 22PIN DSI1 interface on the X5 RDK mainboard.
Use a 5V/3A type-C power supply to power the screen.
Software Configuration
- Since the RDK X5 system defaults to HDMI output, you need to switch to MIPI DSI display mode using commands.
mv /etc/X11/xorg.conf.d/xorg_dsi_ignore.conf /etc/X11/xorg.conf.d/xorg_dsi_ignore.conf.disable
mv /etc/X11/xorg.conf.d/xorg_hdmi_ignore.conf.disable /etc/X11/xorg.conf.d/xorg_hdmi_ignore.conf
You can also select the output method through srpi-config. For more details, refer to the Display Choose DSI or HDMI section.
- Open the
/boot/config.txtfile, add the following code at the end of theconfig.txtfile, then save, exit, and reboot the system.
dtoverlay=dsi-waveshare-panel-overlay-7_9_inch
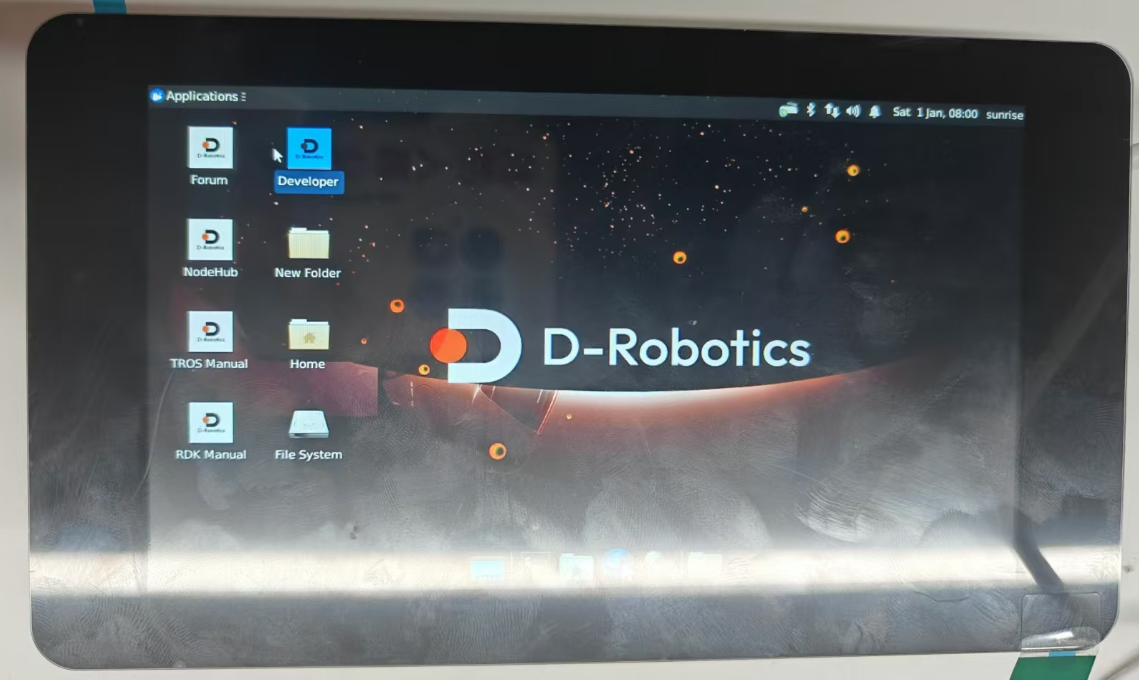
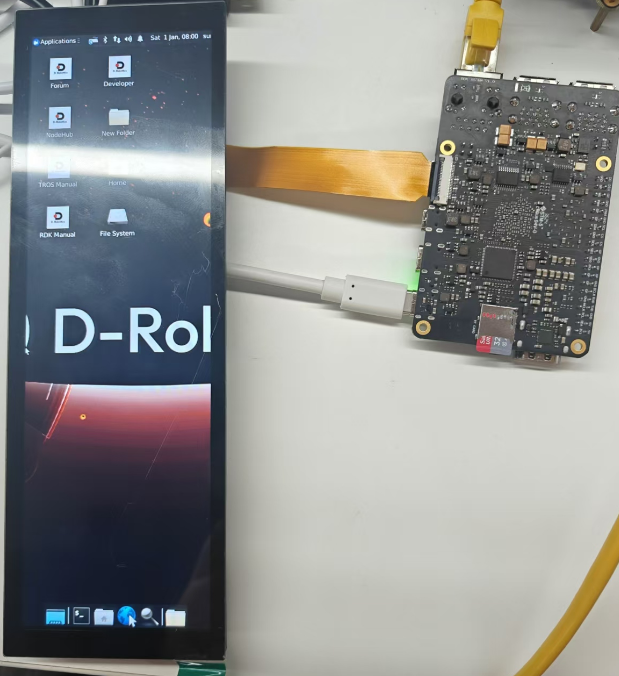
Effect Demo
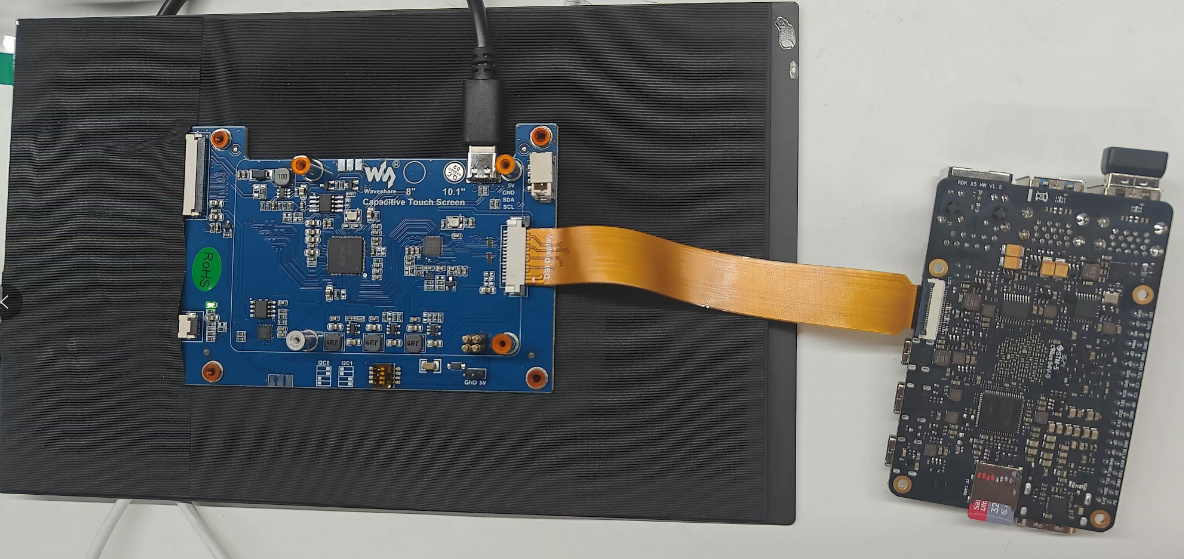
8inch DSI LCD
Hardware Connection
The screen connection is as shown in the figure below:
Use a 12cm DSI cable to connect the 8inch DSI LCD to the 22PIN DSI1 interface on the X5 RDK motherboard.
Provide 5V/3A power to the screen using a type-C power supply.
Software Configuration
- Since the RDK X5 system defaults to HDMI output, you need to switch to MIPI DSI display mode using a command.
mv /etc/X11/xorg.conf.d/xorg_dsi_ignore.conf /etc/X11/xorg.conf.d/xorg_dsi_ignore.conf.disable
mv /etc/X11/xorg.conf.d/xorg_hdmi_ignore.conf.disable /etc/X11/xorg.conf.d/xorg_hdmi_ignore.conf
You can also choose the output mode through raspi-config. Please refer to the Display Choose DSI or HDMI section.
- Open the
/boot/config.txtfile, add the following code at the end of theconfig.txtfile, save, exit, and reboot the system.
dtoverlay=dsi-waveshare-panel-overlay-8_0_inch
Effect Demonstration
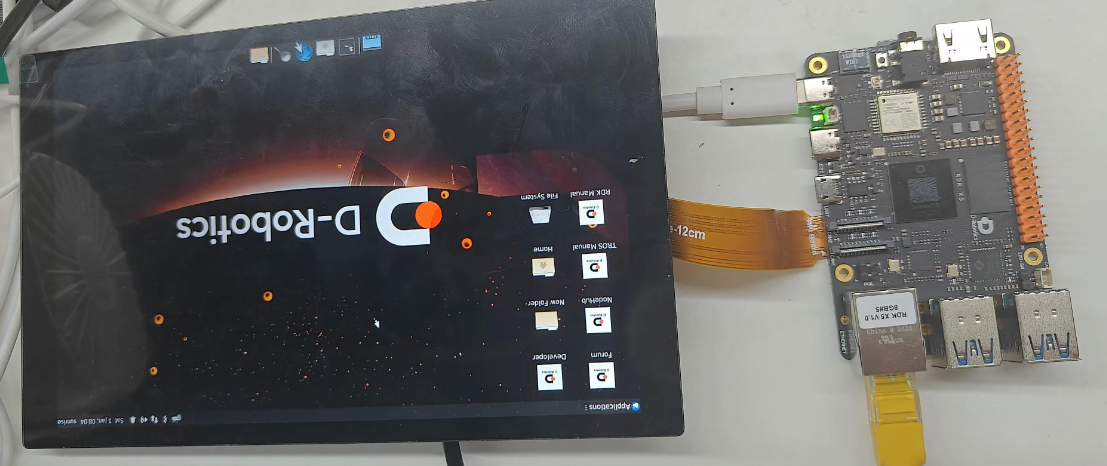
10.1inch DSI LCD
Hardware Connection
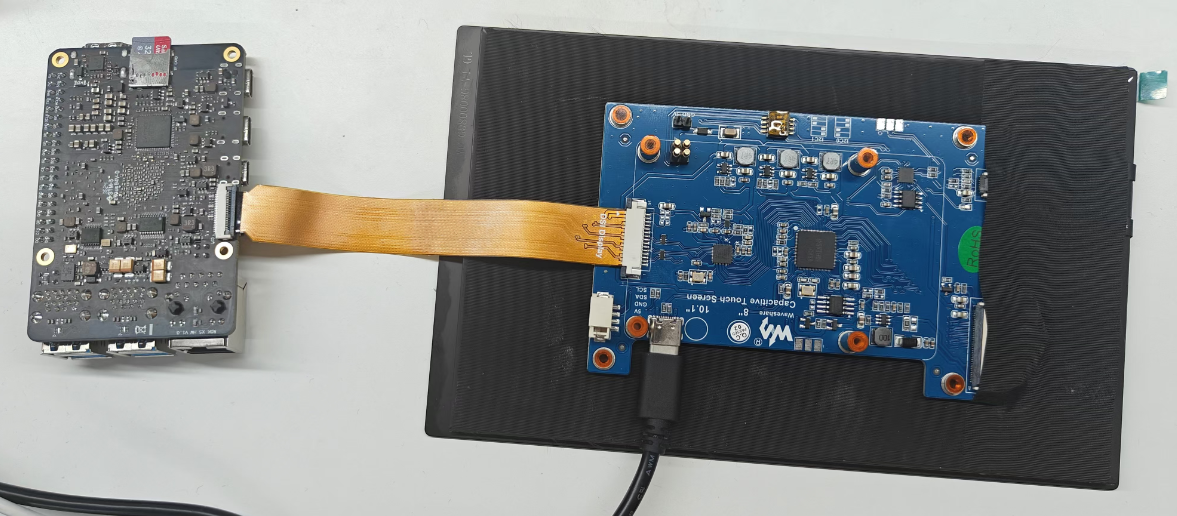
The screen connection is as shown in the figure below:
Use the DSI-Cable-12cm cable to connect the 10.1-inch DSI LCD to the 22PIN DSI1 interface on the X5 RDK mainboard.
Provide power to the screen using a 5V/3A type-C power supply.
Software Configuration
- Since the RDK X5 system defaults to HDMI output, you need to switch to MIPI DSI display mode via the command.
mv /etc/X11/xorg.conf.d/xorg_dsi_ignore.conf /etc/X11/xorg.conf.d/xorg_dsi_ignore.conf.disable
mv /etc/X11/xorg.conf.d/xorg_hdmi_ignore.conf.disable /etc/X11/xorg.conf.d/xorg_hdmi_ignore.conf
You can also select the output mode using raspi-config. For more details, refer to the Display Chose DSI or HDMI section.
- Open the
/boot/config.txtfile and add the following code at the end of the file. Save, exit, and reboot the system.
dtoverlay=dsi-waveshare-panel-overlay-10_1_inch
Effect Demonstration