UART
Overview
UART (Universal Asynchronous Receiver/Transmitter) is the most basic point-to-point serial interface. Only TX, RX, and GND are needed for bidirectional transfer. It is commonly used for debugging, sensors, servos, and similar scenarios.
Key Features
Full-duplex asynchronous: Independent transmit and receive; no shared clock—both sides agree on baud rate.
Baud rate: Common values include 9600 and 115200; both sides must match.
Frame format: 1 start bit + 5–9 data bits (usually 8) + optional parity + 1/2 stop bits.
Logic levels: Chip output is TTL/CMOS; level shifters can convert to RS-232, RS-485, etc. for longer distances.
On-board resources: RDK 40-pin header provides multiple UARTs, e.g. /dev/ttyS0, /dev/ttyAMA0.
Hardware Connection
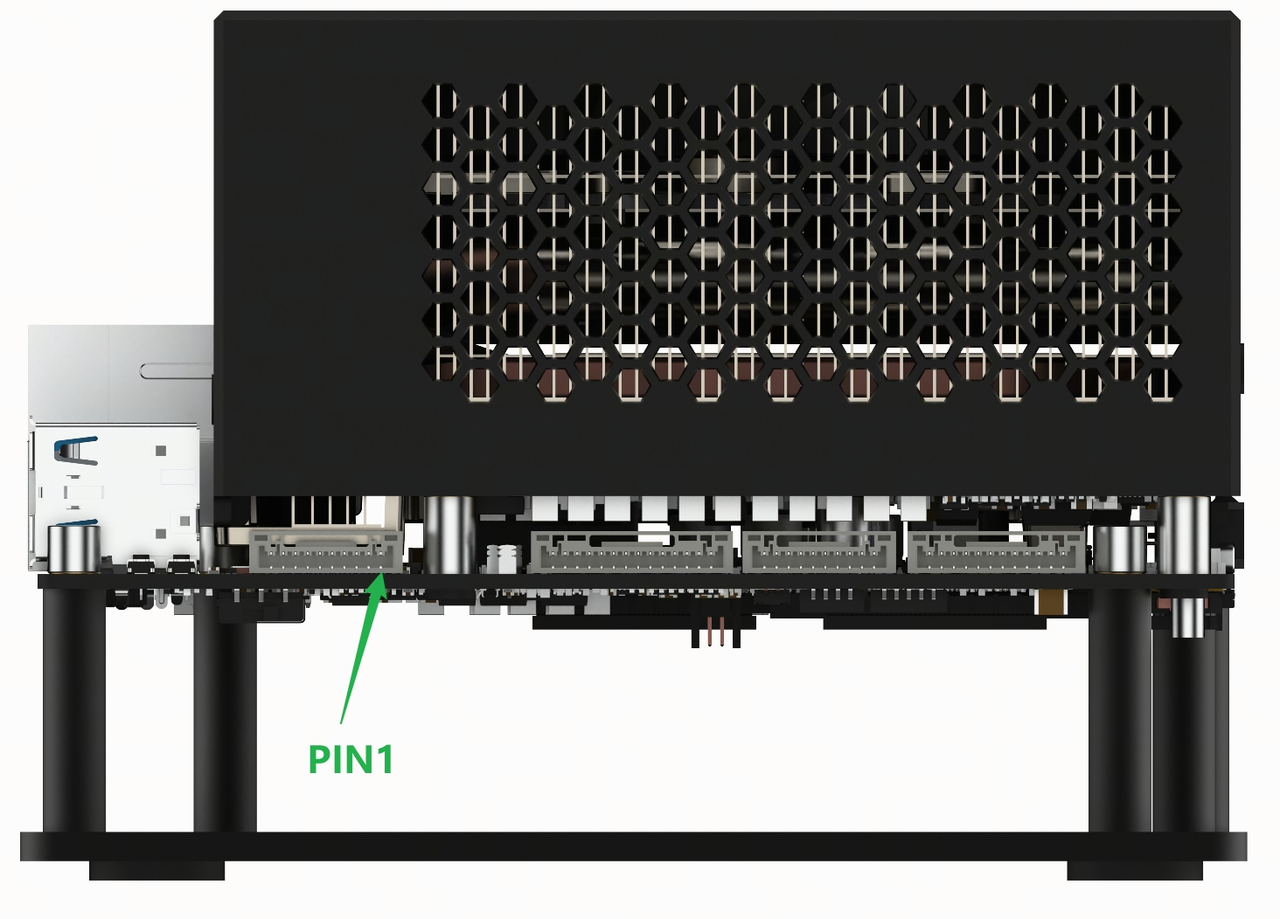
On the RDK S600 platform, both USB UART and TTL UART can be used. The location of the TTL UART interface is shown in the figure below:
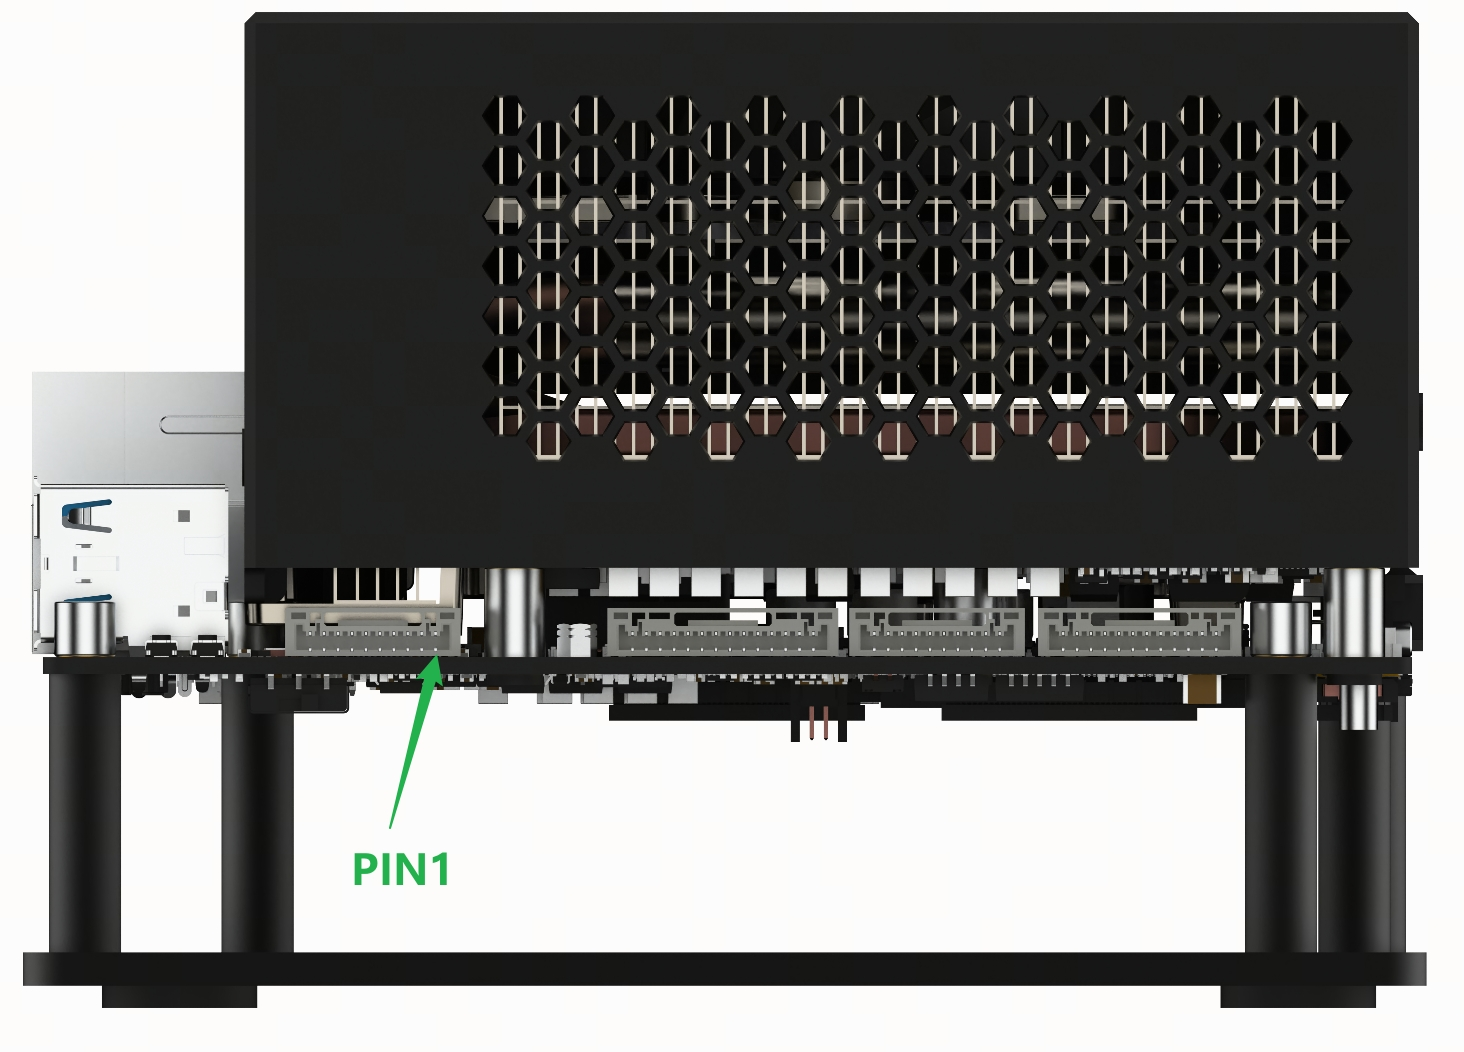
The connector model for this interface is X1251WRS-10HF-LPSW. Using a male connector of the same model, the TTL UART signals can be brought out. The interface pinout is as follows (the MCU domain UART interface is not used in this section):
Usage
In Python, you can use pyserial to operate UART. Install it using the following pip command, in the same way as described for the USB UART:
Ubuntu 24.04 has some changes to Python package management compared to previous versions. The system Python enables PEP 668 (Externally Managed Environment) by default, so it is not recommended to use pip install directly. It is recommended to use a virtual environment or Conda. The method to create a virtual environment is as follows:
sudo apt install python3-venv python3-pip
python3 -m venv myenv
source myenv/bin/activate

# If (myenv) appears in the terminal, the creation is successful and pip install can be used normally
(myenv) root@ubuntu:~#
pip install pyserial
Typical workflow: list available serial ports → open port → send/receive data → close port
# Required imports
import serial
import serial.tools.list_ports

# List available serial ports
ports = serial.tools.list_ports.comports()
for p in ports:
    print(p.device, p.description)

# Open on-board UART, e.g. /dev/ttyACM0; choose based on wiring
ser = serial.Serial(
    port='/dev/ttyACM0', # Adjust to your device node
    baudrate=115200, # Baud rate
    timeout=1 # Read timeout (seconds); None blocks
    )

# Send data
ser.write(b'Hello UART\r\n')
# Read data
data = ser.read(10) # Read 10 bytes; may return fewer on timeout
ser.close()
Example Application
Bus Servo Example
Using the STS3215 bus servo as an example.
The servo bus requires RS-485 levels. Use a suitable controller/adapter to convert USB/TTL from the board to RS-485.
The servo uses the FT-SCS custom protocol. A command frame looks like:
| Header | ID | Length | Instruction | Parameters | Checksum |
|---|---|---|---|---|---|
| 0xFF 0xFF | ID | Length | Instruction | Parameter1 … Parameter N | Check Sum |
Consult the servo manual for length, write instruction, parameters, etc. To control angle, length is 0x04, write instruction is 0x03, with 3 parameters: target position address 0x2A, target position low 8 bits, target position high 8 bits. Target position range: -32767 ~ 32767; BIT15 is the sign bit.
Example: To set servo ID 1 to position 10000, send the following frame in one transaction, then stop:
| Byte0 | Byte1 | Byte2 | Byte3 | Byte4 | Byte5 | Byte6 | Byte7 | Byte8 |
|---|---|---|---|---|---|---|---|---|
| 0xFF | 0xFF | 0x01 | 0x05 | 0x03 | 0x2A | 0x27 | 0x10 | 0x6A |
The program below uses S600 /dev/ttyS7 to swing bus servo ID 1 between 2000±200.
import serial
import time

ser = serial.Serial('/dev/ttyS7', 1000000, timeout=0.1)

def write(addr, data):
    cmd = bytearray([0xff, 0xff, 1, len(data) + 3, 0x03, addr]) + data
    s = sum(cmd[2:]) & 0xff
    cmd.append((~s) & 0xff)
    ser.write(cmd)
    time.sleep(0.001)

while True:
    # 1800
    write(0x2a, bytearray([0x08, 0x07, 0, 0, 0xe8, 0x03]))
    time.sleep(1)
    # 2200
    write(0x2a, bytearray([0x98, 0x08, 0, 0, 0xe8, 0x03]))
    time.sleep(1)